Join 2,100+ amateur astronomers. No spam, unsubscribe anytime.
- Yes! Even a $50-100 telescope can show Saturn's rings, Jupiter's moons, and lunar craters clearly
- A 70mm refractor or 114mm reflector is enough aperture to see planetary detail like Jupiter's cloud bands
- Magnification matters for planets; aim for 100-150x, which most budget scopes can achieve with the right eyepiece
- Seeing conditions (atmospheric stability) affect planetary views more than telescope price above a minimum threshold
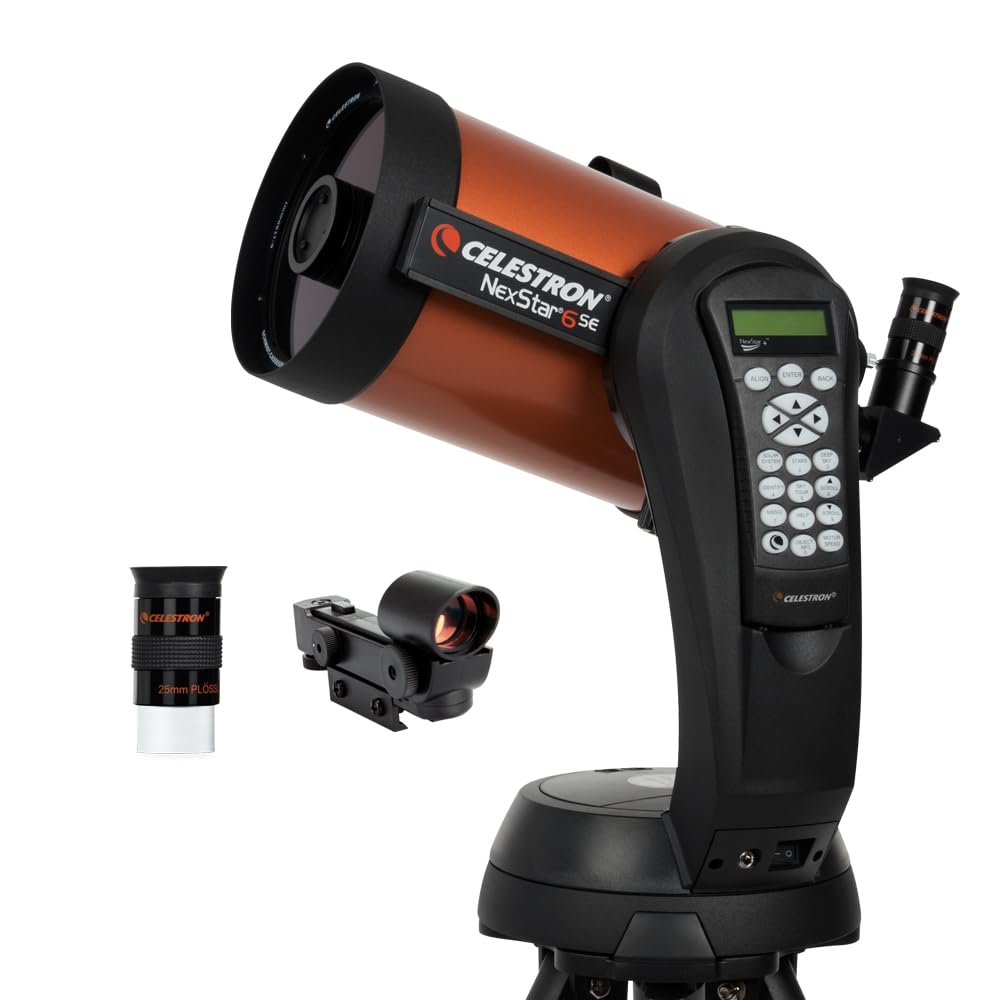
- The Celestron FirstScope and AstroMaster 130EQ are excellent budget options for planetary observing
🌌 Get Weekly Stargazing Tips
Join 900+ astronomers. No spam, just sky.
You can view almost all the planets in our solar system using a cheap telescope. These are easy to spot in the night sky with less light pollution.
Mercury
You can view Mercury with a cheap telescope. The optimal time to look at Mercury is when the planet is at one of its elongations. That’s when it’s farthest to the west relative to the Sun when seen from an Eastern morning sky.
Usually, the best time to view Mercury is midday.
Once you locate it, use a yellow or orange filter. This will help you reduce the sky’s blue light and help produce a sharp picture. If you want to see details, you might need a lens with a long focal length to view them.
Venus
Venus shines brighter than Mercury and is far easier to observe than Mercury. Planetary observation is very easy, especially when the planet moves slowly between the Earth and the Sun.
Since Venus is closer to us during that phase, we can see the planet’s size and phases change with time. It’s much easier to observe during the daytime.
Several features can be visible in Venus’s atmosphere. These include dusty shadings and even some bright cloud features. You would need a violet filter to see the most famous among them, specifically #47.
With the filter installed on an 8-inch telescope, you must look for a C- or a Y-shaped feature centered around the planet’s equator.
Mars
Observing the Red Planet is easy, especially at high magnification. You can study the planet’s surface if the atmosphere holds steady. It’s best to keep your focus centered on a small area.
The planet looks great if you use a blue or violet filter. The specific codes are #80A and #47. But if you want to view something closer to the surface, use a green filter. This is the #58 one.
You get to observe a lot of different things. These include the morning and evening clouds. The surface fog appears before the martian sunrise clears it away.
During the evening, the clouds tend to be more massive and greater in number. Using a blue or violet filter to sharpen bright cloud features as you view them is best.
Jupiter
After the Sun, the planet Jupiter is the biggest celestial object in our solar system. And it also happens to be the celestial object with the most observable detail.
You can see a lot of different features. These include dark stripes formed by the North and South Equatorial Belts. These stripes flank Jupiter’s equator on either side.
Watching it in the night sky is also really fun. You can see Jupiter’s moons change positions. And the best part is that the planet’s rotation brings all of this into your view within a single night. How crazy is that?
Jupiter’s moons are one of its most salient features. And, of course, there’s the Great Red Spot!
You will likely need a dark blue filter to help you see the planet’s zones better. This is a #38A filter. These blue filters help sharpen bright cloud features.
If you use a red filter, like #23A, you can see more details across the equator. It will also help in improving the contrast of the major belts.
Uranus and Neptune
Uranus’s atmosphere often tends to appear featureless and hazy. The first details of the planet’s atmospheric features came out in 1870. Since then, we have observed several dark stripes and other markings.
The greenish Uranus appears to be a slightly elliptical disk. And that’s because of its very fast rotation. However, the movement around the axis is slow. It takes almost 44 days to move the same distance as the diameter of a full moon.
Neptune is much easier to find. When viewed through a small telescope or binoculars, it appears to be a small blue disk.
However, even a large telescope only adds a little detail to the view because it’s just that far away. But you will be able to see one of its largest moons, Triton.
Best cheap telescopes for planet observation
The telescopes in this section are going to be cheap. That means they might not compare to top-tier compound telescopes used for astrophotography.

However, these telescopes do a good job of visualizing the planets in the night sky. So, let’s take a look at
Celestron PowerSeeker 127EQ
With the Celestron PowerSeeker, you pack quite a punch for just a few dollars.
Aside from the telescope, you get two eyepieces: a 20 mm erect-image eyepiece and a 4 mm eyepiece. You also get a 3x Barlow lens and a Star Pointer finderscope. The latter comes in handy when trying to locate Mercury, for instance. You also get a height-adjustable tripod and a counterweight.
The telescope is easy to set up without using any tools, and you can quickly get it up and running.
The mount is a German equatorial mount, which means it’s sturdy. And it comes with slow-motion manual controls that can help you smoothly track the objects across the night sky.
And the best part is that you get high-quality, coated optical elements. This means your image quality gets greatly enhanced with better clarity and brightness.
How cool is that?
Orion SkyScanner 100mm
The Orion SkyScanner is priced even lower than the Celestron PowerSeeker.
This is the ideal entry-level telescope for beginners. It has a quick, easy operation. And it’s very portable with grab-and-go capabilities.
The primary lens of this telescope is 3.9 inches in size. That means it’s great for visualizing bright deep-sky objects. You can even see the planets with it when they are close, especially the Red Planet. But you might not be able to see a lot of detail.
However, beautiful star clusters and nebulae would be fine. And you can even see the craters on the moon.
Its mount has a swivel base. This means you can easily maneuver the telescope wherever you want.
The package includes two eyepieces: a 20mm and a 10 mm. You also get the EZ Finder II, which will help locate different deep-sky objects when you want to see the planets. You will get a MoonMap and a glare-reducing filter that helps you see the moon.
Meade Instruments Infinity 102mm
The next item on the list is the . With this telescope, you get a good focal length. This means a high magnification. Coupled with the slightly bigger 4-inch aperture, it can produce stunning images.
The telescope comes with slow-motion controls. These help you steadily pan the telescope across the sky to track different objects. You can use it for daytime viewing or to see the planets in the evening sky.
You get three different eyepieces with this telescope: 26 mm, 9mm, and 6.3 mm. And you also get a 2x Barlow lens which can further increase the magnification of each eyepiece.
In addition to all that, you also get a red dot viewfinder. This finderscope will greatly enhance your planet-locating skills. That’s especially hard when you want to see the planets with all the city lights polluting your view.
And you even get a fun instructional DVD. Who doesn’t love some old-school exclusive educational content?
Celestron 70mm Travel Scope
With the Celestron 70mm Travel Scope, you get full-coated optic elements. That means your picture quality is going to get enhanced. You will also get sharp, crisp images.
This telescope has an aperture of a little over 2.76 inches. While that could be better, it still makes a decent telescope.
You also get a tripod and two eyepieces. There’s a 20mm eyepiece and a 10mm eyepiece. With these, you can view celestial objects at night. And because it’s a travel scope, you also have a backpack to carry wherever you go.
If all of that wasn’t enough to convince you that it’s a good telescope, you also get a 2-year warranty from the seller if you purchase it on Amazon.
Zhumell Z114 Portable Altazimuth Reflector Telescope