Jupiter rewards aperture, steady tracking, and sharp optics. Choose by how much detail you want.
Strong detail on bands, moons, and the Great Red Spot with tracking.
Great planetary detail per dollar if you can nudge manually.
Simple lunar and planetary observing with low maintenance.
Bad seeing can blur Jupiter even in an excellent telescope.
Rule of thumb: For Jupiter, do not chase extreme magnification. A sharp 120x–200x view often beats a blurry 300x view.
🌌 Want More Stargazing Tips?
Join 1,000+ astronomers. Weekly sky guides, gear reviews, and exclusive deals. No spam.
Jupiter is the king of planets, and it delivers for telescope owners. Even a modest scope will show you cloud bands striping the planet's disc, four bright moons slowly dancing around it, and the iconic Great Red Spot, a storm larger than Earth that has been raging for centuries.
The challenge is picking the right telescope for your budget and experience level. Too little aperture and you will only see a featureless white dot. Too much scope and you will spend more time setting up than observing. This guide cuts through the noise with 9 tested picks that deliver real Jupiter performance, from $200 starter scopes to premium GoTo systems.
Every telescope below was selected based on three things: aperture (how much detail it can physically resolve on Jupiter), mount quality (can it track Jupiter smoothly at high magnification), and real-world value (does it punch above its price class).
Quick Comparison Table
| Telescope | Aperture | Type | GoTo? | Max Useful Mag | Jupiter Detail | Best For |
|---|---|---|---|---|---|---|
| 1. Celestron NexStar 8SE | 203mm | SCT | ✅ | ~400x | ⭐⭐⭐⭐⭐ | Best overall |
| 2. Celestron NexStar 6SE | 150mm | SCT | ✅ | ~300x | ⭐⭐⭐⭐ | Best mid-range GoTo |
| 3. Celestron StarSense Explorer 8" Dob | 203mm | Dob | ❌ | ~400x | ⭐⭐⭐⭐⭐ | Best value |
| 4. Sky-Watcher Flextube 300 12" | 305mm | Dob | ❌ | ~600x | ⭐⭐⭐⭐⭐ | Maximum detail |
| 5. Celestron NexStar Evolution 8 | 203mm | SCT | ✅ | ~400x | ⭐⭐⭐⭐⭐ | Premium experience |
| 6. Sky-Watcher Virtuoso GTi 150P | 150mm | Reflector | ✅ | ~300x | ⭐⭐⭐⭐ | Best compact GoTo |
| 7. Celestron StarSense DX 130AZ | 130mm | Reflector | App | ~260x | ⭐⭐⭐⭐ | Best for beginners |
| 8. Celestron NexStar 130SLT | 130mm | Reflector | ✅ | ~260x | ⭐⭐⭐⭐ | Budget GoTo |
| 9. Celestron AstroMaster 130EQ | 130mm | Reflector | ❌ | ~260x | ⭐⭐⭐ | Budget starter |
What Can You Actually See on Jupiter?
Jupiter rewards every telescope, but what you see depends entirely on aperture. Here is an honest breakdown:
- 60-70mm (binoculars or starter scope): Jupiter appears as a bright disc. You can see the four Galilean moons as pinpoints of light flanking the planet. On steady nights, a faint hint of the two main equatorial belts is visible.
- 100-130mm: Two main cloud belts are clearly visible. You can detect the Great Red Spot when it is facing Earth. Moon shadows during transits become visible. Color variations across the disc start to appear.
- 150-200mm: Four to six cloud belts are visible. The GRS shows internal detail and color. Festoons (dark tendrils connecting the belts), white ovals, and disturbances within the belts become apparent. Moon discs are resolved.
- 250mm+: Fine structure within cloud belts, polar hoods, the North and South Temperate Belts, complex GRS dynamics, and Galilean moon surface albedo differences. This is where Jupiter becomes truly spectacular.
Timing matters more than gear. The Great Red Spot is only visible for about 2-3 hours per Jupiter rotation (roughly every 10 hours). Use a GRS transit calculator (like the one in Stellarium or SkySafari) to know exactly when it faces Earth. Pointing your scope at Jupiter when the GRS is on the far side means you will never see it, no matter how big your telescope is.
How We Picked These Telescopes
Jupiter is a bright target, so nearly any telescope will show you something. But to see real detail, the three factors that matter most are:
- Aperture (most important): Bigger mirrors and lenses resolve finer detail. For Jupiter, 130mm is the minimum for satisfying views, and 200mm is the sweet spot.
- Mount stability: At 150x-300x magnification (where Jupiter detail lives), any vibration ruins the view. A shaky mount at high power is frustrating. Every scope on this list has a mount rated for its optical tube.
- Optical quality: Parabolic mirrors, quality coatings, and good collimation matter for planetary viewing. We excluded scopes with known optical shortcuts (like spherical primary mirrors on larger apertures).
We also prioritized scopes that are currently available on Amazon with active affiliate links, so you can actually buy what we recommend.
1. Celestron NexStar 8SE - Best Overall for Jupiter
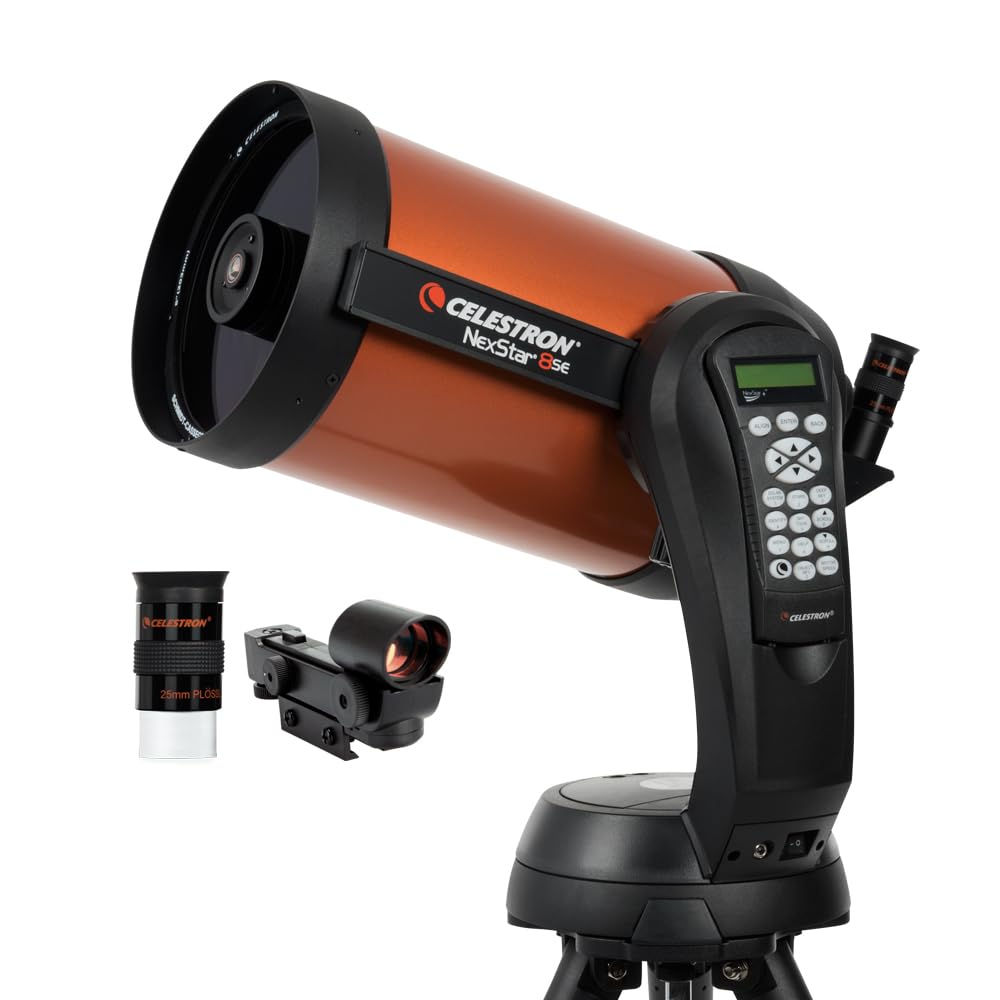
The NexStar 8SE is the telescope most experienced planetary observers will recommend for Jupiter, and for good reason. Its 203mm (8-inch) Schmidt-Cassegrain optical tube packs serious light-gathering power into a compact, portable package. The 2032mm focal length (f/10) delivers naturally high magnification, which is exactly what you want for planetary detail.
What you will see on Jupiter: All four Galilean moons clearly resolved. Five to six cloud belts with festoons and disturbances. The Great Red Spot with internal detail and subtle color gradients. Moon shadow transits as tiny black dots crossing the disc. On exceptional nights at 250x-350x, polar hoods and fine structure within individual belts.
Why it works for Jupiter: The GoTo mount automatically finds and tracks Jupiter, keeping it centered in your eyepiece as Earth rotates. At 200x+ magnification, manual tracking becomes tedious. The 8SE eliminates that problem entirely. Celestron's StarBright XLT coatings maximize light throughput, and the long focal ratio produces excellent planetary contrast.
Considerations: No included high-power eyepiece (the bundled 25mm gives only 81x). You will want to add a 5-9mm eyepiece immediately. Setup takes 5-10 minutes including alignment.
2. Celestron NexStar 6SE - Best Mid-Range GoTo
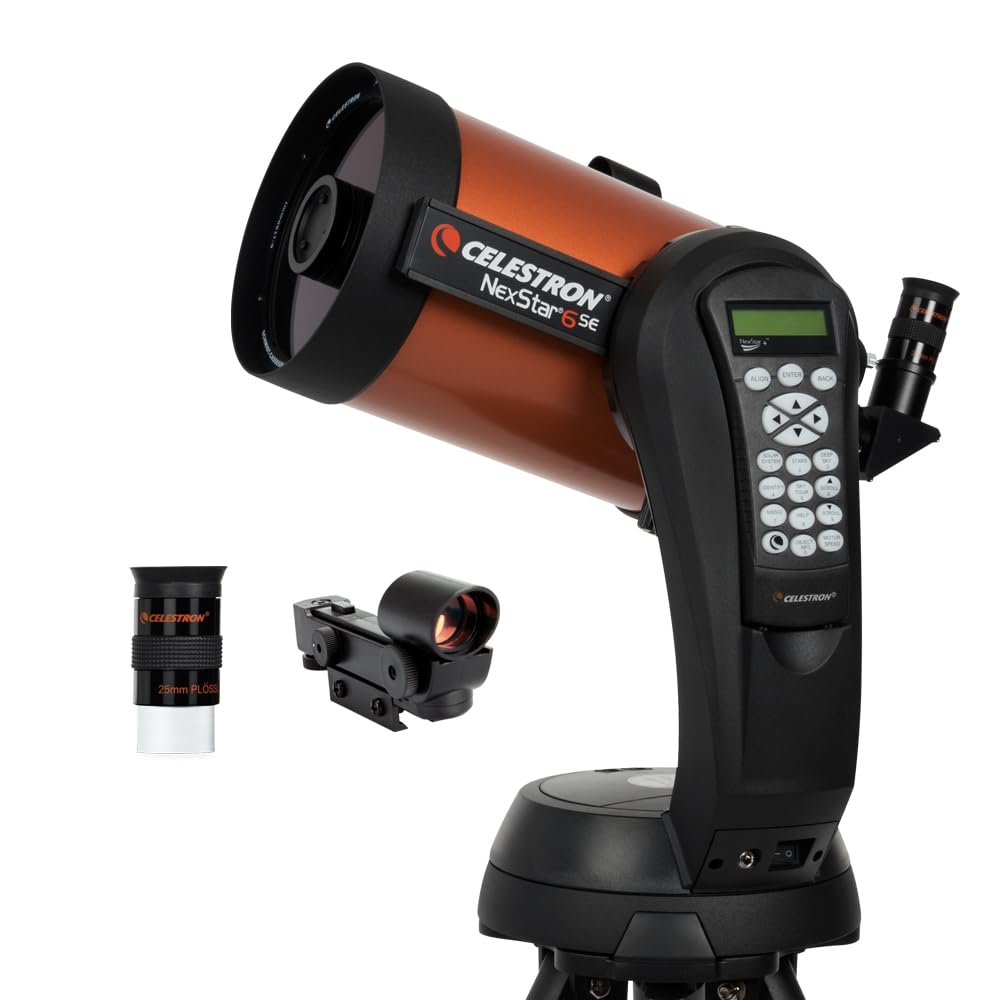
If the 8SE stretches your budget, the 6SE delivers 80% of the Jupiter experience at roughly 60% of the cost. The 150mm aperture resolves the two main equatorial belts crisply, shows the Great Red Spot consistently, and displays all four Galilean moons with ease. At 200x on a steady night, you will catch hints of the North and South Temperate Belts and see the GRS as a distinct salmon-colored oval.
The GoTo system is identical to the 8SE, and the lighter weight (around 30 lbs total) makes it noticeably easier to carry outside and set up. For Jupiter observers who value convenience, the 6SE hits a sweet spot between performance and portability.
Considerations: The 6-inch aperture reaches its resolution limit faster than the 8-inch. You will not see the fine festoon detail that larger scopes reveal. Same eyepiece limitation as the 8SE: buy a high-power eyepiece separately.
3. Celestron StarSense Explorer 8" Dobsonian - Best Value

The XT8 gives you the same 203mm aperture as the NexStar 8SE at roughly one-third the price. The trade-off: no computerized tracking. You push the scope by hand to find objects and nudge it periodically to keep Jupiter in view. For many observers, that is not actually a problem, because Jupiter is one of the brightest objects in the sky and trivially easy to find.
What you will see: Identical Jupiter detail to the 8SE. The physics of aperture do not care whether your mount is computerized. Five to six belts, GRS detail, moon transits, festoons. The Dobsonian mount is remarkably stable for its simplicity, and the smooth bearings let you track Jupiter by hand with minimal effort.
Why it is the best value: The money you save on the mount can go directly into accessories. A high-quality 5mm eyepiece, a 2x Barlow, and a planetary filter set will cost around $100-200 and dramatically improve your Jupiter experience.
Considerations: Bulky. The tube is 4 feet long and the base is not compact. Not ideal for apartment dwellers with limited storage. Manual tracking at 300x+ requires frequent nudging.
🔭 Get Our Jupiter Observation Planning Guide Free
Join 1,000+ astronomers getting weekly gear reviews, sky guides, and exclusive subscriber deals.
4. Sky-Watcher Flextube 300 12" Dobsonian - Maximum Jupiter Detail

If you want to see Jupiter at its absolute best without spending observatory money, a 12-inch Dobsonian is the answer. The Flextube 300's collapsible truss design solves the biggest problem with large Dobs: storage. The tube shrinks from over 4 feet to under 3 feet for transport.
What you will see: Everything. Six to eight cloud belts with intricate detail. Festoons, barges, and white ovals. The Great Red Spot with complex internal structure and the "Red Spot Hollow" visible in the South Equatorial Belt. Galilean moon discs are resolved as tiny circles, not points. During transits, you can see the moon itself plus its shadow simultaneously. On exceptional nights at 400x+, polar cap coloration differences and fine rifts within belts.
Considerations: This is a big telescope. The base alone weighs around 30 lbs. It requires collimation before each session (5 minutes with practice). No tracking, so high-power nudging is constant. Worth every trade-off for dedicated planetary observers.
5. Celestron NexStar Evolution 8 - Premium Jupiter Experience
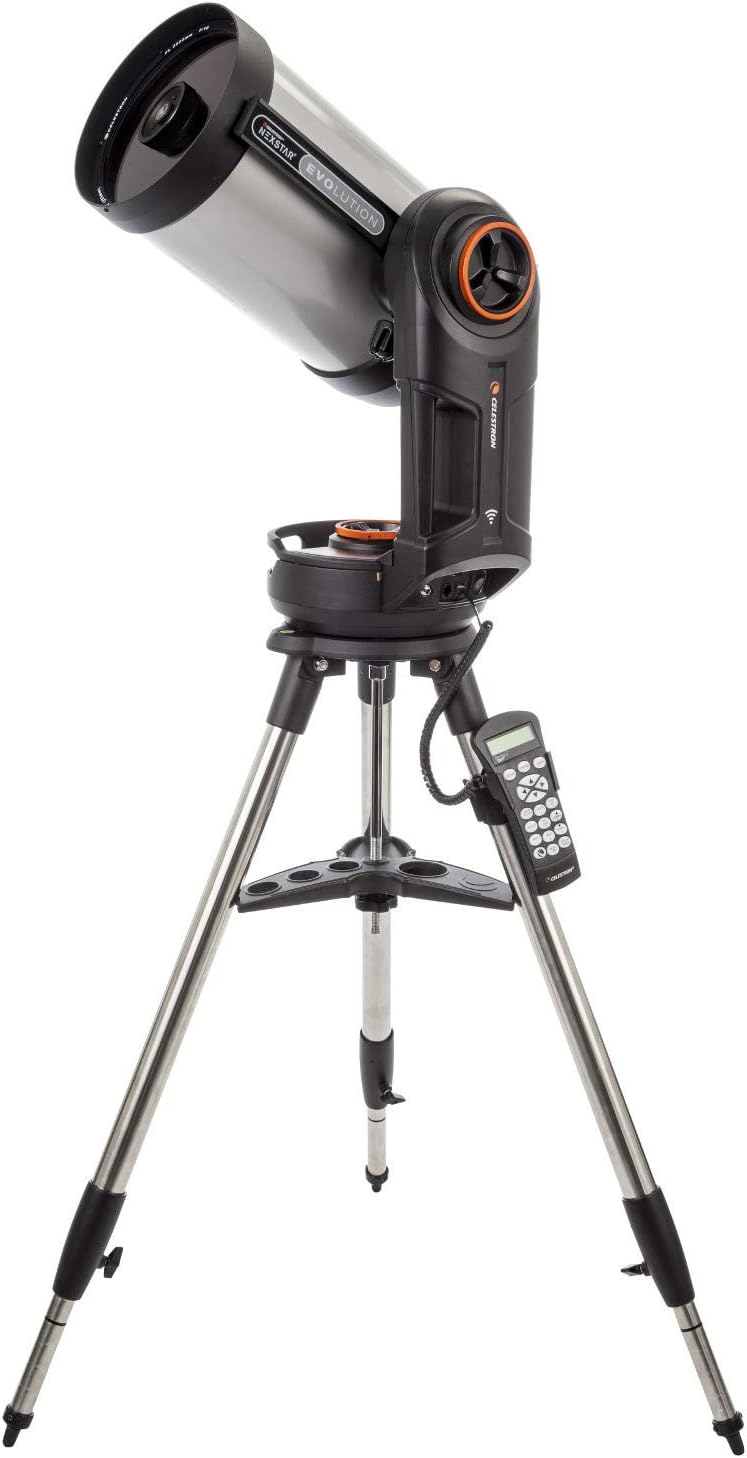
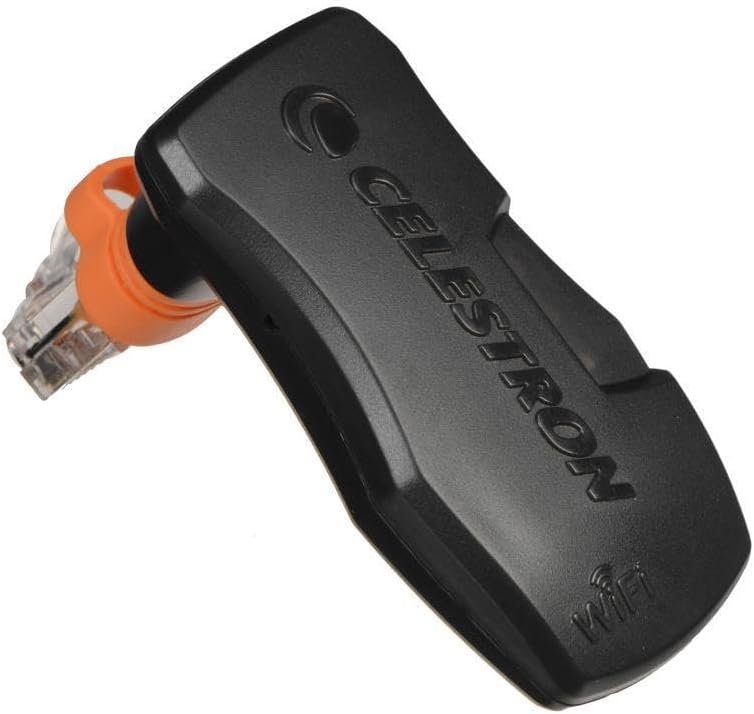
The Evolution 8 is the NexStar 8SE for people who want a polished, modern experience. The optical tube is essentially the same 203mm f/10 SCT, so Jupiter performance is identical. What you gain is built-in WiFi (control the scope from your phone via Celestron's SkyPortal app), an internal rechargeable battery that lasts up to 10 hours, and a generally smoother mount mechanism.
For Jupiter nights, the WiFi control is genuinely useful: you can slew to Jupiter from a planetarium view on your phone, adjust tracking speed, and even schedule observations of the GRS transit from a comfortable chair while the scope does the work.
Considerations: Significant price premium over the 8SE for the same optical performance. If your budget is limited, the 8SE or XT8 delivers the same Jupiter views for less money.
6. Sky-Watcher Virtuoso GTi 150P - Best Compact GoTo
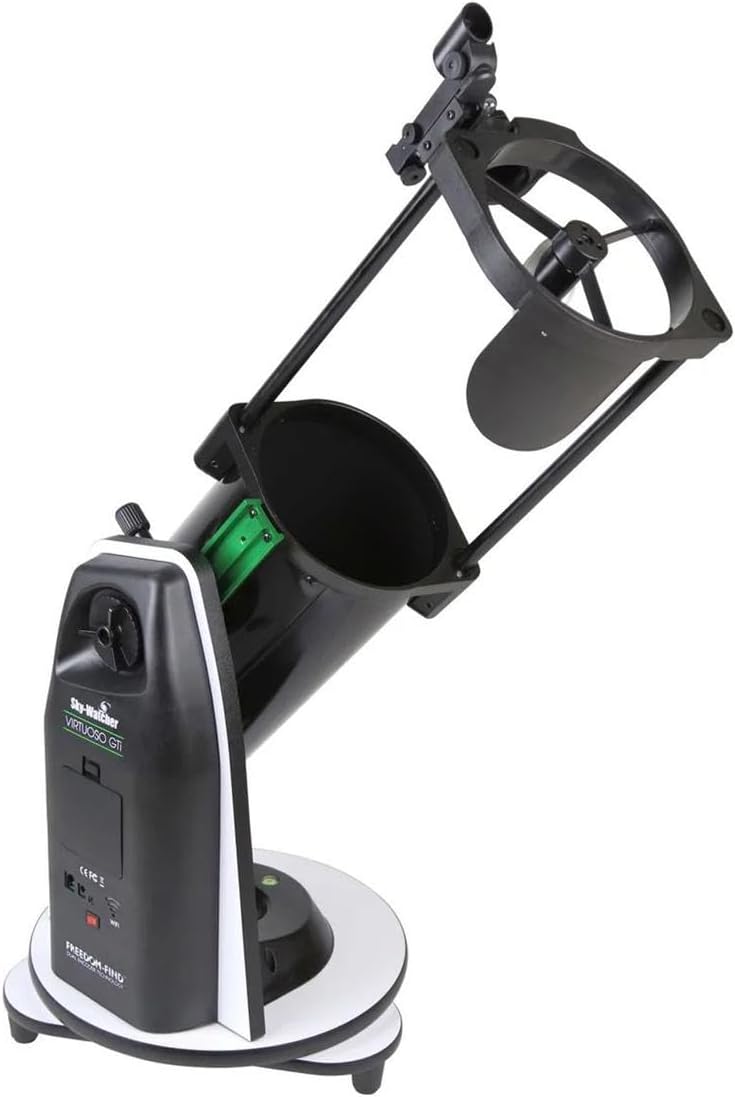
The Virtuoso GTi 150P packs a surprising amount of Jupiter performance into a tabletop package. The 150mm parabolic mirror at f/5 gives you the same light-gathering power as a 6-inch Dobsonian, but the motorized GoTo mount tracks objects automatically via WiFi and the SynScan app on your phone. Set it on a sturdy table, align, and it will find and follow Jupiter for you.
What you will see: Two main equatorial belts clearly defined. Great Red Spot visible when facing Earth. All four Galilean moons. On good nights at 150-200x, hints of the Temperate Belts and subtle color variation in the NEB and SEB.
Best for: Apartment dwellers, grab-and-go observers, and anyone who wants tracking without the bulk of a full-sized GoTo mount. It runs on 8 AA batteries, so no external power needed.
7. Celestron StarSense Explorer DX 130AZ - Best for Beginners
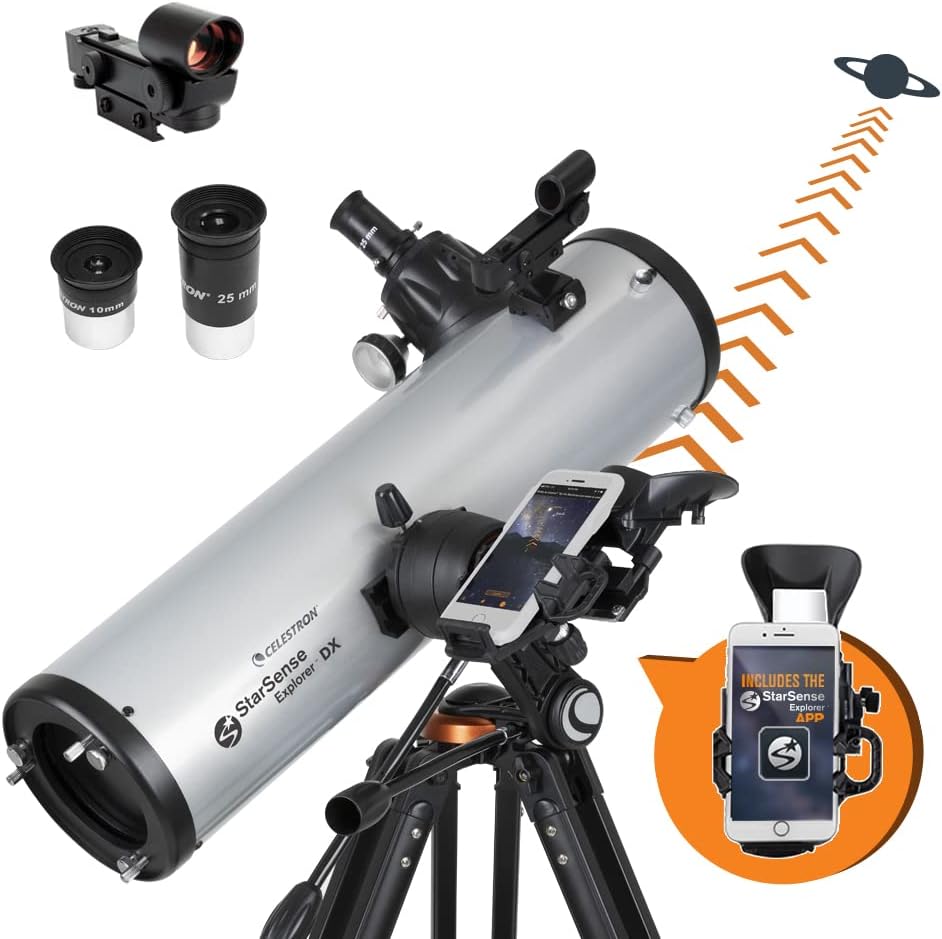
For first-time telescope owners, the StarSense Explorer DX 130AZ removes the biggest barrier to seeing Jupiter: finding it. The StarSense dock holds your smartphone, which uses its camera to analyze the star field and generate a live "bullseye" guiding you to push the scope toward your target. No star alignment, no hand controller, no frustration.
The 130mm parabolic mirror delivers solid Jupiter views: both main equatorial belts, the Great Red Spot (on good nights), and all four Galilean moons. At 150-200x with a quality eyepiece, you will see enough detail to keep you coming back.
Considerations: No motorized tracking, so you will need to nudge the scope by hand at high magnification. The included eyepieces (25mm and 10mm) are decent but not exceptional. Upgrading the 10mm eyepiece is a worthwhile first purchase.
8. Celestron NexStar 130SLT - Budget GoTo
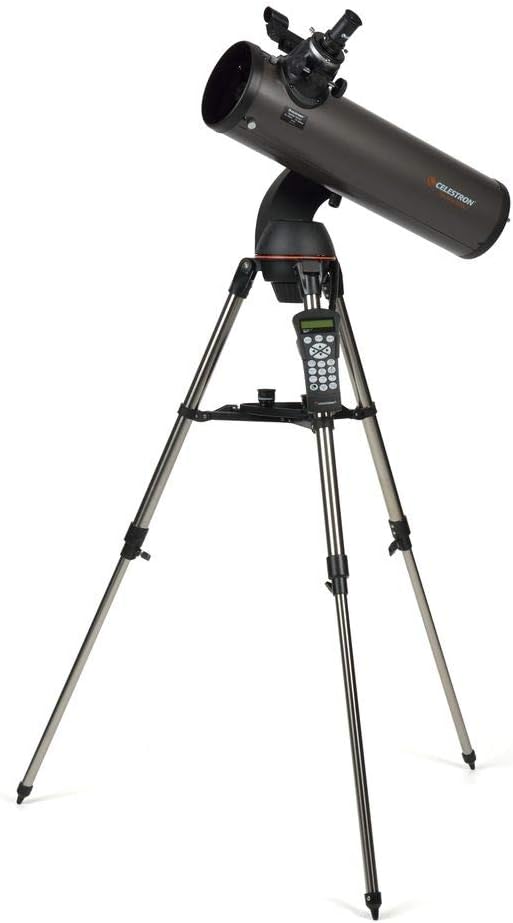
The 130SLT is the most affordable way to get motorized GoTo tracking with enough aperture to enjoy Jupiter. The 130mm Newtonian on a computerized altazimuth mount finds Jupiter from a database of 40,000+ objects and tracks it automatically. No nudging, no losing the planet at high magnification.
Jupiter views are solid at 130mm: two clear equatorial belts, the GRS detectable at 150x+, and all four moons. The GoTo system means you can also easily hop to Saturn, Mars, or the Moon in the same session without fumbling with charts.
Considerations: The mount is adequate but not rock-solid. At magnifications above 200x, vibrations from touching the focuser take a moment to settle. The included 25mm and 9mm eyepieces are functional but basic.
9. Celestron AstroMaster 130EQ - Budget Starter
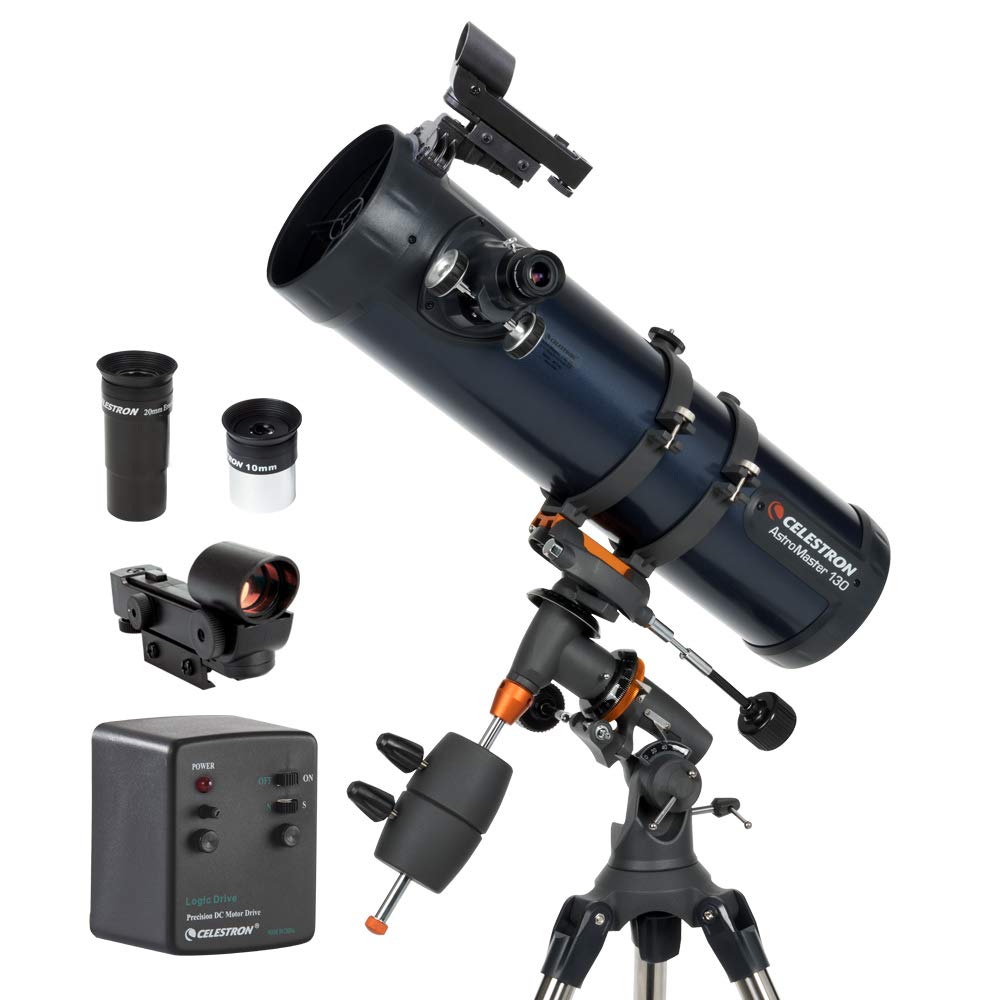
The AstroMaster 130EQ is a popular first telescope for a reason: decent aperture, an equatorial mount for smooth tracking, and a price that does not require a second mortgage. The 130mm mirror gathers enough light for solid Jupiter views, and the equatorial mount lets you follow Jupiter with a single slow-motion knob rather than nudging in two directions.
What you will see: Both main equatorial belts. The GRS is detectable on steady nights at 100-150x. All four Galilean moons clearly. Some color variation across Jupiter's disc.
Honest note: The included eyepieces are mediocre, and the mount can be shaky if not properly balanced. Budget an extra $30-50 for a better eyepiece. Despite that, the AstroMaster 130EQ has introduced more people to planetary astronomy than almost any other telescope.
Aperture Guide: What Each Size Reveals on Jupiter
| Aperture | What You Will See on Jupiter | Useful Mag Range |
|---|---|---|
| 50-70mm | Disc shape, 4 moons as dots, hint of 2 belts on steady nights | 30x-100x |
| 80-100mm | 2 main belts clearly, GRS detectable, moon positions distinct | 50x-150x |
| 114-130mm | 2-3 belts, GRS consistent, belt color differences, moon shadow transits | 80x-200x |
| 150mm (6") | 4-5 belts, festoons, GRS detail, Temperate Belt hints, resolved moon discs | 100x-300x |
| 200mm (8") | 5-6 belts with fine detail, festoons, barges, polar hoods, GRS internal structure | 150x-400x |
| 250mm+ (10"+) | 6-8 belts, white ovals, rifts, complex GRS dynamics, moon surface albedo | 200x-500x+ |
Atmospheric seeing is the real limit. Even a 12-inch telescope is capped at around 200-300x on most nights due to atmospheric turbulence. Do not chase maximum magnification. Instead, use the highest power that still delivers a sharp, steady image. That is where Jupiter detail lives.
Bonus: Best Accessories for Jupiter Viewing
The right accessories can transform a good Jupiter view into a great one. These are the upgrades that make the biggest difference, ranked by impact.
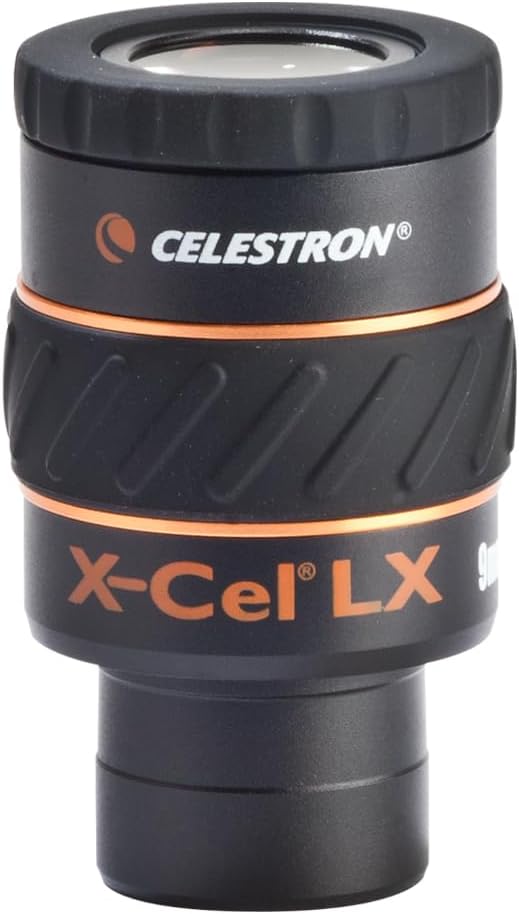
High-Power Eyepieces (The #1 Upgrade)
Most telescopes ship with mediocre eyepieces that top out at 50-100x. For Jupiter, you want to push to 150-300x with a sharp, well-corrected eyepiece. Here are the best options at different price points:
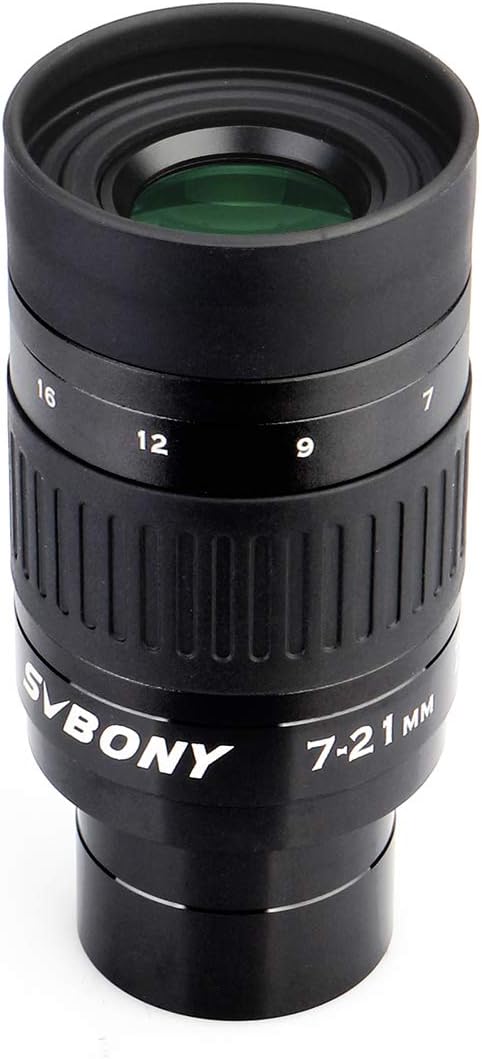
Zoom Eyepieces (One Eyepiece, Many Magnifications)
A zoom eyepiece lets you dial in the perfect magnification for the current seeing conditions without swapping eyepieces. Start low to find and center Jupiter, then zoom in to maximum detail.
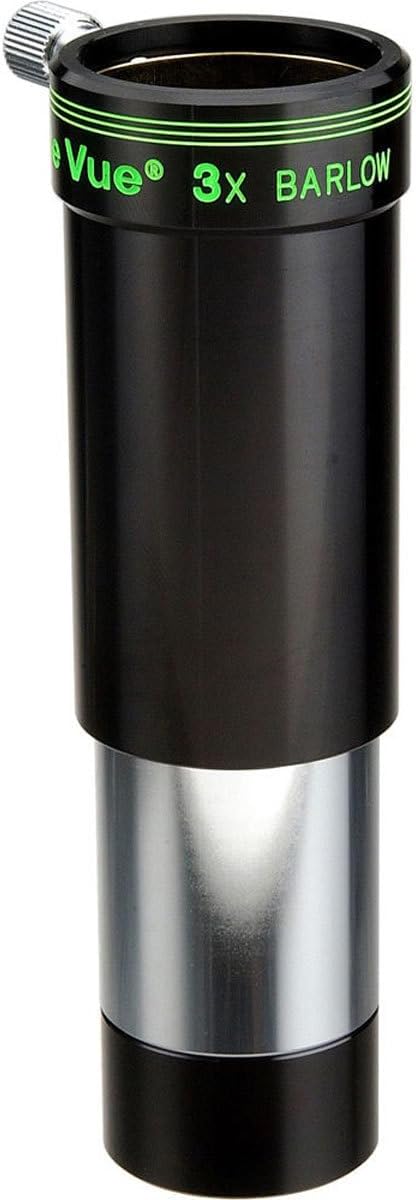
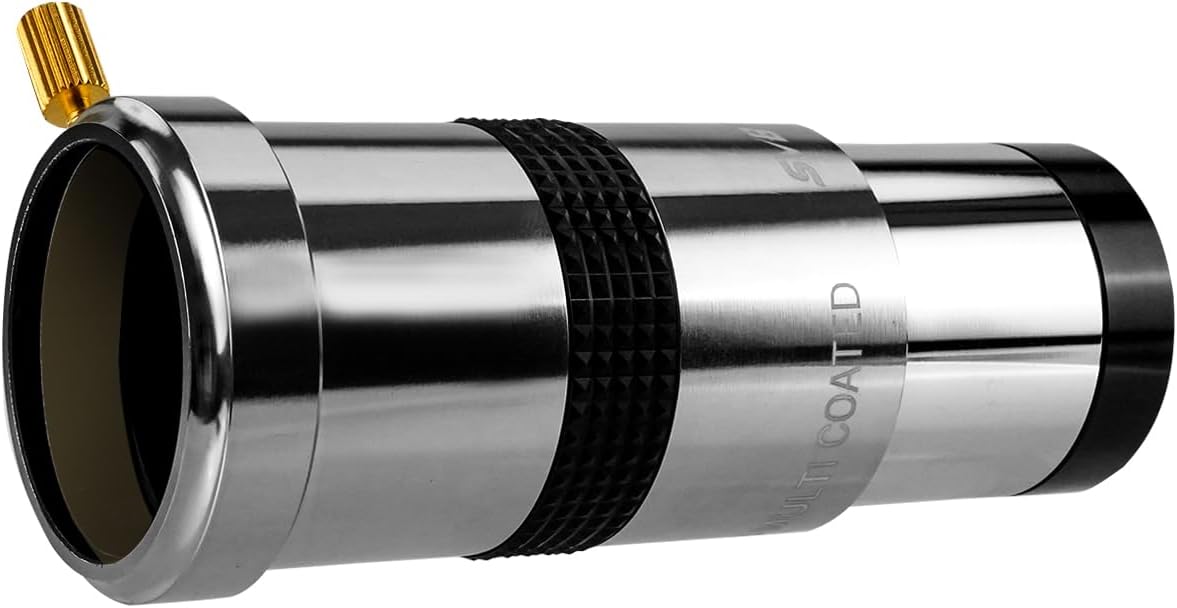
Barlow Lenses (Double Your Magnification)
A Barlow lens doubles (2x) or triples (3x) the magnification of any eyepiece. Paired with your included eyepiece, a Barlow effectively gives you two eyepieces for the price of one. Essential for pushing into the 200x+ range where Jupiter detail really pops.
Planetary Cameras (Capture What You See)
Once you have seen Jupiter's detail through an eyepiece, you will want to photograph it. Planetary cameras record high-speed video that can be stacked into surprisingly detailed images using free software.

Phone Adapter (Snapshots Through the Eyepiece)
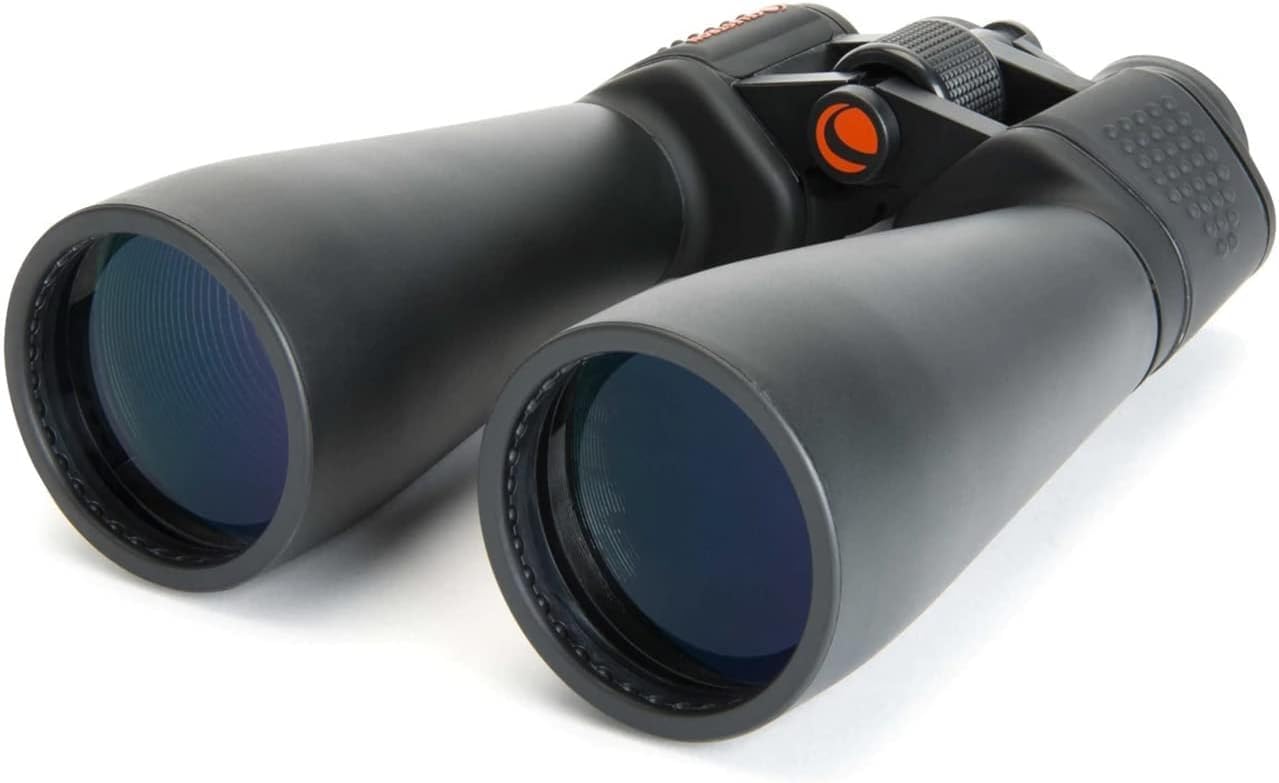
Binoculars (See Jupiter's Moons Tonight)
Jupiter Observing Tips
When to Observe
- Jupiter opposition 2026: October 10. Jupiter will be closest to Earth and visible all night. Plan around this date for the best views of the year.
- Best months: September through December 2026 offer excellent Jupiter viewing. The planet rises earlier each night as opposition approaches.
- Best time of night: When Jupiter is at its highest point (transit/culmination). Higher = less atmosphere to look through = sharper views.
- GRS timing: Use Stellarium, SkySafari, or Sky & Telescope's transit calculator to know when the Great Red Spot faces Earth.
How to Get the Sharpest Views
- Let your telescope cool down. Take it outside 30-60 minutes before observing. Thermal currents inside a warm tube destroy planetary detail.
- Start low, go high. Begin with your lowest magnification eyepiece to find and center Jupiter, then increase power gradually until the image starts to soften. Back off one step. That is your optimal magnification for tonight's conditions.
- Patience beats aperture. Atmospheric turbulence comes in waves. Watch Jupiter steadily at high power and wait for those brief moments of clarity (called "seeing pops"). In a 10-minute session, you might get 30 seconds of excellent seeing. Those moments reveal more than any equipment upgrade.
- Avoid heat sources. Do not observe over rooftops, parking lots, or air conditioning exhausts. Rising heat creates terrible seeing. Observe over grass, water, or cooled concrete.
- Use an observing chair. Comfortable posture = steadier views = more patience = more detail noticed. It sounds trivial, but it makes a measurable difference.
Filters for Jupiter: A light blue (#80A) filter enhances cloud belt contrast. A yellow-green (#11) filter brings out the Great Red Spot and equatorial zone details. Even an inexpensive planetary filter set ($15-25) can noticeably improve your views. Thread them into your eyepiece barrel and toggle between them during a session.
How to Photograph Jupiter
Planetary photography is surprisingly accessible. You do not need a fancy DSLR or hours of exposure time. The technique is called lucky imaging, and it works like this:
- Record a video. Point a planetary camera or even your smartphone at the eyepiece and record 60-120 seconds of video. The key is high frame rate: at least 30fps, ideally 60fps+.
- Stack the best frames. Use free software like AutoStakkert to automatically select and stack the sharpest frames from your video. Out of 3,000 frames, the software picks the 200-500 best ones and aligns them.
- Sharpen. Process the stacked image in Registax using wavelet sharpening. This brings out cloud belt detail that was invisible in any single frame.
- Adjust color and contrast. A final pass in any image editor (even free tools like GIMP) to balance the colors and boost contrast.
With an 8-inch telescope and a dedicated planetary camera, you can capture Jupiter images showing cloud belts, the GRS, and Galilean moons that rival what the Voyager probes saw during their flybys. A smartphone through the eyepiece will not match that, but it can still capture the belts and moons clearly enough to share.
Frequently Asked Questions
🌌 Never Miss an Opposition
Join 1,000+ astronomers. We will remind you when Jupiter is at its best, plus weekly gear reviews and sky guides. No spam.