Join 2,100+ amateur astronomers. No spam, unsubscribe anytime.
- A DSLR or mirrorless camera with manual controls and a sturdy tripod are all you need to start astrophotography
- Use high ISO (1600+), wide aperture (f/2.8), and exposures under 30 seconds to capture sharp star fields
- Dark sky locations away from city lights are essential for capturing the Milky Way and faint stars
- The moon requires lower ISO (100-200) and faster shutter speeds to avoid overexposure
- Milky Way season runs April through September; plan moonless nights for the best wide-field shots
🌌 Get Weekly Stargazing Tips
Join 900+ astronomers. No spam, just sky.
Ever gazed up at the night sky and wished you could capture its breathtaking beauty? I’ve been there. You might think you need a high-end telescope for astrophotography, but that’s not the case.
Astrophotography without a telescope is absolutely possible, and I’m here to guide you through it. With just a basic DSLR camera and a tripod, you can take stunning shots of the stars, the moon, and even the Milky Way.
Choosing the Right Camera
The next piece of this stargazing puzzle revolves around camera selection. Now, some of you may be thinking, “I’ve got my phone’s camera – isn’t that enough?” While your smartphone camera is handy, its capabilities for astrophotography are somewhat limited. DSLR or mirrorless cameras usually offer better performance due to their advanced sensors and customizable settings.
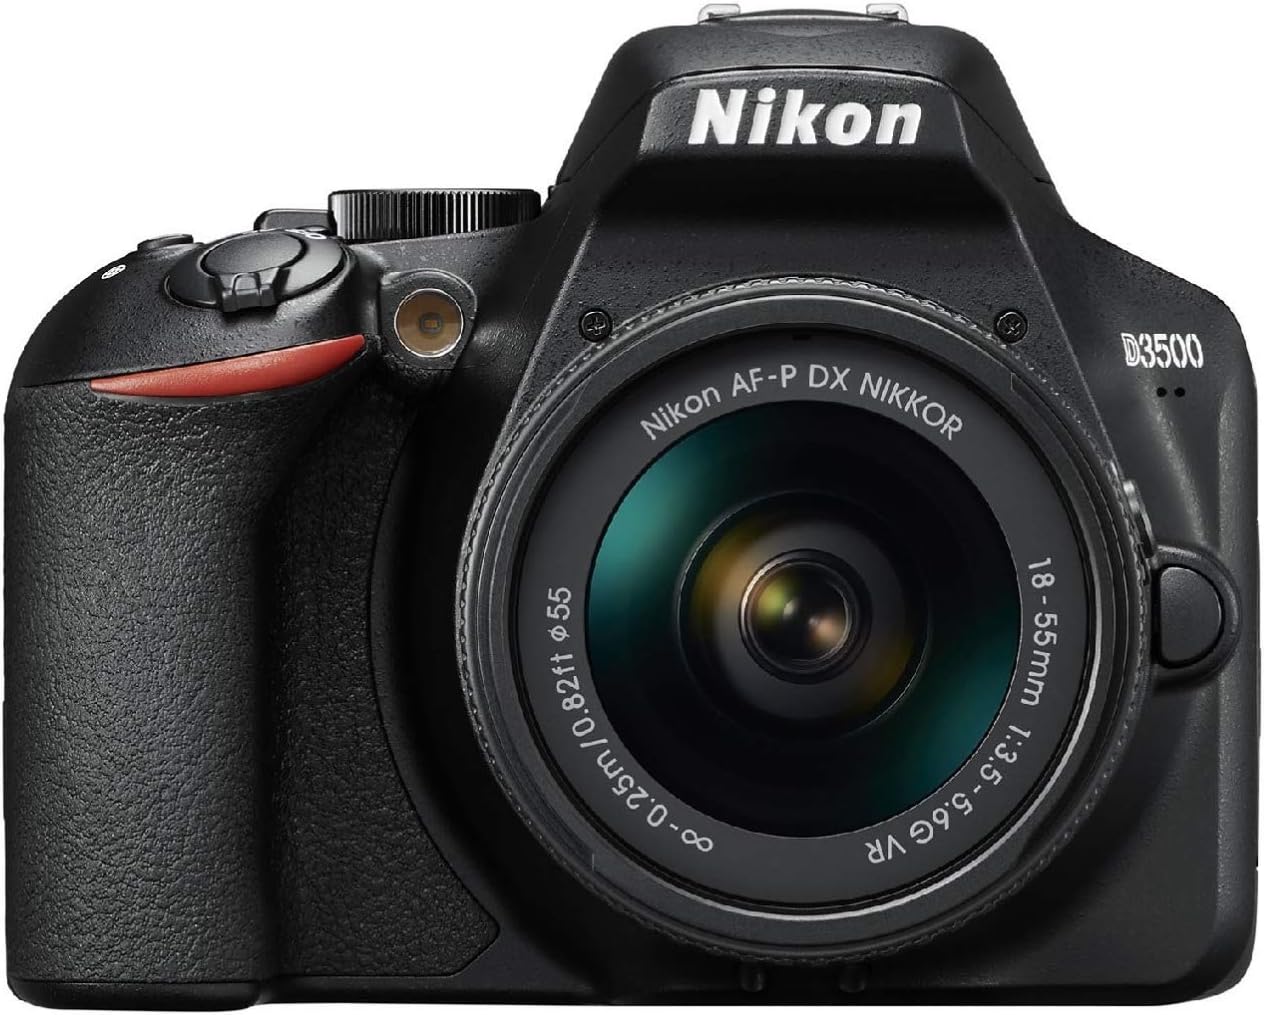
But don’t fret if you’re new to photography and the thought of a DSLR seems intimidating. These days models on the market come in all shapes and sizes, with plenty of user-friendly features to assist beginners. Canon and Nikon manufacture some popular DSLR models that are perfect for first-time astrophotographers. The Canon EOS 4000D or Nikon D3400 are solid starters, offering good image quality without breaking the bank. I personally started with these and found them excellent for astrophotography.
For those of us who want to push the envelope further, investing in a more sophisticated piece of kit might be the way forward. Certain cameras are specifically designed with astrophotography in mind. The features, such as increased sensitivity to light and ability to reduce noise in low-light situations, are attributes you’d really appreciate once you start shooting.
Here’s a quick comparison guide for your convenience:
| Camera Model | Budget-Friendly | Astrophotography-Friendly |
|---|---|---|
| Canon EOS 4000D | Yes | Basic |
| Nikon D3400 | Yes | Basic |
| Sony A7S II | No | Highly |
| Nikon D810A | No | Highly |
Remember, the right camera for you is ultimately one that fits your needs and budget. Look for one with manual mode, good high ISO performance, and a bulb setting for long exposures. With the right tools in your kit, you’ll be well on your way to capturing the stars in no time. Now, let’s move on to setting up your camera for optimum star-studded captures.
Understanding Camera Settings
Now that we’ve talked about the best camera options for astrophotography, let’s delve deeper into understanding camera settings. This is where things get interesting!
For a start, Manual Mode is indispensable. It grants you total control over important factors like aperture, shutter speed, and ISO settings. So if you’re lost and your camera’s on auto, it’s time to switch that dial to ‘M’ and gain control!
Next up, let’s consider the ISO setting. This setting controls the sensitivity of your camera’s sensor to light. Higher ISO values will brighten your photo, but may also increase visible grain or noise. As a simple rule, you’ll want your ISO setting on the higher side for astrophotography. But keep in mind: ISO performance varies from camera to camera. Some cameras, like the aforementioned Canon EOS 4000D and Nikon D3400, handle high ISOs particularly well.
You’ll also want to consider aperture and shutter speed. A wider aperture (small f-number) allows more light to reach the camera sensor, which is ideal for night sky imaging. A slower shutter speed also allows more light in, but be careful not to go too slow, or you’ll end up with star trails instead of crisp star points.
Finally, don’t forget about the Bulb setting – it’s your best friend when it comes to long exposures. This setting allows you to keep the shutter open for as long as you’re holding down the shutter button, capturing every star’s twinkle for your final image.
An overview of the settings would look like this:
| Setting | Description |
|---|---|
| Manual Mode | Grants total control over aperture, shutter speed, and ISO settings |
| High ISO | Increases sensor sensitivity to light, may increase grain or noise |
| Wide Aperture | Allows more light to reach the sensor, ideal for night images |
| Slower Shutter Speed | Allows more light by keeping the shutter open longer |
| Bulb Setting | Perfect for long exposures, captures prolonged light details |
Finding a Dark and Clear Location
Having nailed down the critical camera features like ISO, aperture, and shutter speed; your journey’s not over. You’ve got to track down the perfect location for your astro endeavors. Light pollution’s a significant issue for astrophotographers, particularly if you’re based in urban or suburban areas. So, it’s vital to venture out to a dark, clear location to get the best results.
You might be wondering, “How dark should the location be?” The darker, the better. Sergi Garcia, an accomplished astrophotographer, recommends using tools like the Light Pollution Map to locate areas of minimal light pollution. It’s an online tool that color-codes regions based on the intensity of artificial illumination. Through it, you can find optimum spots near you ideal for shooting the night sky.
After settling on a dark site, the next key consideration involves current weather and future weather predictions. Nothing can spoil a night’s photography quicker than a cloudy forecast. Cleardarksky.com offers reliable, local forecasts specifically for astronomers. With these weather updates, alongside light pollution insights, you’re well equipped to scout the best astrophotography locations.
The ideal environment for this hobby isn’t one-size-fits-all. Variables like the particular astronomical bodies you’re targeting, landscape preferences, and safety must factor into your final pick. Safety should always be a priority – when you’re out late in remote areas, make sure you inform someone about your location and expected return time.
🔭 Want our top telescope picks for 2026?
Join 960+ astronomers getting weekly gear reviews, deals, and stargazing tips. Free.
Using a Tripod for Stability
Now that we’ve explored the best locations for astrophotography, it’s equally crucial to focus on how to stabilize your camera during the process. A tripod is a non-negotiable element in the world of astrophotography. It provides a sturdy and reliable base to mount your camera on, preventing unwanted movement disruption.
Remember, when it comes to capturing the celestial bodies, the slightest shake can lead to a blurred image. So it’s worth investing in a good trip that establishes rigidity and steadiness throughout the photography process.
Now you’re probably wondering, what kind of tripod should I use? Well, the answer varies depending on your preferences and requirements.
When picking a tripod, here are some key features to consider:
- Durability: Aluminium and carbon fibre tripods are often recommended for their resilience. While aluminium tripods are generally cheaper, carbon fibre tripods are lighter with more durability.
- Stability: Check for stability under load. Remember, your tripod has to hold up not just your camera, but also any additional equipment you might need.
- Height: Ensure the tripod can extend to a comfortable height for you to operate.
Keep in mind, along with the high-end tripods, you should consider getting a reliable, high-quality tripod head. Ball heads with tension control are known to offer excellent stability, allowing precise control and movements as you frame the shot.
I’d also like to mention a technique called “Mirror Lock-up”. It reduces risk of camera shake caused by the camera’s mirror flipping up when you take the shot. Many modern DSLRs and mirrorless cameras have an in-built option for this in their settings menu.
Not taking a shot in astrophotography is often a guessing game against movement: unsure whether your setup is steady enough, whether the wind will change or whether your breathing will cause slight nuances. A tripod eliminates much of this unpredictability, creating a stable base that helps ensure your shots are as crisp and focused as they can possibly be. Armed with your trusty tripod, you’re now ready to delve deeper into the intricate details of astrophotography settings, which we’ll explore next.
Capturing the Stars, Moon, and Milky Way
Now that we’ve discussed the importance of a sturdy tripod, the next step in astrophotography without a telescope is actually capturing the celestial bodies themselves. Sometimes, even without a telescope, the brilliant luminary ensemble of stars, the moon, or even the mesmerizing swath of the Milky Way can be within our grasp.
Stars are the trickiest because they’re so far away. Yet, it’s still possible to catch a twinkle or two. If you are eager to boast a night sky replete with stars in your digital canvas, you’ll need to follow a few key steps. For star photography, shoot during a new moon when the sky is darkest. Use a high ISO setting, typically over 1600. Pair this with a wide aperture – think f/2.8 or f/4. The idea is to let as much light in as possible in a short amount of exposure time. Then you’ll need to keep the exposure time under 30 seconds to avoid creating star trails due to Earth’s rotation.
The moon, standing out with its luminous glow and detailed surface, is an absolutely stunning addition to any astrophotography composition. However, capturing Moon’s majestic beauty isn’t as simple as point and click. The moon is actually a quite bright source of light so you’ll want to lower your ISO, around 100 to 200 should do. Not forgetting to adjust your aperture to around f/11.
Snagging a shot of the expansive Milky Way is an incredible experience. For this night sky giant, head out on a moonless night during the Milky way season which typically runs from April to September. Clarity counts in Milky Way photography, set your focus to infinity, and get ready to experiment with longer exposures, between 20 to 25 seconds, coupled with a high ISO and a wide aperture.
Remember, it’s all about balance. Finding the sweet spot between your ISO, aperture, and exposure time will yield the best results. Trial and error are crucial parts of the process. Keep tweaking those settings and you’ll start seeing improvement.
Conclusion
I’ve shown you that astrophotography without a telescope isn’t just possible, it’s a thrilling challenge. With the right settings and conditions, you can capture stunning images of stars, the moon, and even the Milky Way. Remember, it’s all about balance – ISO, aperture, and exposure time must work in harmony.
Don’t be afraid to experiment and learn from your mistakes. This is where the fun lies in astrophotography. So grab your camera, head outdoors on a clear night, and let the cosmos be your canvas. The sky’s not the limit, it’s your playground. Now, it’s your turn to capture the celestial spectacle and create your own stellar masterpiece. Happy shooting!
When is the best time to photograph stars?
The best time for star photography is during a new moon. This is because the dark sky allows stars to shine more brightly and be captured clearly.
What camera settings should I use to photograph stars?
You should use a high ISO setting along with a wide aperture to capture stars. This allows your camera to gather as much light as possible in the dark setting.
How can I photograph the moon?
To photograph the moon, you should lower the ISO and adjust the aperture accordingly. This ensures that the brightness of the moon doesn’t overexpose your image.
What tips are provided for Milky Way photography?
For Milky Way photography, you would want to head out on a moonless night during the Milky Way season. You should experiment with longer exposure times, high ISO, and a wide aperture for the best results.
What is the importance of balancing ISO, aperture, and exposure time?
Balancing ISO, aperture, and exposure time is essential in astrophotography as it helps prevent your pictures from being underexposed or overexposed. It’s through this trial and error process, which will ultimately lead to improved results.