- Best first path: DSLR + camera lens + star tracker, not a telescope.
- Priority buy: tracking mount first, camera body second, telescope last.
- Realistic starter budget: about $300-$800 using used camera gear and free software.
- Best first targets: M42, M31, M45, North America Nebula, Lagoon Nebula, and Rosette Nebula.
You can capture stunning deep-sky images - galaxies, nebulae, star clusters - with a used DSLR, a star tracker or equatorial mount, and free stacking software for a total investment of $300–$800. The single most important piece of gear is not the camera or the telescope: it is the tracking mount. A $300 star tracker paired with a $150 used DSLR and a kit lens will produce dramatically better results than a $1,000 camera on a fixed tripod.
This guide walks through everything you need: three specific budget builds with named gear and prices, how to connect a DSLR to a telescope, the camera settings that actually matter, the free software workflow from capture to final image, and the best first targets to shoot.
If you already own a DSLR or mirrorless camera, you are closer to deep-sky astrophotography than you think.
What Gear Do I Need for Budget DSLR Astrophotography?
The gear you need depends on which approach you take. Both produce real results; they differ in cost, complexity, and the type of targets you can reach.
Approach 1: DSLR + Camera Lens + Star Tracker
This is the simplest and cheapest way to start. You mount your DSLR with a standard camera lens onto a motorized star tracker that sits on a regular photo tripod. The tracker compensates for Earth's rotation, allowing exposures of 30 seconds to several minutes without star trails.
You need:
- A DSLR or mirrorless camera with manual mode and RAW shooting
- A fast lens (f/2.8 or faster is ideal; a 50mm f/1.8 "nifty fifty" or an 18–55mm kit lens at f/3.5 works)
- A star tracker (motorized device that rotates at sidereal rate)
- A sturdy photo tripod
- An intervalometer (remote shutter timer - $15–25)
- A laptop with free stacking software
What it captures: Wide-field views of the Milky Way, Andromeda Galaxy, Orion Nebula, large nebulae (North America Nebula, California Nebula), star clusters, and constellations. You won't resolve small galaxies or planetary nebulae at these focal lengths, but the images can be spectacular.
Approach 2: DSLR + Telescope + Equatorial Mount
This is the step up. You replace the camera lens with a telescope (using a T-ring adapter) and mount everything on a motorized equatorial mount. The telescope provides higher magnification and more light-gathering power than a camera lens, letting you image smaller and fainter targets.
You need:
- Everything from Approach 1, minus the camera lens and star tracker
- A telescope - ideally a short focal length refractor (300–600mm, f/5 to f/7) for wide-field deep-sky, or a Schmidt-Cassegrain for planetary and smaller deep-sky targets
- A motorized equatorial mount (GoTo preferred) with sufficient payload capacity
- A T-ring adapter specific to your camera brand
- A T-adapter or 2-inch visual back for your telescope
What it captures: Everything from Approach 1, plus smaller galaxies, planetary nebulae, globular clusters in detail, and (on SCTs) planetary detail. The trade-off is more weight, more setup time, and a steeper learning curve.
For telescope selection guidance, see our best telescopes for beginners and best refractor telescopes lists.
Three Budget Builds: $300, $600, and $1,200
These are specific, buyable builds at three price points. Prices are approximate 2026 US street prices (new unless noted).
Budget Build: ~$300 - "The Starter"
| Component | Recommendation | Price |
|---|---|---|
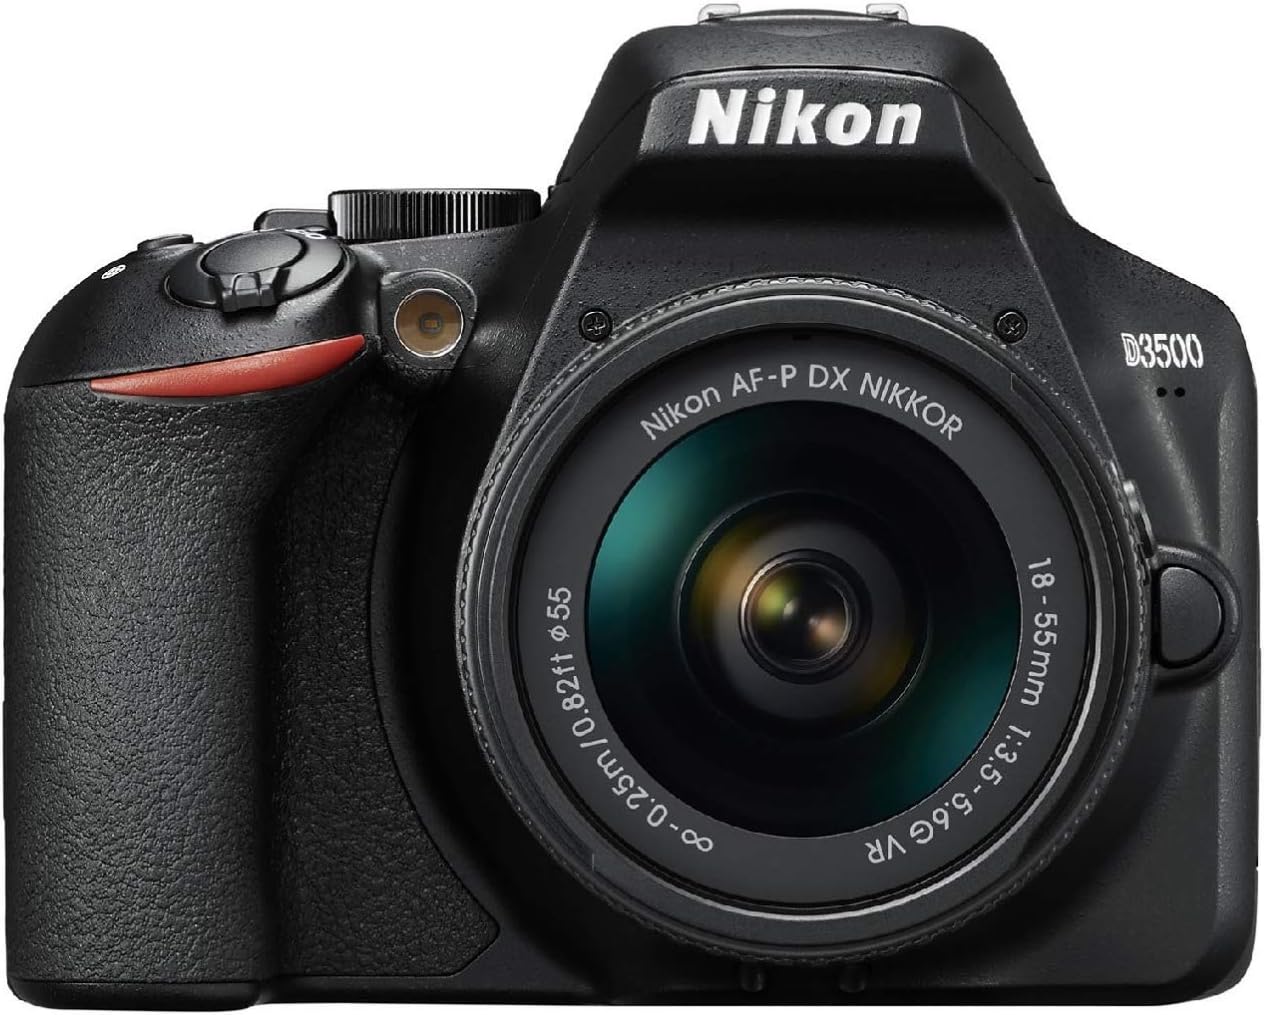
| Camera | Used Canon Rebel T3i / T5i or Nikon D3500 (crop sensor) | ~$100–150 |
| Lens | Canon 18–55mm f/3.5–5.6 kit lens (usually included) | $0–30 |
| Star Tracker | iOptron SkyGuider Pro (used) or Move Shoot Move (basic) | ~$100–150 |
| Tripod | Any sturdy photo tripod you own or buy used | $0–30 |
| Intervalometer | Generic wired remote | ~$15 |
| Software | DeepSkyStacker + Siril + GIMP (all free) | $0 |
| Total | ~$250–375 |
What you get: Tracked wide-field shots of the Milky Way, Andromeda Galaxy filling the frame at 55mm, the Orion Nebula with color detail, and large hydrogen-alpha nebulae. This build fits in a backpack.
Camera note: The Canon Rebel T3i (600D) is still one of the most popular astrophotography cameras in the community in 2026. It is cheap, well-documented, widely supported by astro software, and produces excellent results. Don't overlook older DSLRs - sensor technology improvements from 2011 to today are marginal compared to what good stacking and processing can do for any sensor. For more camera options, see our beginner DSLR for astrophotography comparison.
Mid-Range Build: ~$600 - "The Serious Starter"
| Component | Recommendation | Price |
|---|---|---|
| Camera | Used Canon Rebel T7i or Nikon D5600 | ~$200–250 |
| Lens | Rokinon/Samyang 135mm f/2 (manual focus) | ~$200 |
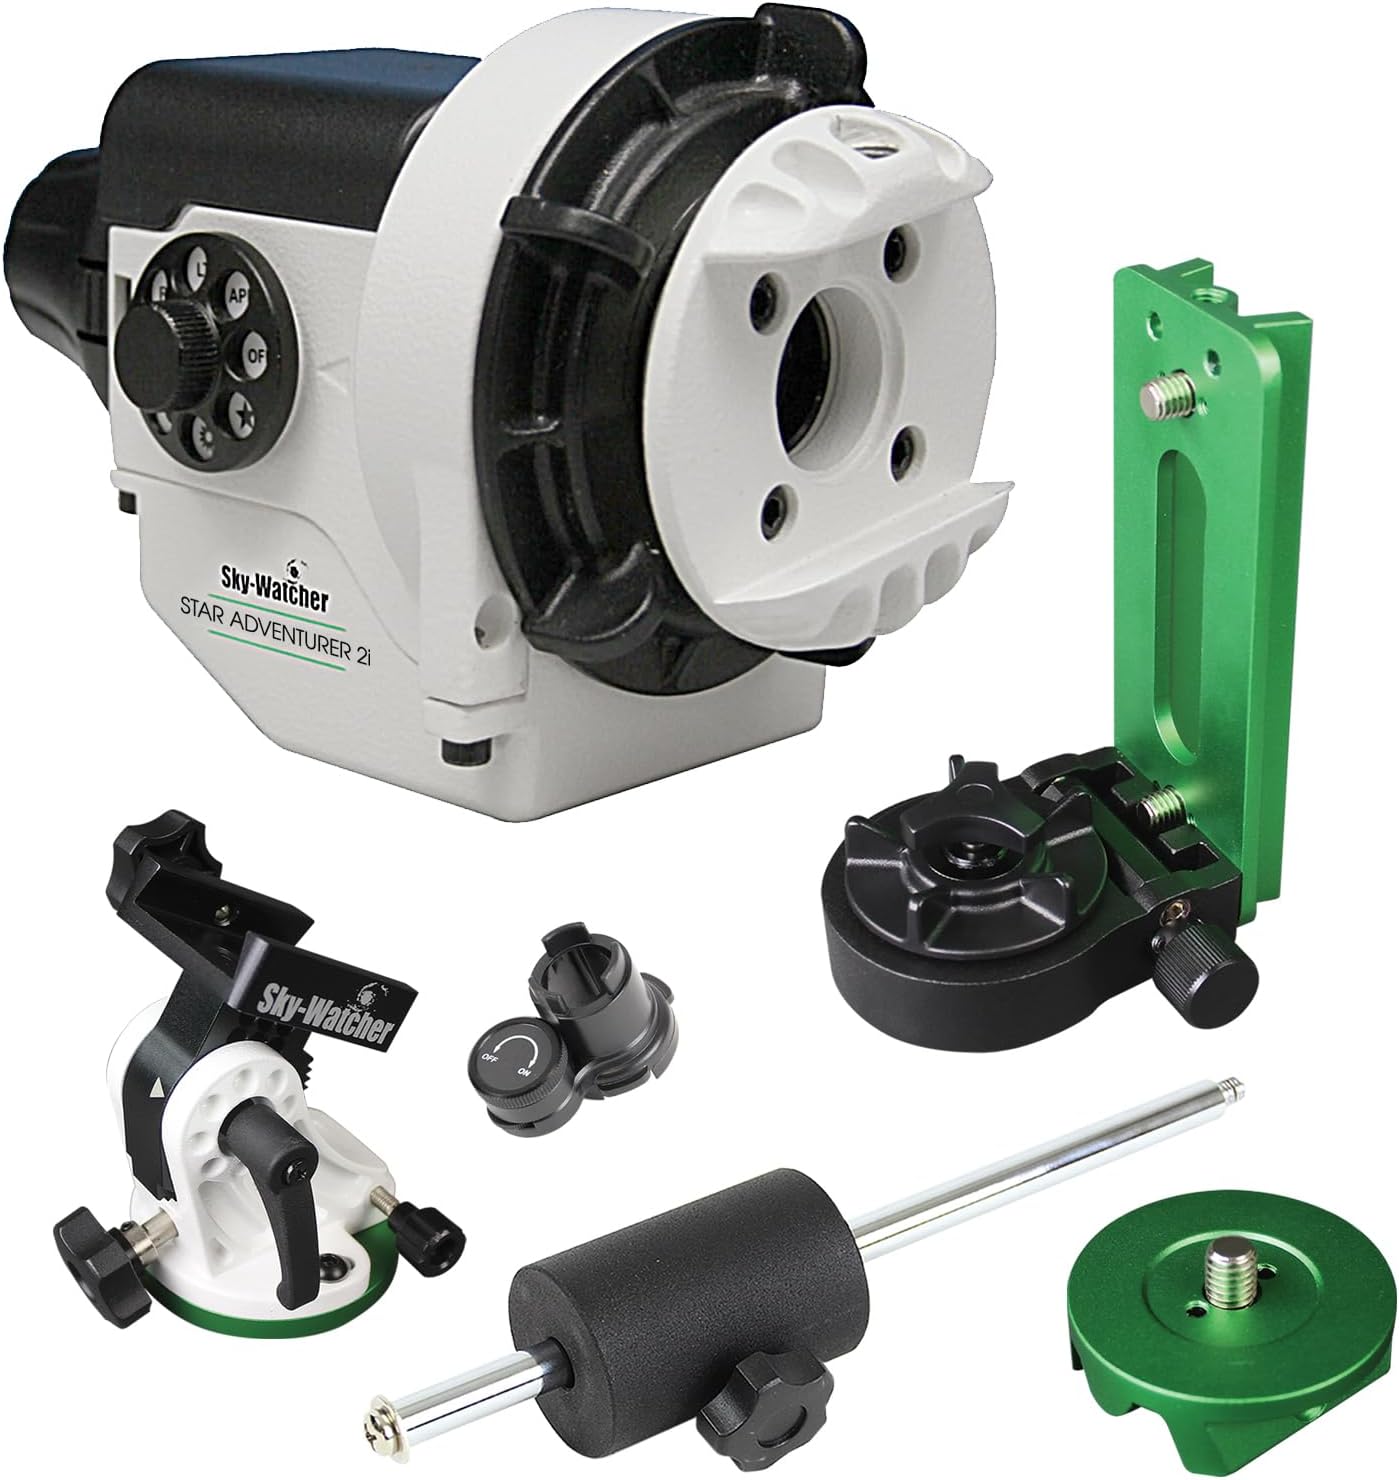
| Star Tracker | Sky-Watcher Star Adventurer 2i | ~$350–400 |
| Tripod | Sturdy photo tripod | ~$30–50 |
| Intervalometer | Generic wired remote | ~$15 |
| Software | Free stack (Siril, DSS, GIMP) | $0 |
| Total | ~$550–650 |
What you get: The Rokinon 135mm f/2 is legendary in the astrophotography community - fast, sharp, and perfectly matched to deep-sky work. Combined with the Star Adventurer's reliable tracking, this build captures detailed images of the Orion Nebula, Horsehead region, Rosette Nebula, Heart and Soul Nebulae, and dozens of Messier objects. The Star Adventurer has an 11 lb payload capacity and fits in a carry-on bag. For more on astrophotography mounts for beginners, see our dedicated guide.
Advanced Build: ~$1,200 - "First Telescope Rig"
| Component | Recommendation | Price |
|---|---|---|
| Camera | Used Canon Rebel T7i or Nikon Z50 | ~$250–350 |
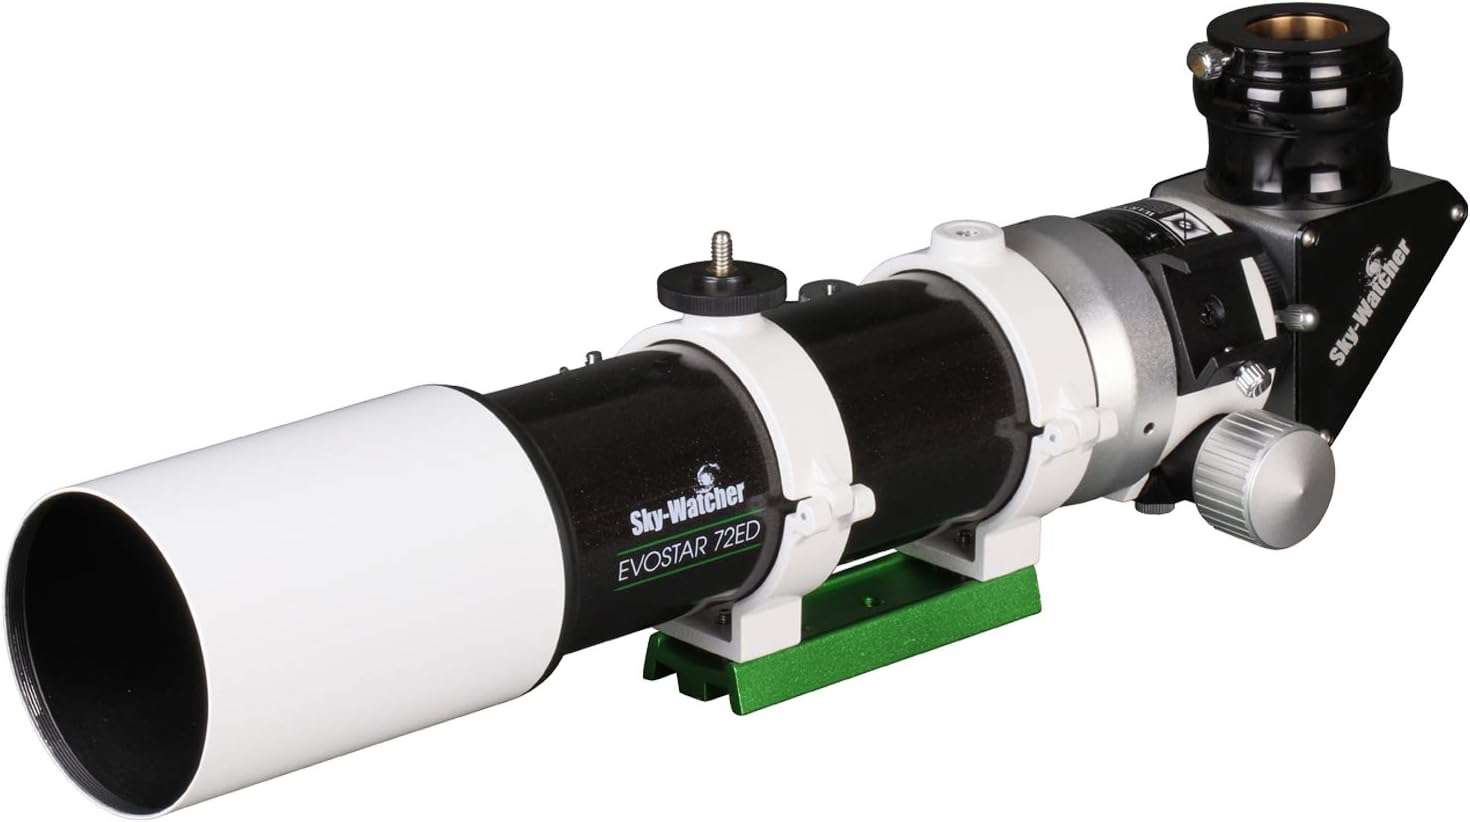
| Telescope (OTA) | Sky-Watcher EvoStar 72 APO or similar 60–70mm doublet | ~$300–350 |
| Mount | Sky-Watcher Star Adventurer GTi (GoTo, 11 lb capacity) | ~$450 |
| T-Ring + Adapter | Camera-brand T-ring + field flattener/T-adapter | ~$50–80 |
| Tripod | Sturdy photo tripod or half-pier | ~$30–50 |
| Intervalometer | Generic wired remote | ~$15 |
| Software | Free stack | $0 |
| Total | ~$1,100–1,300 |
What you get: A proper telescope-based deep-sky imaging system. The small APO refractor provides a flat, well-corrected field at ~360mm focal length - ideal for wide-field galaxies and large nebulae. The GTi mount adds GoTo functionality for automated target finding. This is the "serious hobby entry point" that AstroBackyard's Trevor Jones and other community voices consistently recommend.
For more on astrophotography costs, see our honest breakdown.
DSLR vs Mirrorless for Astrophotography in 2026
Both work equally well for astrophotography. The key differences:
| Factor | DSLR | Mirrorless |
|---|---|---|
| Used market price | Very cheap ($100–200 for excellent crop bodies) | More expensive used ($250–500) |
| Weight | Heavier (less strain on light star trackers is actually a myth - the lens is where the weight is) | Lighter body, same lenses |
| Battery life | Longer (optical viewfinder uses no power) | Shorter (EVF uses battery constantly; bring spares) |
| Software support | Excellent - BackyardEOS, NINA, APT all mature | Good - NINA supports most mirrorless; native apps maturing |
| Live View focusing | Requires mirror lockup and Live View mode | Always-on screen/EVF makes focusing easier |
| Sensor tech | Slightly older designs in budget range | Marginally better in same-generation comparisons |
| IR filter modification | Widely documented; cheap services available | Possible but less documented |
Practical recommendation: If you're buying used specifically for astrophotography on a budget, a Canon Rebel-series DSLR (T3i through T7i) gives you the most value. The used market is flooded with them, software support is universal, and astro-modification services are well-established. If you already own a mirrorless camera, use it - there is no reason to buy a DSLR instead. See our beginner DSLR for astrophotography guide for specific model comparisons.
How to Connect a DSLR to a Telescope
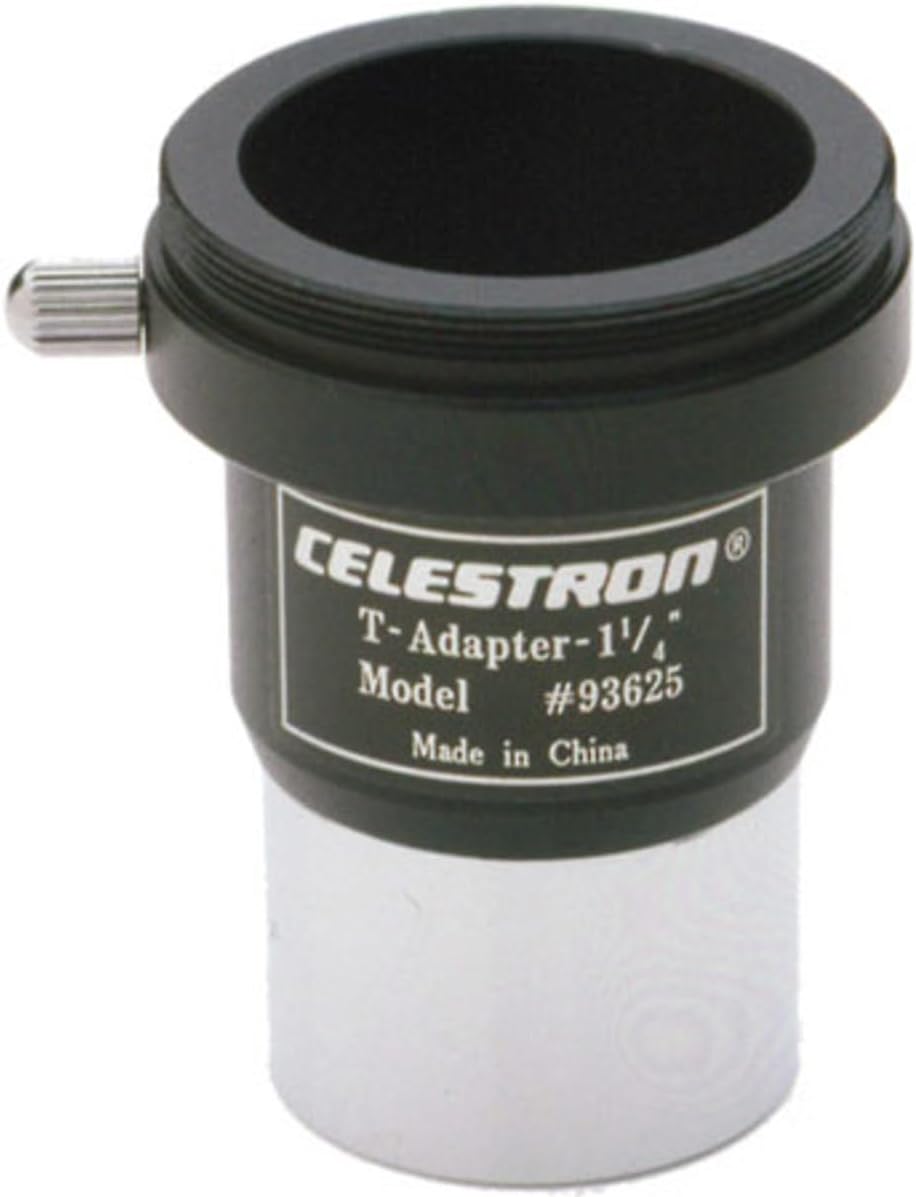
You need two pieces: a T-ring (specific to your camera brand) and a T-adapter (specific to your telescope's focuser diameter). The T-ring replaces your camera lens and the T-adapter connects to the telescope's focuser, letting the telescope act as a long telephoto lens.
Step by step:
- Remove your camera lens. Press the lens release button and twist off the lens.
- Attach the T-ring. The T-ring is camera-brand-specific (Canon EOS, Nikon F, Sony E-mount, etc.) and bayonet-mounts onto your camera body exactly like a lens.
- Thread the T-adapter onto the T-ring. The T-adapter is a metal tube with T-threads on one end (screwing into the T-ring) and a 1.25" or 2" barrel on the other end (sliding into your telescope's focuser).
- Insert into the focuser. Slide the barrel into your telescope's focuser and secure with the thumbscrew. The camera is now looking directly through the telescope optics.
Pro tips:
- Use an ultra-thin T-ring if available for your camera. Standard T-rings can be thick enough to prevent the focuser from reaching focus, especially on Schmidt-Cassegrain telescopes. Ultra-thin versions solve this.
- A field flattener is strongly recommended for refractor telescopes. Without one, stars at the edge of the frame will be elongated. Most small APO refractors have a matching flattener available.
- Focus using Live View at 5–10x magnification on a bright star. A Bahtinov mask placed over the telescope aperture creates diffraction spikes that make perfect focus unambiguous.
For more detail on the physical connection process, see our how to attach a camera to a telescope guide. For eyepiece-based visual observation (not camera-based), see our eyepiece size guide.
The Only DSLR Settings That Matter for Astrophotography
Most astrophotography settings guides list 25+ camera menu items. In practice, only 8 settings actually affect your images. Everything else is either obvious or irrelevant.
The 8 critical settings:
| Setting | Value | Why |
|---|---|---|
| Mode | Manual (M) | Full control over exposure, ISO, aperture |
| Image format | RAW | Preserves all sensor data; JPEG discards information you need for processing |
| ISO | 800–1600 (start at 800) | Balances light sensitivity and noise. ISO 1600 for shorter exposures; ISO 800 for longer ones. Higher ISOs on older sensors introduce excessive noise |
| Aperture | Wide open (lowest f-number your lens allows) | Maximizes light gathering. With a telescope, the focal ratio is fixed by the optics |
| Shutter speed | Bulb mode, controlled by intervalometer | Exposures of 30s–180s per sub-frame, depending on tracking accuracy |
| Long Exposure Noise Reduction | OFF | This takes a dark frame after every exposure, doubling your capture time. Take separate darks at the end of your session instead |
| High ISO Noise Reduction | OFF | Modifies RAW data destructively. Noise removal is handled better in post-processing |
| Mirror lockup / EFCS | ON (DSLR) / Electronic front curtain shutter (mirrorless) | Eliminates vibration from the mirror slap or mechanical shutter |
Exposure time guidance:
The right exposure length depends on your tracking accuracy, focal length, and sky conditions. Here are starting points:
| Setup | Suggested Sub-Exposure | Total Integration Target |
|---|---|---|
| DSLR + 50mm lens + star tracker | 60–120 seconds | 60–120 minutes (30–60 subs) |
| DSLR + 135mm lens + star tracker | 30–90 seconds | 60–120 minutes |
| DSLR + 300mm lens + EQ mount | 30–60 seconds (unguided) | 60–90 minutes |
| DSLR + 360mm refractor + EQ mount | 60–120 seconds (unguided); 180–300s (guided) | 2–4 hours |
| DSLR + 1500mm SCT + EQ mount | 15–30 seconds (unguided); 60–120s (guided) | 2–4 hours |
The rule: shorter focal lengths are more forgiving of tracking errors. This is why the 50mm lens + star tracker combination is such a good place to start - even imperfect polar alignment gives you clean 60-second exposures.
For an interactive tool, the OmniCalculator astrophotography exposure calculator helps dial in settings for your specific setup. For more on astrophotography without a star tracker, see our dedicated guide.
Want the complete walkthrough from first light to final image? Astrophotography Made Easy covers settings, gear, stacking, and processing for every camera type.
The Free Software Workflow: Capture → Stack → Process
You do not need to spend a dollar on software. The entire workflow from capture to final image is covered by free, community-standard tools.
1. Capture: Controlling the Camera
| Software | Platform | Notes |
|---|---|---|
| NINA (Nighttime Imaging 'N' Astronomy) | Windows | The current community standard for 2026. Handles capture sequencing, plate solving, autofocusing, dithering, and camera/mount control. Free and open-source. Works with DSLRs and dedicated astro cameras. |
| BackyardEOS / BackyardNikon | Windows | Mature, DSLR-specific capture software. Paid ($30) after 30-day trial. Good for Canon and Nikon users who want a simpler interface than NINA. |
| APT (Astro Photography Tool) | Windows | Free alternative with DSLR support and planning tools. |
| Intervalometer (hardware) | N/A | The simplest option: a $15 wired remote that triggers the shutter at set intervals. No laptop needed in the field. |
2. Stack: Combining Sub-Frames
| Software | Platform | Notes |
|---|---|---|
| DeepSkyStacker (DSS) | Windows | Free. The most widely-used stacking tool for beginners. Handles lights, darks, flats, and bias frames. Straightforward interface. |
| Siril | Windows, Mac, Linux | Free, open-source. More powerful than DSS with built-in processing tools. Steeper learning curve but increasingly the recommended option in 2026. |
| Sequator | Windows | Free. Excellent for tracked and untracked landscape astrophotography. Simpler than DSS for basic stacking. |
3. Process: Revealing Detail
| Software | Platform | Notes |
|---|---|---|
| Siril | All | Handles stretching, color calibration, background extraction, and noise reduction. Can do the full pipeline from stacking through final image. |
| GIMP | All | Free Photoshop alternative. Good for final curves, levels, and color adjustments after stacking in DSS. |
| StarTools | All | $50 (one-time). Designed specifically for astrophotography processing. Many users consider it worth the modest cost. |
| PixInsight | All | $250. The professional standard. Not "budget" but worth mentioning as the eventual upgrade path. |
Recommended beginner workflow: Capture with an intervalometer (no laptop) or NINA → Stack in DeepSkyStacker → Process in Siril or GIMP.
For an in-depth treatment of the processing side, see our how to edit astrophotography guide. For software comparisons, see our astrophotography software roundup.
Calibration Frames: Darks, Flats, and Bias
Calibration frames are what separate clean images from noisy, uneven ones. They are not optional if you want good results. Here is what each type does:
Dark frames - taken with the lens cap on, at the same exposure length, ISO, and temperature as your light frames. They capture the sensor's thermal noise pattern, which the stacking software subtracts from your images. Take 20–30 darks at the end of your session (or build a dark library at various temperatures you can reuse).
Flat frames - taken against an evenly-lit white surface (a tablet screen or twilight sky works) at the same focus position as your light frames. They map dust spots, vignetting, and optical unevenness so the stacker can correct them. Take 20–30 flats.
Bias frames - the shortest possible exposure with the lens cap on. They capture the sensor's electronic readout noise. Take 30–50 bias frames. Some workflows use dark-flat frames instead.
The payoff: A properly calibrated stack - 60 light frames with matching darks, flats, and bias - will be dramatically cleaner than the same 60 lights stacked without calibration. DeepSkyStacker and Siril handle all calibration automatically once you load the frames.
The 8 Best First Targets for Budget DSLR Astrophotography
These targets are large, bright, and forgiving of imperfect tracking and processing. They are ranked by ease of capture with a 50mm or 135mm lens on a star tracker.
| # | Target | Type | Best Season | Difficulty | Notes |
|---|---|---|---|---|---|
| 1 | Orion Nebula (M42) | Emission nebula | Winter | Easy | The #1 beginner target. Bright, colorful, and visible from almost anywhere. Forgiving of short exposures. |
| 2 | Andromeda Galaxy (M31) | Spiral galaxy | Autumn | Easy | Huge - fills the frame at 135mm. Shows dust lanes with 30+ minutes of integration. See our Andromeda viewing guide. |
| 3 | Pleiades (M45) | Open cluster + reflection nebula | Autumn/Winter | Easy | The blue reflection nebulosity emerges with just 30–45 minutes of data. |
| 4 | North America Nebula (NGC 7000) | Emission nebula | Summer | Easy | Very large - ideal for wide-field at 50–85mm. Benefits from a light pollution filter. |
| 5 | Lagoon Nebula (M8) | Emission nebula | Summer | Easy–Medium | Bright and colorful. Low in the sky from northern latitudes; shoot it when it's highest. |
| 6 | Rho Ophiuchi cloud complex | Dark/emission nebula | Summer | Medium | Stunning multi-color region near Antares. Requires dark skies and 2+ hours of data at 135mm+. |
| 7 | Heart & Soul Nebulae (IC 1805/1848) | Emission nebulae | Autumn/Winter | Medium | A beautiful pair. Requires a filter (OIII or dual-narrowband) from light-polluted sites. |
| 8 | Rosette Nebula (NGC 2237) | Emission nebula | Winter | Medium | Large ring nebula. Benefits from 135mm+ focal length and a narrowband or UHC filter. |
For a broader list, see our beginner astrophotography targets guide. And for finding dark skies near you, our best stargazing locations in the US and best stargazing spots in the world lists are good starting points.
🌌 Get Weekly Stargazing Tips
Join 960+ astronomers getting weekly gear reviews, observing tips, and exclusive deals.
Common Mistakes to Avoid
1. Spending too much on the camera and too little on the mount. A $150 used DSLR on a good star tracker beats a $1,000 camera on a fixed tripod every time. The mount is the engine; the camera is just the sensor.
2. Enabling in-camera Long Exposure Noise Reduction. This takes a matching "dark frame" after every single exposure, doubling your imaging time. It is far more efficient to shoot separate darks at the end of your session and let the stacking software handle noise removal.
3. Not taking calibration frames. Skipping darks, flats, and bias frames means your stacked image will have visible thermal noise, dust spots, and vignetting that processing cannot fully remove. Twenty minutes of calibration saves hours of frustration.
4. Focusing poorly. Focus is the single variable that determines whether your images are sharp or blurry. Use Live View at maximum zoom on a bright star. A Bahtinov mask makes it foolproof. Refocus every 30–60 minutes as temperature changes shift the focal point.
5. Starting with too much focal length. A 1500mm Schmidt-Cassegrain amplifies every tracking error. Start at 50mm, then 135mm, then telescope focal lengths once your mount and technique are dialed in.
6. Processing too aggressively. Overstretching a thin data set creates noisy, artificial-looking images. More integration time (more total sub-frames) is the solution, not more aggressive curves in Photoshop.
7. Imaging from a warm setup. If your telescope or camera has been inside a warm house, take it outside 30+ minutes before imaging to let the optics and sensor reach thermal equilibrium. Warm optics produce soft images, and a warm sensor generates more noise. SCT telescopes are particularly susceptible to cooldown issues.
Frequently Asked Questions
What is the cheapest way to start DSLR astrophotography?
A used Canon Rebel T3i (~$100–150), the kit lens it came with, and a basic star tracker or barn-door tracker (~$100–150). Total outlay under $300. Pair that with a free intervalometer app (or a $15 wired remote) and free stacking software (DeepSkyStacker), and you can capture the Orion Nebula, Andromeda Galaxy, and Milky Way on your first clear night.
Which is more important, the camera or the mount?
The mount. It is not close. A $300 star tracker with a cheap used DSLR will produce better deep-sky images than a $2,000 camera body on a fixed tripod. The mount is what enables long exposures without star trails, and long exposure time is what captures the faint light of deep-sky objects. Prioritize mount quality above all other gear. See our beginner astrophotography mount guide.
Can I use a mirrorless camera instead of a DSLR?
Yes. Mirrorless cameras work identically for astrophotography - you just need the correct brand-specific T-ring adapter. Mirrorless bodies are lighter (good for star trackers) and offer always-on Live View for easier focusing. The trade-off is shorter battery life and slightly higher used market prices. See our beginner DSLR for astrophotography comparison, which covers mirrorless options too.
What is a T-ring adapter and do I need one?
A T-ring connects your camera body to a telescope in place of a camera lens. You need a camera-brand-specific T-ring (Canon EOS, Nikon F, Sony E, etc.) and a T-adapter that fits your telescope's focuser. Together, they let the telescope act as a telephoto lens. If you are only using a camera lens on a star tracker, you do not need a T-ring. See our full camera-to-telescope connection guide.
What DSLR settings should I use for astrophotography?
Manual mode, RAW format, ISO 800–1600, widest aperture, Bulb shutter mode triggered by an intervalometer. Turn off Long Exposure Noise Reduction and High ISO Noise Reduction. Enable mirror lockup on a DSLR. Start with 60-second sub-exposures on a star tracker and adjust based on results.
Do I need a telescope for astrophotography?
No - not to start. A DSLR with a standard camera lens (50mm f/1.8 or 135mm f/2) on a star tracker captures beautiful wide-field deep-sky images. A telescope becomes valuable when you want to image smaller or fainter targets at higher magnification. Many experienced astrophotographers use both camera lenses and telescopes depending on the target. See astrophotography without a telescope.
What is image stacking and why is it necessary?
Stacking combines many short exposures into a single image with dramatically better signal-to-noise ratio. A single 60-second exposure looks noisy and faint; stacking 60 of them (60 minutes total integration) reveals smooth color, detail, and structure. Free software like DeepSkyStacker aligns and combines your sub-frames automatically.
Should I buy a star tracker or an equatorial mount?
Start with a star tracker if your budget is under ~$500 for the mount. Star trackers (Sky-Watcher Star Adventurer, iOptron SkyGuider Pro) are lightweight, portable, and pair well with camera lenses and small telescopes. An equatorial mount (Sky-Watcher HEQ5, EQ6-R) is heavier and more expensive but supports bigger telescopes, autoguiding, and longer exposures. The star tracker is the better learning platform.
What free software should I use?
Capture: NINA (Windows, free, the 2026 community standard) or an intervalometer (hardware). Stack: DeepSkyStacker or Siril (both free). Process: Siril or GIMP (both free). This pipeline handles everything from shutter control to final image with zero software cost. For more options, see our astrophotography software roundup.
Can I do astrophotography from a light-polluted city?
Yes, with some limitations. Light pollution drowns out faint broadband signal but has less effect on narrowband emission (hydrogen-alpha, OIII). A light pollution filter on your camera lens or telescope cuts sodium and LED glow, recovering contrast. Bright targets like M42 and M31 are manageable from suburban skies. For more, see can you use a telescope in the city.
What is an astro-modified DSLR?
An astro-modified (or "Ha-modified") DSLR has its internal infrared-blocking filter removed or replaced, allowing the sensor to capture hydrogen-alpha light at 656nm. This dramatically increases sensitivity to red emission nebulae. Modification costs $100–200 through services like Astro Mod or Lifepixel, or you can find pre-modified cameras on the used market. The trade-off is that the camera produces strong red color casts for normal daytime photography.
How much total imaging time do I need for a good result?
Aim for 1–2 hours of total integration time on your first targets. This means 60–120 individual sub-exposures of 60 seconds each. More data is always better - experienced imagers routinely shoot 4–10 hours on a single target across multiple nights. Quality improves roughly proportionally to the square root of total time: doubling your time gives about 40% better signal-to-noise.
Want the complete walkthrough from first light to final image? Our Astrophotography Made Easy course covers settings, gear, stacking, and processing for every camera type - $27 with a 30-day money-back guarantee.
Join 960+ astronomers getting weekly gear reviews, observing tips, and exclusive deals. Subscribe free.
Related Articles
- Beginner DSLR for Astrophotography: Canon, Nikon, or Sony?
- Beginner Astrophotography Equipment
- Beginner Astrophotography Targets
- Beginner Astrophotography Mount Guide
- Is Astrophotography Expensive?
- Astrophotography Without a Telescope
- Astrophotography Without a Star Tracker
- How to Do Astrophotography (Start-to-Finish Guide)
- How to Edit Astrophotography
- Astrophotography Software Comparison