- Any camera can start you on astrophotography - even a smartphone; a tracking mount multiplies your results.
- Image stacking combines many short exposures to reduce noise and reveal faint detail.
- Dark skies matter - even moving 30 minutes from a city can dramatically improve your images.
- Free software like DeepSkyStacker and Siril handles all the processing steps.
🌌 Want More Stargazing Tips?
Join 900+ astronomers. Weekly sky guides, no spam.
Astrophotography transforms the night sky from a casual hobby into a creative pursuit. From wide-field Milky Way shots to detailed close-ups of distant galaxies, this guide covers the equipment, techniques, and software you need to capture stunning images of the cosmos.
Essential equipment for astrophotography
Venturing into the fascinating world of astrophotography might seem intimidating at first with all the specialist equipment involved. But take heart; you don’t have to break the bank to get started. And remember, learning to use your equipment effectively is just as important as the equipment itself.
Camera: The heart of your setup is the camera. Different cameras serve different purposes in astrophotography. A DSLR or mirrorless camera with full manual controls and a removable lens is a good start. They offer beyond-adequate resolution, low light performance, and flexibility in lens choices.
Lens: You’ll want a lens with high light gathering capabilities. Typically, a fast wide-angle lens rounds up well for astrophotography. It allows you to capture a large expanse of the sky in one shot while letting in a lot of light.
Tripod: Stability is key in astrophotography. Even slight movements can lead to blurry stars and streaky trails. You need a rock-solid tripod that will hold your camera steady as you shoot long exposures.
| Item | Description |
|---|---|
| Camera | DSLR or Mirrorless with manual controls |
| Lens | Fast wide-angle lens |
| Tripod | Solid and sturdy for stability |
Beyond this basic astrophotography setup, there are various other tools you might need, depending on your interests and budget. These include star trackers for photos of deep sky objects, light pollution filters to obtain clearer shots, and intervalometers for creating star trails or timelapse sequences.
Venturing out into the dark for astrophotography can seem like a daunting exercise. But with the right tools and a bit of practice, it’s a boundless journey that reveals the universe’s stunning scenery in ways you can’t imagine. Take it step by step, and there’s nothing in the cosmos you can’t capture.
Understanding Exposure in Astrophotography
Becoming proficient in astrophotography requires a deep understanding of exposure. Exposure is the amount of light reaching your camera sensor. It’s highly dependent on three critical factors: aperture, ISO, and shutter speed. Let’s put each under the microscope.
Aperture is basically the opening of your lens that lets light in. It’s denoted by an “f-number”. Low f-numbers represent big openings, meaning more light gets in. So, for night sky photography, I recommend using a lens with a low f-number to capture as much light as possible.
The ISO setting determines your camera’s sensitivity to light. It’s a double-edged sword, though. On one hand, a higher ISO will brighten your shots, capturing faint stars. But beware; increasing ISO also amplifies digital noise, potentially degrading your photos. Thus, it’s vital to strike a balance.
Shutter speed is the length of time your camera’s sensor is exposed to light. In astrophotography, you’d generally use a longer shutter speed. Yet, there’s a catch. If it’s too long, stars may appear as streaks due to the Earth’s rotation– a phenomenon known as ‘star trailing’.
So, how can we apply these concepts when shooting the vast cosmos? There’s a handy little formula called the “500 Rule”.
The 500 Rule
The 500 Rule is a go-to standard in the field of astrophotography. It helps you calculate the maximum exposure time before star trailing becomes noticeable. Here’s how it works: Divide 500 by the focal length of your lens to get the shutter speed.
Essentially, with an 18mm lens, you can expose for approximately 27.7 seconds before stars start to trail.
Preparing yourself for this stargazing quest is all about harnessing light effectively. Knowing your camera, understanding exposure, and choosing the right equipment are all keys to snapping the perfect celestial shot.
🔭 Want our top telescope picks for 2026?
Join 960+ astronomers getting weekly gear reviews, deals, and stargazing tips. Free.
Choosing the Right Location for Astrophotography
Once you’ve got your equipment down and you’re familiar with your camera settings, it’s time to talk about scouting out the perfect astrophotography location. The place you choose will have a hefty influence on the quality of your celestial shots.
Light pollution is the greatest enemy in astrophotography. Cities and towns with their glaring lights can drown out the stars in the night sky. That’s why I’d recommend getting away from urban areas. Seek out remote regions, national parks or nature reserves. Look for places marked as dark sky areas or dark sky reserves. These are designated spots worldwide known to offer the best stargazing conditions.
Next, let’s consider the horizon and your background. A flat, unobstructed horizon can let you capture more of the sky. However, if there are interesting landscape elements like mountains, rocks or trees, they can add depth and interest to your astro-photos.
Another critical factor to bear in mind is weather. Clear skies are an absolute necessity for successful astro-shooting. Use weather apps or websites, check local meteorological reports and make sure to plan around phases of the moon.
Remember that patience and preparation pave the path to stunning astrophotography. It might take a few tries and some trial & error but stick with it.
Below you can see a markdown table that shows some of the best locations worldwide for astrophotography:
| Location | Country | Known for |
|---|---|---|
| Atacama Desert | Chile | Unparalleled clear sky visibility |
| Mauna Kea | Hawaii | Dark sky reserve, high altitude |
| NamibRand Nature Reserve | Namibia | International Dark Sky Reserve |
| Aoraki Mackenzie | New Zealand | Southern hemisphere’s skies |
| Jasper National Park | Canada | Remote, minimal light pollution |
Tips for Capturing Night Sky Landscapes
First and foremost, use a sturdy tripod. This isn’t just a mere suggestion, it’s crucial. Astrophotography requires long exposure times, which means the camera needs to be stable and still. Any minor shake or movement can lead to blurry images. Your hands can’t hold the camera still enough for this kind of photography, trust me.
Next, make use of a wide-angle lens. These lenses allow you to capture a large field of view, making them perfect for night sky landscapes. A lens with a focal length of 14mm to 20mm is usually preferred for general night sky photography.
Framing is also vital in astrophotography. Essentially, frame your shots with an interesting foreground. A barren field of stars can end up looking quite monotonous. So, try to include some earthly elements, like a tree, a mountain range, or an old building, to add some depth and interest to your shots.
Also, do not forget about the white balance. Although you’re shooting in darkness, it doesn’t mean your photos should be overly cold or too warm. Find a good balance to accurately represent the night sky’s colors.
Shoot in RAW format as much as possible. Unlike JPEG files, RAW files retain a lot more data, which allows for better post-processing capabilities.
Finally, patience truly is a virtue in astrophotography. It’s not something where instant success is guaranteed. It’s a magnificent dance between you, the infinite cosmos, and your camera.
Remember this… your first venture into astrophotography might not result in Nat Geo-worthy photos. But that’s okay. It’s a learning process, and each click of the shutter will help you improve. Don’t get disheartened. Keep experimenting, keep shooting, and soon you’ll be capturing night sky landscapes like a pro.
Techniques for Photographing Deep Sky Objects
Diving deeper into the expansive celestial cradle, we reach another fascinating aspect of astrophotography, capturing deep sky objects. These gems, from galaxies and nebulae to star clusters, wield an otherworldly beauty that is hard to resist. Capturing them, however, requires precision and knowledge.
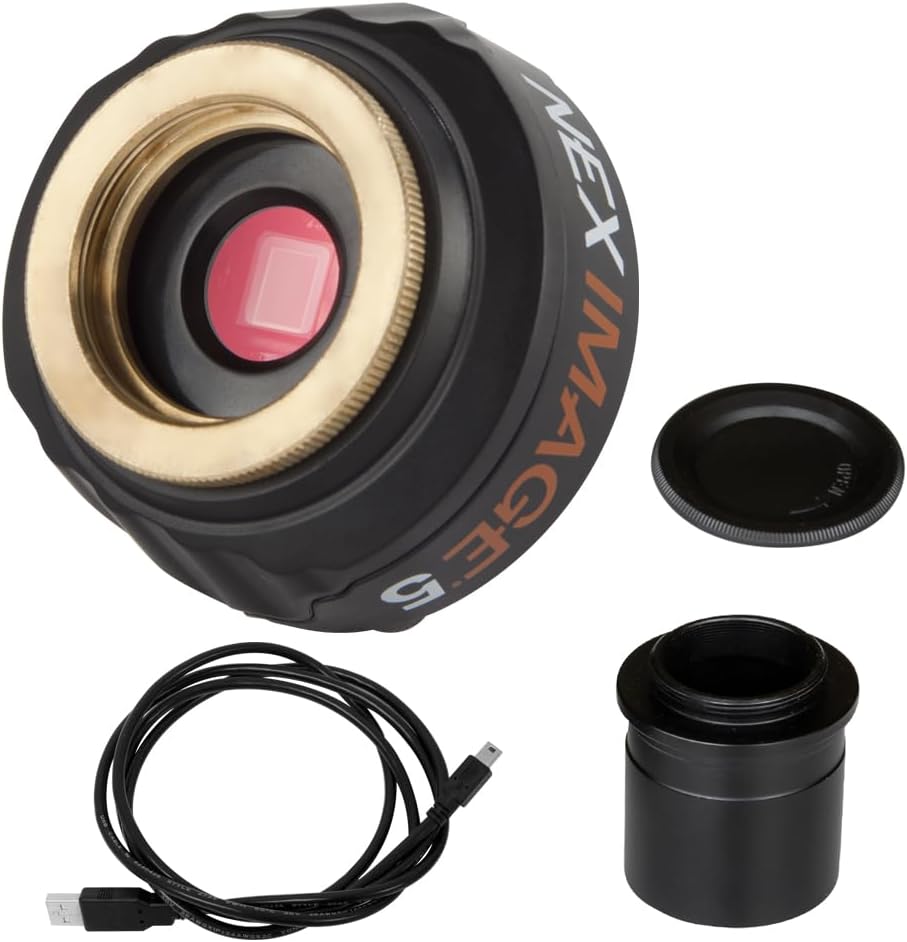
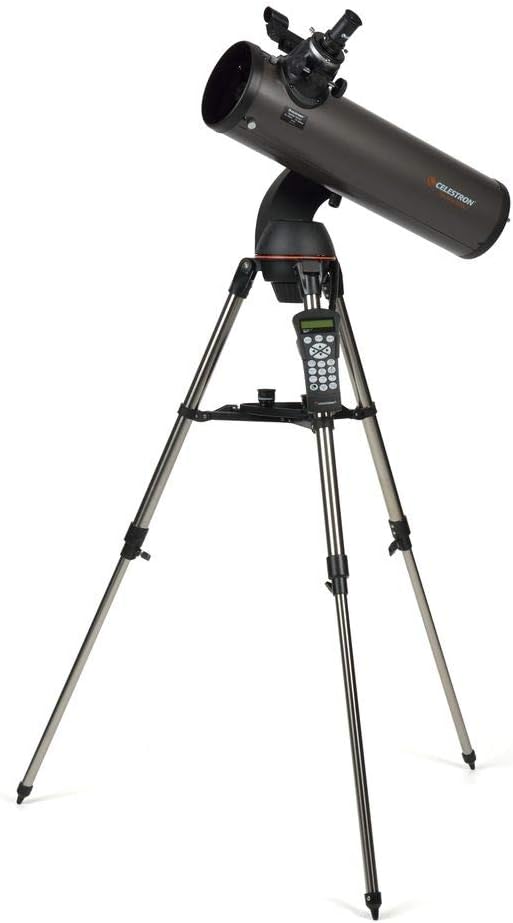
Firstly, equipment matters. The richness of your images in astrophotography depends largely on the tools you use. For deep sky objects, a good quality telescope with high magnifying power is essential. Combining that with a DSLR or a dedicated astronomical camera can enhance your imaging capability.
When choosing your camera, pay attention to its sensitivity at high ISO settings as well as its noise levels. A higher sensitivity allows for better light-gathering capability, crucial for deep sky astrophotography. I’d also suggest considering cameras equipped with long-exposure noise reduction technology.
It’s not just about the equipment though, but also about the techniques. Stacking is a crucial technique in deep sky astrophotography. This involves taking multiple exposures of the same area and stacking them together using specialized software. This process reduces noise, produces clearer images, and reveals objects that might not be visible in a single exposure.
Use bulb mode for exposure. This mode allows you to open the shutter for as long as you want, perfect for capturing faint deep sky objects. Start with an exposure of around 30 seconds and adjust based on the results.
The settings also make a difference. Set your aperture to be wide open to let as much light as possible and keep ISO at a reasonable level to reduce noise.
Post-Processing Tips to Enhance Your Astrophotography Images
After going through the nitty-gritty of capturing breathtaking frames of the night sky, the next step is to unlock the full potential of your shots via post-processing. This phase is just as important as the photo-taking stage, and it’s often where the magic happens.
Adobe’s Lightroom and Photoshop are widely used for post-processing astrophotography images due to their immense capabilities. From my experience, Lightroom is perfect for basic edits and color correction, while Photoshop shines when it comes to layer stacking or complex adjustments.
In Lightroom, I usually start by adjusting the white balance. This crucial first step will affect the overall color tone of the image. Next, I’ll use the tone curve tool to increase the contrast. Be careful not to overdo it as it can result in loss of detail. Using the noise reduction feature wisely can help maintain the image quality while removing unwanted noise.
Switching to Photoshop, I’ll import my Lightroom-edited photos. One feature that I often use is the “Levels” tool. This helps me reveal hidden details in the image. Stacking multiple images using specialized software like DeepSkyStacker also works wonders to reduce noise and improve the final image quality.
Here’s a summary of the tools for effective post-processing:
- Lightroom: Used for basic edits and color correction
- Photoshop: Excellent for layer stacking and complex adjustments
- DeepSkyStacker: Dedicated software for stacking multiple images
By implementing these post-processing tips, you can bring out the depth, color, and clarity in your astrophotography images. However, remember that it’s not about achieving that ‘perfect’ look in post-processing. The aim is to enhance the image in a way that still maintains its true essence and authenticity.
So, we’ve journeyed together through the captivating world of astrophotography. We’ve discovered how Adobe’s Lightroom and Photoshop can be our allies in this quest, helping us refine our images and bring out their full potential. We’ve also learned how tools like the tone curve and ‘Levels’ can enhance contrast and reveal hidden details. We’ve seen how stacking images with DeepSkyStacker can reduce noise and improve quality.
But remember, while these tools are important, it’s essential to maintain the true essence of our images. Let’s keep exploring the night sky, capturing its beauty, and sharing it with the world. Here’s to clear skies and beautiful cosmos ahead!