This site contains affiliate links to products. I may receive a commission for purchases made through these links.
Ever gazed up at the night sky and wished you could capture its awe-inspiring beauty? That’s where astrophotography comes in. It’s a specialized type of photography that’s all about snapping shots of celestial events and bodies. But to get those stunning images, you’ll need to know the right camera settings.
Understanding the best settings for astrophotography can be a bit of a challenge. It’s not as simple as point and shoot. You’ll need to adjust your camera’s ISO, aperture, and shutter speed to get that perfect shot. But don’t worry, I’m here to guide you through it.
Importance of Camera Settings in Astrophotography
Astrophotography demands precision and patience. A slight misstep and you might miss that perfect shot of the cosmos. That’s why understanding your camera’s settings is paramount. I’d like to delve deeper into why these settings are so vital.
First off, camera settings influence light input. Look, the main goal of astrophotography is to capture as many celestial bodies as you can in detail. Now, consider this – space is dark. The galaxies, stars, or nebulae we’re trying to photograph aren’t exactly well-lit subjects. Adjusting your camera settings – specifically the shutter speed, aperture, and ISO – helps manipulate the light input.
Secondly, achieving sharpness and clarity is possible by tweaking the right camera settings. The distance between us and the celestial bodies we’re photographing is incomprehensibly vast. Even the slightest misfocus can result in blurry stars or hazy galaxies. Adjusting the depth of field and focus zone through the right camera settings can significantly improve crispness and detail in your shots. Also, avoiding motion blur caused by Earth’s rotation is another challenge which can be overcome by correct camera settings.
Lastly, it’s about creativity and perspective. There’s an artistic element in astrophotography. Two photos of the same piece of sky can be entirely different based on the photographer’s interpretation and camera settings.
The right camera settings give you control over your images. You get to decide how much of the sky to expose, how sharp the stars appear, or how much noise you want to avoid or include.
The takeaway here? Understanding and mastering your camera settings isn’t just about getting that perfect shot. It’s about pushing your photography to its limits, discovering unique perspectives, and ultimately, telling your own cosmic story. With that in mind, let’s now dig deeper into figuring out the optimum camera settings for astrophotography.
Understanding ISO for Astrophotography
We can’t talk about camera settings for astrophotography without diving into the details of ISO. ISO is essentially your camera’s sensitivity to light. Higher ISO values increase the sensor’s sensitivity, enabling it to absorb more light.
This might seem like a godsend for astrophotography, as we’re often shooting in extremely low light conditions. But it’s not as simple as cranking up your ISO to the maximum. High ISO values bring along its infamous companion – noise. Noise can reduce image sharpness and detail, leading to grainy compositions.
So does this mean we should stick to low ISO values? Not exactly. A balance is required here, and it’s often a tricky one to find. An ISO that’s too low might not catch enough of the feint celestial bodies, while one that’s too high could lead to noise-led degradation of image quality.
I like to think of ISO as a measure of how much ‘boost’ you’re giving your sensor. There’s no one-size-fits-all ISO for astrophotography, as it significantly depends on:
- Your camera: Different cameras handle noise at high ISO differently. Some high-end cameras still produce relatively clean images, even at relatively high ISOs.
- Light conditions: If there’s significant light pollution or moonlight, a lower ISO may suffice.
- Your lens and aperture: A faster lens (one with a larger aperture) will allow more light in, potentially letting you decrease your ISO.
Exploring these factors and understanding the impact of ISO is part of the journey in astrophotography. Embrace the process of experimentation – it’s through this that we end up with truly beautiful celestial captures. Each photograph is a lesson in itself, and through them, we deepen our understanding and refine our astrophotography technique. So, next time you are under the starry sky longing to seize the cosmic beauty, remember that your ISO setting is your ally—a tactical tool to master for stellar results.
Adjusting Aperture for Astrophotography
The journey of mastering the craft of astrophotography continues, and the next setting we need to discuss in depth is aperture. The aperture of a lens, quite literally, is the opening through which light travels into the camera body. It’s one of the key settings that can significantly impact the quality and detail of your night sky shots.
If you’re wondering, aperture is measured in f-stops. A lower f-stop number means a larger aperture, while a higher number depicts a smaller one. Contrarily to the common practice in daytime photography, astrophotography usually requires a larger aperture. Why? Because the larger the aperture, the more light your lens can gather, which is crucial when photographing distant stars in low light conditions.
But, as it is the case with ISO, there is a delicate balancing act to perform when adjusting aperture for astrophotography. It’s essential to note that a larger aperture can sometimes lead to distortion at the edges of your image. This optical phenomenon is known as coma.
To ensure striking results:
- Start with an aperture setting of f/2.8 or f/4.
- Take a series of test shots.
- Gradually increase the f-stop while observing the impact on the detail and sharpness in your photograph.
This is yet another reminder that experimentation and understanding the unique characteristics and limitations of your equipment are the keys to successful astrophotography. I’ve found that being flexible with the settings and patient with the process can lead to remarkable results. The beauty of the night sky is within grasp, with the right balance of ISO and aperture settings.
Mastering Shutter Speed for Astrophotography
Moving from aperture, let’s delve into the concept of shutter speed. Its role in astrophotography is just as critical, if not more so.
In simple terms, shutter speed, also known as exposure time, is the length of time your camera’s sensor is exposed to light. In astrophotography, we are often dealing with faint light, making longer exposures a necessity. However, there’s a distinct balance you need to strike. Too short an exposure and your stars look nonexistent; too long, and they start to streak due to the Earth’s rotation.
One tool that can aid you in this tight balancing act is the “500 Rule”. A practical rule of thumb, it helps to estimate the maximum exposure time before stars start to trail. To apply this rule, divide 500 by the focal length of your lens. The result gives you the longest exposure in seconds before star trails become evident. Remember, this rule is merely a starting point and you should adjust based on your specific circumstances.
| Focal Length | Maximum Exposure Time |
|---|---|
| 50mm | 10 Seconds |
| 35mm | 14 Seconds |
| 24mm | 20 Seconds |
| 18mm | 27 Seconds |
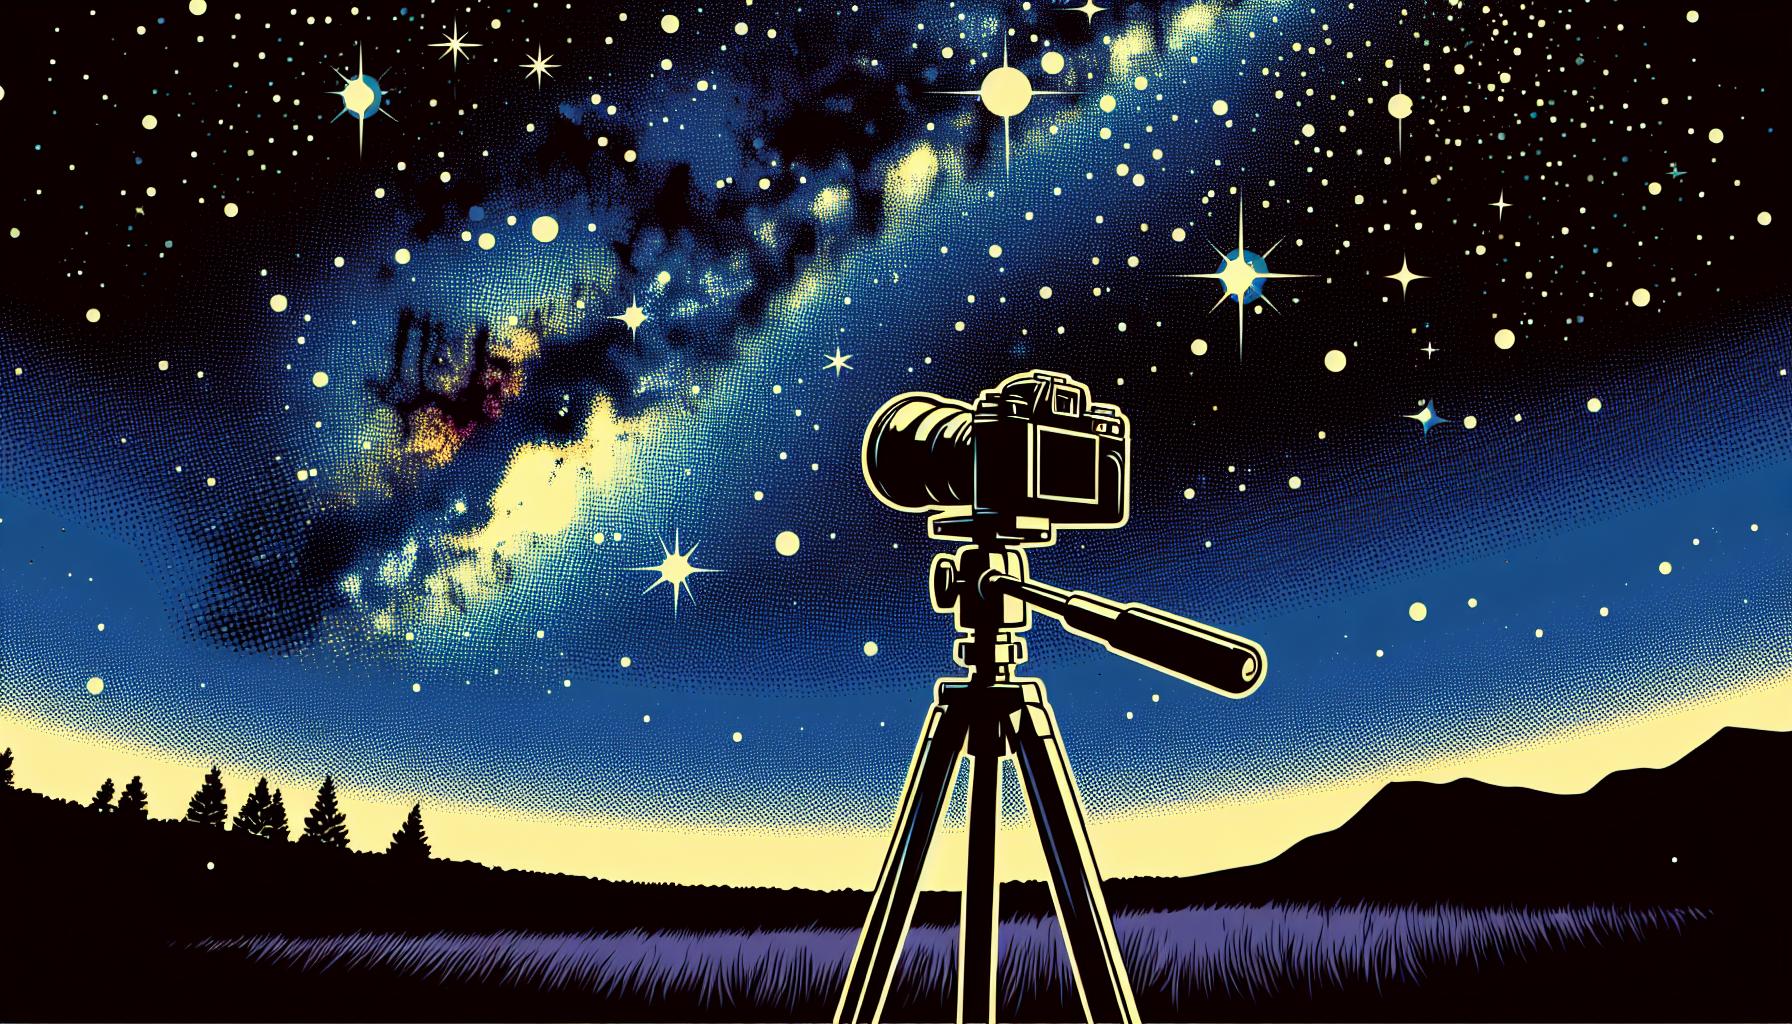
Using a sturdy tripod and a remote shutter release can also prove advantageous, minimizing camera shake during long exposures. This is vital as even the slightest vibration can wreak havoc on your astro shots. If possible, utilize the camera’s ‘Mirror Lockup’ mode to avoid ‘shutter slap’ blur caused by the reflex mirror movements.
While perfecting shutter speed takes practice and patience, it’s an essential skill in your astrophotography journey. As with aperture, don’t be afraid to experiment. Some shots might demand longer exposures than expected or vice versa, so always be ready to adapt. With consistent dedication and application of these general principles, you will gradually see improvements in your night sky captures.
Let’s venture into our next focus area: ISO settings.
Tips for Getting the Best Astrophotography Shots
After we’ve gotten a grip on camera settings, specifically shutter speed, it’s time to turn our attention to the ISO settings. The sensitivity of your camera’s sensor to light is determined by the ISO setting. High ISO values make your sensor more sensitive, capturing more light but also introducing more noise into your images.
So how do you find that sweet spot?
In astrophotography, it’s critical to get as much light as possible without introducing too much noise. Shooting at an ISO of 1600 to 3200 is generally considered a good starting point. But remember, what works on one night might not exactly be a fit for another. Experiment with different ISO settings; watch how it affects your images and adjust accordingly.
Beyond camera settings, a good composition is vital. Here’s a reminder, astrophotography isn’t just about stars; it’s about landscape as well. Look for ways to incorporate terrestrial items into your shots. This could be anything, a tree, a mountain, or even a human silhouette. Intelligent use of earthly objects gives your celestial shots a special touch, making them more than just star pictures.
Incorporating the Rule of Thirds into your composition can also be beneficial. This rule suggests that an image is divided into nine equal parts by two equally spaced horizontal lines and two equally spaced vertical lines. The points of intersection of these lines can be used to align the elements of the scene, resulting in more balanced and engaging photographs.
Finally, always remember to use RAW image format whenever possible. RAW files capture a lot more detail than JPEGs, giving you a greater scope for post-processing. You’ll be surprised at how much detail can be recovered from the shadows and how much noise can be reduced during editing if you shoot in RAW.
Astrophotography is more than just a technical exercise, it’s about exploring the night sky, seeking out beauty in the cosmic expanse. As you adjust ISOs, manipulate shutter speeds or work on compositions, always keep in mind that you’re on a creative journey, one that takes time, patience, and continuous learning to master.
Conclusion
Astrophotography’s magic lies in the balance between light, composition, and ISO settings. It’s not just about the stars, but how you capture them. Start with an ISO between 1600 and 3200, and don’t be afraid to tweak it. Remember, it’s a journey of trial and error, filled with continuous learning. The Rule of Thirds and terrestrial objects can turn a good photo into a great one. Capture in RAW to unlock the full potential of your images in post-processing. Above all, patience is your best friend in this creative journey. With time, you’ll master the art of astrophotography, capturing the night sky in all its glory.
What is ISO in astrophotography?
ISO indicates the sensitivity of your camera’s sensor to light. In astrophotography, a higher ISO setting will capture more light, revealing faint stars and galaxies. However, high ISO can also introduce more noise to your image.
How do I choose the right ISO for astrophotography?
Start with an ISO value around 1600 to 3200. This will give you sufficient light sensitivity without introducing too much noise. However, you should experiment with different settings to find the optimal balance that suits your particular conditions and camera.
Why is composition essential in astrophotography?
Composition is essential because it affects how your photos are perceived. Including terrestrial objects or following the Rule of Thirds can add depth and visual interest. Well composed astrophotography images can guide the viewer’s eye and bring a sense of balance and harmony.
What is the benefit of using RAW image format in astrophotography?
Using the RAW image format is recommended because it retains more detail from the original image. This format allows further adjustments in post-processing, such as brightness or color correction, than JPEG or other compressed formats.
How should I approach astrophotography as a beginner?
Astrophotography is a creative journey that requires time and patience. Experiment with your camera settings, read resources, join astrophotography communities, and continuously learn. Remember, each night of shooting is a new opportunity to pioneer your own path in the cosmos.