- Start simple: smartphone or DSLR on a tripod for Milky Way shots - no telescope needed to get started.
- The natural progression: tripod shots → star tracker → telescope + tracking mount → guided imaging.
- Software is as important as hardware: learn DeepSkyStacker (free), Siril (free), or PixInsight for image processing.
- Join a local astronomy club - experienced imagers will save you months of trial-and-error with equipment recommendations.
🌌 Get Weekly Stargazing Tips
Join 900+ astronomers. No spam, just sky.
Astrophotography’s a captivating hobby that combines the infinite beauty of the night sky with the artistic thrill of photography. It’s not just for professional astronomers or seasoned photographers. With the right approach, anyone can delve into this exciting field.
Starting out in astrophotography may seem daunting, but I’m here to assure you that it’s more accessible than you’d think. Whether you’re a starry-eyed beginner or a seasoned photographer looking to expand your horizons, this guide will provide you with the essential steps to kickstart your journey into the cosmos.
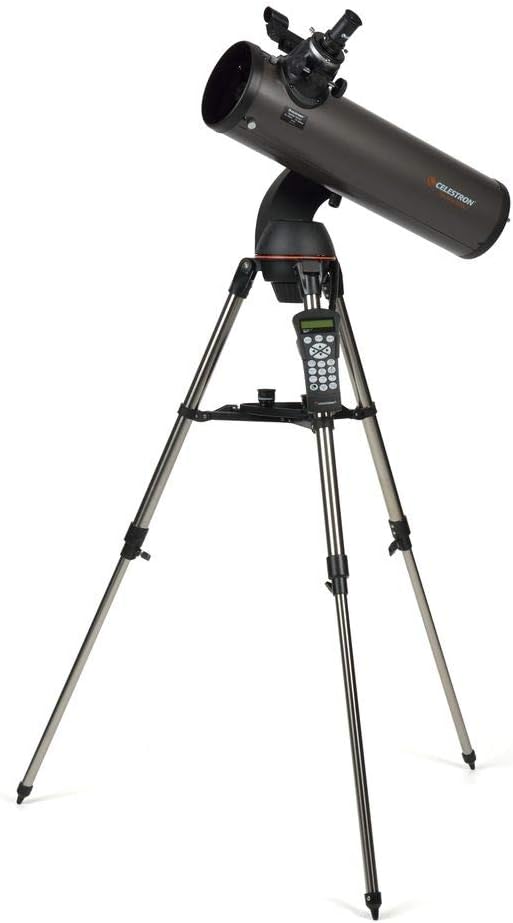
Choosing the Right Equipment
As I voyage deeper into the world of astrophotography, equipment choice plays a significant role. Much like a rockstar guitarist needs the perfect six-string, or a seasoned chef requires top-notch knives, astrophotographers have their own set of essential gear. Here, I’ll break down the indispensable items you’ll need, and why they’re so important.
Starting with the heart of astrophotography – the camera. DSLRs and mirrorless cameras are your best bet here. They offer a powerful mix of performance, affordability, and low noise at high ISOs – just what you need for capturing the night sky. Even within these types, you’ll find a broad range, from entry-level models to high-end rigs. Start with something that fits your budget and skill level, so you have room to grow.
Next up, the lens. For those just dipping their toes into the astrophotography pool, a 24-70mm lens (f/2.8) is a great choice. It’s versatile enough to help beginners brush up their skills and can cover a wide range of night sky objects.
Here’s where things get a little heavier – the tripod. Astrophotography requires long exposure times which means there can’t be camera shake. A sturdy, high-quality tripod is your best friend in this regard.
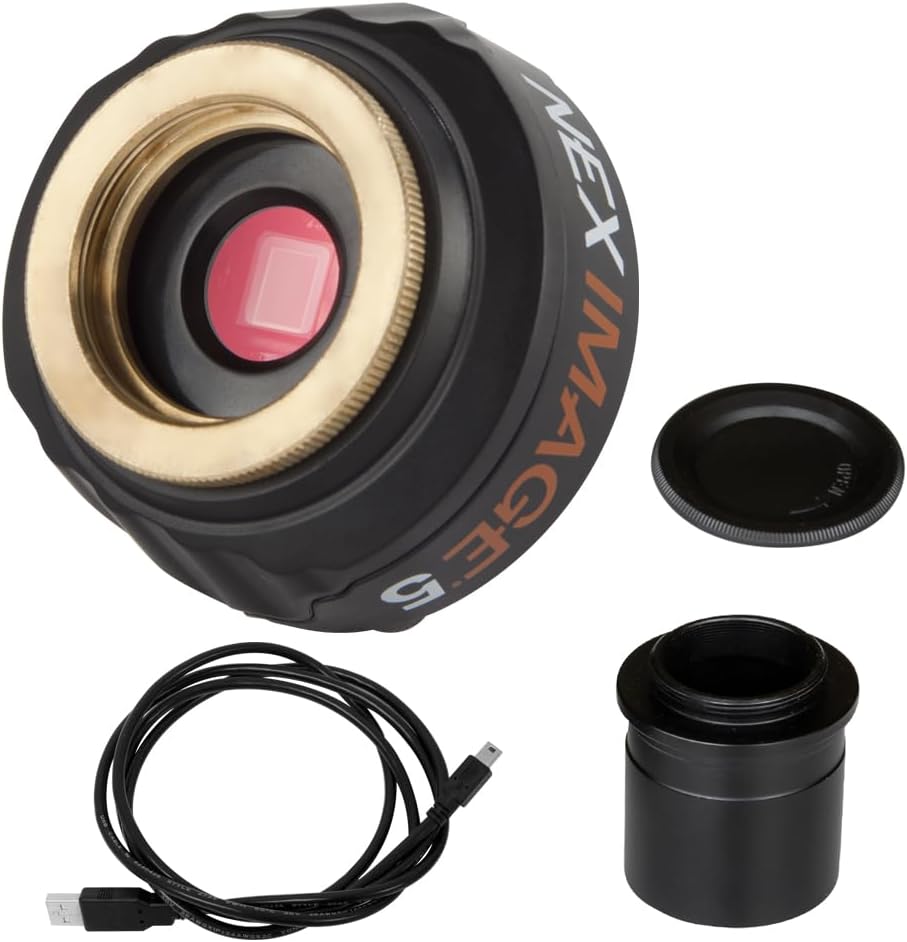
We can’t leave out the tracker. This device follows the earth’s rotation, allowing for longer exposure times without star trails. It’s not a must-have for beginners, but a tracker can be a great addition as you advance.
Finally, the remote shutter. This helps prevent camera shake when you press the shutter, ensuring crisper shots.
Here’s a breakdown of the essential equipment:
| Equipment | Essential For | Purpose |
|---|---|---|
| Camera | All levels | Capturing night sky |
| Lens | Beginners | Wide range night sky objects |
| Tripod | All levels | Stability, long exposure |
| Tracker | Advanced | Longer exposure without star trails |
| Remote Shutter | All levels | Prevent camera shake |
Understanding the Night Sky
Once you’ve gotten your hands on the right equipment, it naturally follows that understanding the night sky itself becomes crucial in your astrophotography journey. It’s not simply about pointing your camera upwards, there’s a little more to it than that.
A fundamental aspect of delving deeper into astrophotography is familiarizing yourself with celestial objects, and their locations throughout the year. The movement of the earth around the sun and the rotation of the earth itself, both affect what we view in the night sky. Magestic celestial bodies like meteors, comets, and even the northern lights can make for spectacular shots, so staying updated on their presence in your geographical location is highly beneficial.
One effective way of tracking celestial bodies is through astronomical software and apps. Here’s a short list of tools you might find useful:
- Stellarium: An open-source software that depicts realistic skies in 3D.
- PhotoPills: This app provides a host of tools including a 3D augmented reality night sky simulator.
- Star Walk 2: An interactive astronomy guide that includes a live star map and extensive celestial event calendar.
These tools can help not only locate astronomical bodies but also predict ideal photographic conditions like “the golden hour” – a brief period shortly after sunrise or before sunset during which daylight is softer and redder compared to when the sun is higher in the sky. This can lead to dramatic effects in your astrophotography.
Breaking into astrophotography also benefits from a basic understanding of the light pollution in your area. Ideally, a darker area free from city lights is best for clear images of stellar phenomena. Online resources such as the Light Pollution Map help you identify suitable locations with minimum light interference.
Understanding how the night sky works may seem daunting at first, but rest assured you’ll steadily get the hang of it. With the right tools and a bit of patience, you’ll soon navigate your way around the night sky like a pro, enabling you to capture breathtaking images of the cosmos.
Planning Your Shoot
Before venturing into the night with your gear, it’s essential to have a solid plan. While spontaneous shots can yield impressive results, astrophotography typically requires careful planning and preparation.
Understanding seasonal variations is key. Throughout the year, the position of stars, constellations, the Milky Way, and other celestial bodies change. Depending on what you’re aiming to photograph, your shoot could be spectacular or fall flat simply based on the time of year. There are plenty of astronomical software tools that can predict these conditions and help you align the perfect shot.
Deciding where to set up your equipment also plays an important role. A location with light pollution could wash out the subject of your photograph or add an undesirable tint. You’ll find remote, rural areas offer the best conditions for astrophotography. However, the time of the shoot, season, and local weather also play crucial roles.
This is where patience comes into play. Weather can be unpredictable, but it’s also a game changer for astrophotography. A clear, dark night is ideal; clouds, rising moon, or city glow can drastically effect your images. Some say that bad weather just means it’s time for a different type of astrophotography, like capturing lightning.
Developing this understanding and incorporating it into your planning process will give you the edge needed to capture the awe-inspiring images that astrophotography is known for. As you can see now, a successful astrophotography trip has a lot riding on prior planning before execution. But remember, every outing offers potential learning experiences. Even a ‘failed’ trip might reveal details and insights that make your next trip even more successful.
🔭 Want our top telescope picks for 2026?
Join 960+ astronomers getting weekly gear reviews, deals, and stargazing tips. Free.
Setting Up Your Camera
Moving along in our astrophotography journey, let’s turn our attention to the heart of our operations: our cameras. To capture impressive images of celestial bodies, it’s vital to optimize the camera settings perfectly.
For starters, we need a camera that supports manual mode – an essential feature to allow us the flexibility we need. DSLR and mirrorless cameras are generally preferred because of their manual mode capabilities and interchangeable lenses.
With our camera chosen, I’ll now draw your attention to some of the most significant settings:
- ISO: A higher ISO increases the camera’s sensitivity to light, beneficial for low-light conditions. However, it’s not always true that higher ISO settings will generate better images. A high ISO value can also lead to more digital noise, potentially clouding our clear, starry skies. Therefore, ISO usually ranges between 800 and 1600 for night sky photography.
- Aperture: Ideally, we need the aperture as wide as it can go. A wider aperture will allow more light into the camera, ensuring clearer images. This is often referred to as a fast lens.
- Shutter Speed: Star trails are created when the shutter is left open for an extended period, capturing the movement of stars due to the Earth’s rotation. Hence, if we intend to freeze the movement of stars, we are looking at around 10 to 25 seconds of exposure.
Your camera settings might look something like this:
| ISO | Aperture | Shutter Speed |
|---|---|---|
| 800 | f/2.8 | 20 sec |
Remember, these settings work as a starting point - you’re encouraged to make adjustments to this foundation as you play around with your camera. Experimentation is key in finding that perfect shot in astrophotography.
We’ve just scratched the surface here. In the next section, we’ll delve into more astrophotography essentials like focusing and composition. Right then, let’s head on over.
Capturing Stunning Images
After getting a grasp on planning and setting up the camera, let’s move on to the heart of astrophotography: Capturing Stunning Images. This is where all your preparation comes into play and where your creativity truly shines.
Focusing in the Dark
Focusing in daylight is simple, but at night, it’s a completely different ball game. Autofocus is often useless with stars given the lack of definite points of contrast. So, you’re left with manual focus. I find that zooming in on a bright star or planet using live view on the camera’s LCD, then manually focusing until the light source is a tiny, bright dot, works best. Remember to avoid touching the focus ring once you’ve attained perfect focus.
Composition Matters
Astrophotography isn’t just about capturing stars or galaxies: it’s also about creating compelling images. This is where the rule of thirds, leading lines and other compositional rules you learned in Photography 101 come in handy. You might find a stark, bare tree to stand as a silhouette against the Milky Way. Maybe you’d like to use the curvature of a winding road to direct the viewer’s eyes towards a lunar eclipse. The possibilities are truly endless.
It doesn’t take much to get started with astrophotography. With the right planning, camera settings, focus techniques and an eye for composition, you’ll be capturing stunning images of the night sky in no time. However, there’s always more to learn in this fascinating field.
Post-Processing Your Photos
Once you’ve captured your astrophotography images, it’s time to delve into the next significant step: post-processing. This section is all about enhancing your photos and giving them that extra pop to truly stand out.
Let’s start with a basic principle – RAW format. Always shoot in RAW format if your camera allows it. Preferably, you’d want to capture as much data as possible for post-processing, and a RAW file holds more details than a JPEG.
Next, proper editing software is crucial for achieving that stellar glow in your photos. I personally recommend tools such as Adobe’s Lightroom and Photoshop. Both these software come with comprehensive features designed specifically for enhancing astrophotography images.
In Lightroom, begin by adjusting the basic attributes of your image like exposure, contrast, and saturation. You can also reduce noise and enhance sharpness. On the other hand, Photoshop is great for techniques such as stacking and blending images, which can dramatically improve the image’s quality and clarity.
Let’s look at an example of my workflow. I usually begin by importing my RAW files into Lightroom for initial tuning. Here I adjust the brightness, contrast, and color balance of my image. Then, to further enhance the details in the night sky, I utilize Photoshop. Using stacking and blending techniques, I can reduce noise and increase the sharpness of stars in my photos.
However, remember that these tools and adjustments are meant to enhance your work, not create it. So, initially concentrate on capturing the best possible images. With some trial and error and a little patience, you’ll undoubtedly see your astrophotography skills bloom.
Conclusion
So there you have it. Astrophotography is an art that’s not just about snapping a picture, but also about the magic that happens in post-processing. Remember, it’s all about capturing the best images you can under the night sky and then using tools like Lightroom and Photoshop to bring out their true beauty. The journey into astrophotography may seem daunting at first, but with patience, practice, and a passion for the cosmos, you’ll soon find your way. So grab your gear, head out under the stars, and start your own cosmic adventure. The universe is waiting for you!
Frequently Asked Questions
1. What does the article primarily discuss?
The article primarily revolves around the post-processing of astrophotography images, focusing on techniques like stacking, blending, and adjusting basic attributes.
2. Why is shooting in RAW format recommended?
Shooting in RAW format is recommended as it enables you to capture the most amount of detail from a scene, which can later be enhanced during the post-processing stage.
3. What editing software is suggested for astrophotography?
For post-processing astrophotography images, the article suggests using Adobe’s Lightroom and Photoshop.
4. Why is the Lightroom and Photoshop workflow beneficial?
The combined Lightroom-Photoshop workflow allows for detailed edits and adjustments. Lightroom is great for handling basic attributes, while Photoshop excels at advanced techniques like image stacking and blending.
5. What is the final message of the article?
The final message emphasizes the importance of capturing good quality photographs initially. Post-processing is intended to polish and enhance the initial work, not to create it from scratch.