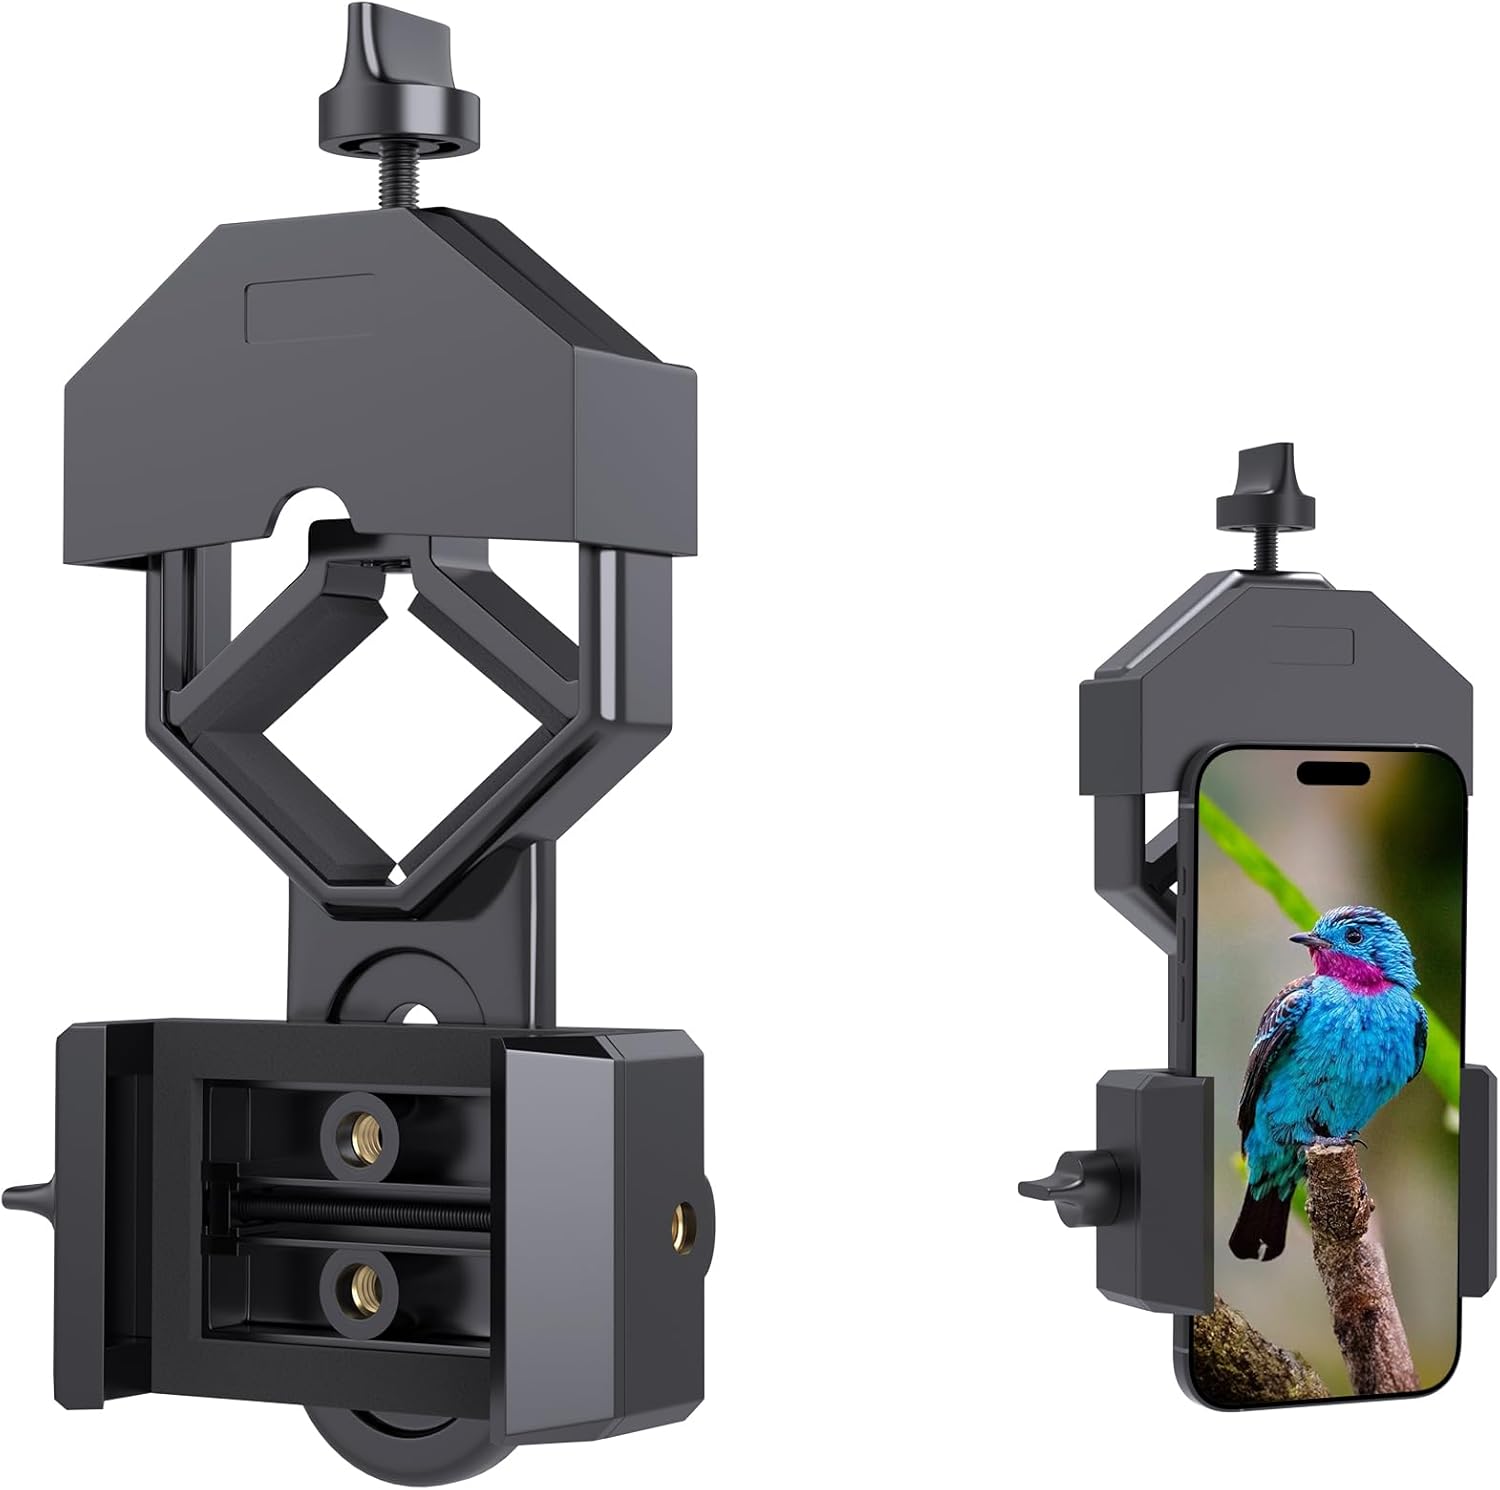
- Use a phone adapter for your telescope - A sturdy mount eliminates shaky, blurry shots.
- Lock focus and exposure manually - Most phone camera apps let you tap and hold to lock settings.
- Start with the Moon - It's bright enough for phone sensors and produces stunning results.
- Stack multiple images - Free apps can combine exposures to reduce noise and boost detail.
🌌 Want More Stargazing Tips?
Join 900+ astronomers. Weekly sky guides, no spam.
Astrophotography isn’t just for the pros anymore. With the right tools and a bit of know-how, you can capture the cosmos right from your smartphone. I’ve spent years honing my craft, and I’m excited to share some tips and tricks to help you get started on your astrophotography journey.
Don’t be fooled into thinking you need expensive equipment to get started. It’s all about knowing how to harness the power of your phone’s camera. With a little patience and practice, you’ll be taking breathtaking photos of the night sky in no time.
Remember, astrophotography is an art, not a science. It’s about capturing the beauty of the universe in a way that speaks to you. So grab your phone, head outside, and let’s start exploring the stars together.
Choosing the Right Equipment
The first question that probably comes to your mind is: “Do I need a high-end smartphone to get started?” The answer is a resounding no. It’s not about having the most expensive phone or the latest model. It’s about understanding how to best utilize what you already have. And trust me, even an old smartphone can be surprisingly effective for capturing the night sky.
First off, you need to learn about the capabilities of your smartphone camera. Is it capable of long exposure? Can you manually adjust the focus and ISO? If your phone has these features, you’re off to a great start. These are critical for capturing faint starlight.
Most modern smartphones have cameras with these capabilities. Here’s a quick comparison of popular smartphone cameras and their astrophotography viability:
| Smartphone Model | Long Exposure | Manual Focus | Manual ISO |
|---|---|---|---|
| iPhone X | Yes | No | Yes |
| Samsung S10 | Yes | Yes | Yes |
| Google Pixel 3 | No | Yes | Yes |
| Huawei P20 Pro | Yes | Yes | Yes |
Don’t worry if your smartphone doesn’t pack these features. Remember, astrophotography is about patience, creativity, and perseverance. One old trick is to use an external lens clip-on to enhance your phone camera’s capabilities. There are vast selections of these accessories available online that can help you pinch every bit of quality from your smartphone camera.
So, before you rush to upgrade your phone, ponder on how to maximize the one you currently own. Practice and patience are key. Tap into your resourcefulness to overcome any hardware limitations. Learning to navigate these challenges will make your astrophotography journey more rewarding.
Keep these thoughts in mind as we move onto the next section on getting acquainted with the night sky. The heavens are waiting for you to unfold their mysteries using just the technology in your pocket. And who knows, through your smartphone, you might even stumble onto an undiscovered celestial body!
Preparing Your Phone for Astrophotography
First, take some time to understand your camera settings. While some phones have special night or astro modes, others might require manual adjustments. Delve into your camera app to access ‘settings’. Fiddle around with your ISO settings, shutter speed, and aperture. The rule of thumb is: lower ISO to avoid noise, slower shutter speed to capture effective light, and the aperture remains as wide as possible.
The second critical step in the preparation process? Clean your lens – yes, it’s that simple but often overlooked. A smudge or speck of dust can be the difference between a dreamy night sky and a poor image. Keep handy a high-quality microfiber cloth for lens cleaning purposes.
Remember when we mentioned ‘external lens clip-ons’ earlier? These can greatly boost your astrophotography prowess. From fish-eye to wide-angle lenses, there’s a medley of choices available for enhancing the field of view. Dive into some research and consider investing as per your budget and requirements.
Lastly, you must equip your phone with a robust astro-app. These apps act as your guide to the night sky, helping you recognize constellations, stars, and more. Some popular astro-apps include SkyView, Star Walk 2, and Night Sky.
So, while it’s not necessary to shell out for a high-end phone model, utilizing external equipment and maximizing your current phone’s potential makes all the difference. Let’s move on to the exciting part of this journey – locating and capturing the stellar vistas of the cosmos. Don’t worry; we won’t leave you in the dark. We’ll handhold you as you walk this new path, capturing stunning night skies with your smartphone.
Finding the Perfect Location
When it comes to astrophotography, your location matters just as much as the equipment you’re using. By selecting the right spot, you’ll maximize your chances of capturing those stunning celestial images.
First and foremost, it’s crucial to avoid areas with heavy light pollution. Cities, towns, and other densely populated areas are notorious for their bright lights which can drown out the starlight. A darker environment will enable your smartphone’s lens to pick up more minute details from the night sky.
So, where should you go? It’s best to target remote or rural areas – places far away from city lights. Parks, open fields, and hilltops can serve as excellent candidates for your nighttime photoshoot.
Keep in mind that safety comes first. Never venture into a remote area without informing someone about your whereabouts and expected return time.
With your spot selected, timing plays a pivotal role. Obviously, you’ll want a clear, cloudless night. The moon phase should also be considered – a full moon might result in overexposure, while a new moon might lack enough light. Experience and continuous practice will help you figure out what works best for you.
Furthermore, remember to scan the sky with your astronomy app. This will ensure your primary targets for the night - a specific constellation, astronomical event, or star - are visible from your chosen location. By doing so, you’ll increase your chances of getting that perfect shot with your smartphone.
You’ve now understood your phone’s camera settings, prepared your equipment, and selected your location. What’s next? Well, you’re almost ready to start your astrophotography journey, but first, let’s talk about setting up your phone for the task at hand. We’ll dive into that in the next section.
🔭 Want our top telescope picks for 2026?
Join 960+ astronomers getting weekly gear reviews, deals, and stargazing tips. Free.
Tips for Capturing Clear and Sharp Images With Your Phone
Now that we’ve addressed the importance of location and the best time to shoot, let’s take a look at some handy tips for snapping those clear, sharp images you’re after.

A stable surface is everything when it comes to astrophotography. Camera shake can turn what should have been a breath-taking shot into a blurry disappointment. Using a tripod significantly minimizes camera shake. If you don’t have one, improvise by resting your phone on a sturdy object. Some astrophotographers swear by bean bags or piles of sand. It’s about finding what works best for your setup. Setting a timer can also help eliminate unnecessary motion.
Proper focus is another aspect that can’t be skimmed over in astrophotography. In low-light conditions, autofocus tends to struggle. Consequently, manual focus is your best friend. Most modern phones offer this feature. You want to set your focus to infinity to ensure the stars are sharp. Experimentation will introduce you to what works best for your specific device and shooting conditions.
The next piece of the puzzle is understanding exposure settings. Too much exposure can wash out the stars, while too little will leave you with a dark image. Start with a long exposure time (say 20-30 seconds), and adjust accordingly, depending on the visibility of the stars.
Our final tip for getting those clear and sharp images revolves around post-processing. Don’t shy away from using apps or software to enhance your images. Post-processing can help bring out the details in your photos, making the stars pop more. Just be sure not to overdo it - maintaining the natural beauty of the night sky should always be your goal.
Editing Your Astrophotography Shots
With the basic settings and shooting techniques under your belt, it’s time to dive into the world of post-processing or editing your shots. Often overlooked, editing is a vital aspect of astrophotography. It can transform a dull, ordinary image into a vibrant, eye-catching work of art.
Start with viewing your image on a larger screen. While your phone’s display gives an idea of how the picture looks, it’s not accurate. Upload your photos to your computer for a better understanding.
In the editing process, focus primarily on three elements: Brightness, Contrast, and Color. You may use any preferred software such as Adobe Photoshop or Lightroom, even free applications on your phone like Snapseed work wonders.
Brightness controls how light or dark your image is. Adjusting it helps highlight faint stars and planets. But remember, cranking up the brightness illuminates everything, including unwanted noise – a common enemy of astrophotography. Aim for balance to keep the image sharp and detailed.
Next, we have Contrast, which defines the difference between the darkest and lightest parts of your image. Increasing contrast makes stars stand out against the night sky, rendering a three-dimensional effect.
The Color adjustment is pretty straightforward. It helps express the true colors of the night sky. Beware, though – overdoing can make the image appear unnatural.
Remember to save your original image and make edits on copies. This precaution ensures you can always revert to the original if required.
Don’t forget to subscribe to our newsletter where you’ll find the latest cosmic discoveries, expert stargazing tips, and exclusive subscriber deals. Embark on your cosmic journey if you haven’t already!
Conclusion
So there you have it. Unlocking the universe’s beauty through your phone’s lens isn’t as daunting as it may seem. Remember, it’s all about patience, practice, and a touch of post-processing. Don’t be afraid to play around with your settings and edits. Keep the originals safe and experiment freely on the copies.
The key is to enjoy the process, learn from your mistakes and keep pushing your creativity. With these tips, you’re well on your way to capturing stunning astrophotography shots right from your phone. Happy stargazing and snapping!
Frequently Asked Questions
What is the importance of editing in astrophotography?
Editing, or post-processing, is crucial in astrophotography as it allows you to enhance your images. You can adjust aspects like brightness, contrast, and color to better capture the beauty of the night sky.
Should I view astrophotography images on a larger screen?
Yes, viewing your astrophotography images on a larger screen will help you critically assess and edit your shots with greater detail and precision.
Which software can be used to edit astrophotography images?
Adobe Photoshop and Lightroom are highly recommended for editing astrophotography images. Both software allow comprehensive image adjustments including brightness, contrast, and color.
Should I edit the original astrophotography image?
It is advised not to edit the original image. Instead, make a copy of the original and edit the copy. That way, you always have the original image to go back to.
Is experimentation encouraged in astrophotography?
Absolutely! Experimentation is a key part of astrophotography and the learning process. Don’t be afraid to try different editing techniques and settings to capture the intrinsic beauty of the universe.
Read also: