This site contains affiliate links to products. I may receive a commission for purchases made through these links.
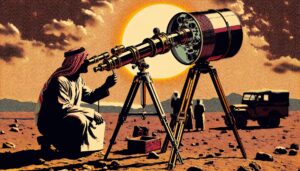
If you’re a stargazing enthusiast like me, you’ll love the idea of having your own home observatory. But where do you start? Right in your backyard! That old shed you’ve been considering to get rid of can be the perfect spot.
Transforming a shed into an observatory isn’t as daunting as it sounds. With some planning, the right equipment, and a bit of DIY spirit, you can create your personal window to the cosmos.
Assessing your shed
Before you can scratch that DIY itch of your, it’s crucial to take a good, hard look at your shed first. Although most sheds can be converted into a makeshift observatory, some factors need to be thoroughly assessed to ensure success in your endeavour.
Let’s start on the inside. You’ll want to measure the interior space of your shed, accounting for the height, width, and length. A small table can be used for comparison. Space is a premium; you need room to house not just your telescope but also additional astronomy equipment, tools, and a small workspace.
You also need to evaluate the state of the shed’s construction. Ask yourself:
- Is the shed structurally sound?
- Can it withstand modifications?
- Does it offer protection from the elements?
Remember that comfort is also an essential aspect of your home observatory. We’re talking insulated walls and roofing to ward off daytime heat and nighttime cold. Adequate ventilation is also crucial to prevent condensation and subsequent damage to your expensive equipment.
Light pollution is another factor that can significantly affect your stargazing. Common sources include street lights, house lights, and headlights from passing cars. With a light meter, you can gauge the light pollution in and around your shed. You want to ensure it’s ideally as low as possible for better viewing conditions.
Let’s not forget about the state of your roof. Most home observatories have retractable roofs or panels for a wide, unobstructed view of the night sky. Now, if your shed has a raised roof, you’re in luck; it could make for a simpler transformation to having a retractable roof.
With these aspects in mind, your shed could be just a few modifications away from becoming a stargazing haven. You now have a clear pathway to follow for ‘assessing your shed’ correctly. Just remember to be thorough, take notes, and don’t rush the process.
Planning the layout
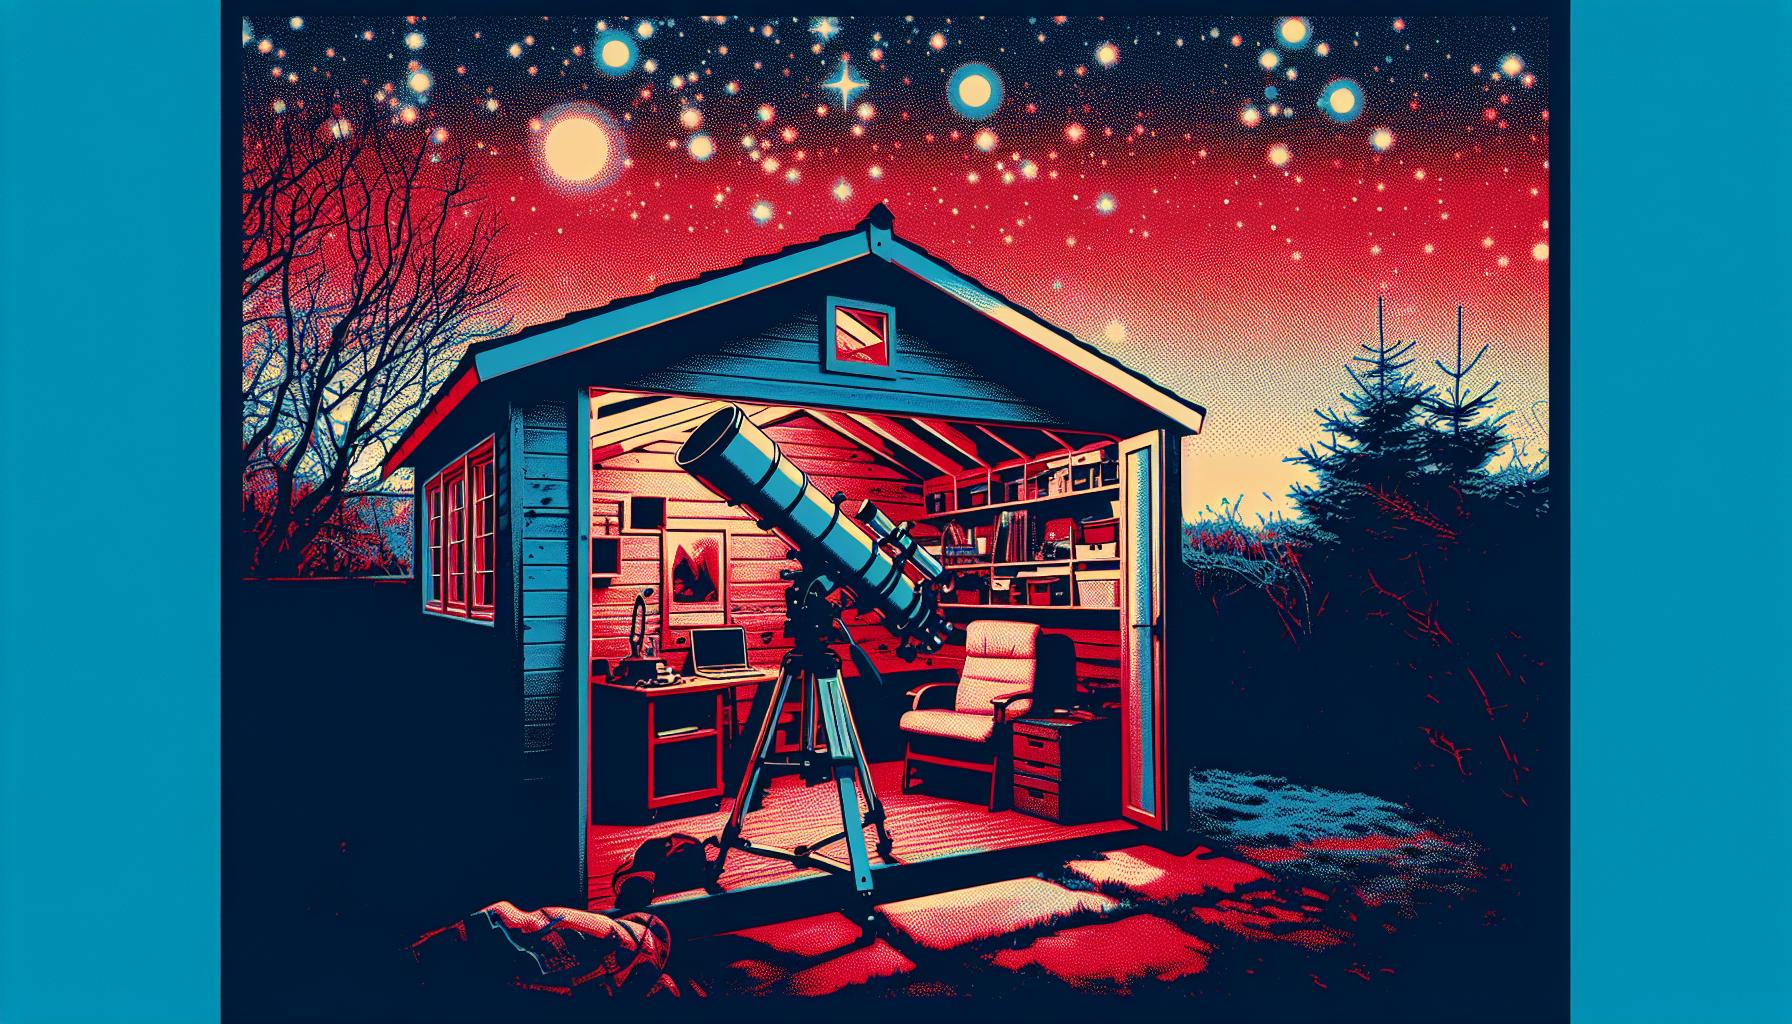
After sizing up your shed and assessing its readiness to become a stargazing space, we now move to an equally important step – Planning the layout. How you plan and set up your layout can make a world of difference when settling comfortably for long stargazing sessions. It’s all about designing your space to be functional and relaxed.
Before diving in, there are a few important aspects you’ll need to consider. First, examine your shed’s footprint and draw a rough plan to scale. A good idea would be to invest in a floor plan software.
Next, consider your essential observing equipment. Common instruments would include a telescope, mount, stool or chair and computing equipment if you’re into astrophotography. Measure these and include them on your floor plan ensuring they don’t end up too cramped.
Think about your point of observation. Will you use your telescope primarily standing up or sitting down? This decision affects not only the position of your telescope but also the furniture and shelving you might need. A comfy armchair and a sturdy, easily adjustable table come handy in either case.
Also, when dealing with electrical appliances and wiring make sure you install safety measure like circuit breaker, ground fault circuit interrupters(GFCIs) to avoid any mid-session calamities.
You will need to store equipment safely away when not using it. Consider cabinets or shelves for this purpose. The design for these storage solutions should accommodate for easy access of your tools and ensure their safe keeping.
You’re not confined to just your shed’s existing space. Depending on how committed you are to your new observatory, you might consider an expansion of your shed to accommodate all these essentials.
Navigating your shed in low light conditions is common in observational astronomy. You might want to highlight equipment and key objects with luminous paint, or use low-level red light to preserve your night vision.
Lastly, consider how your changes might impact the shed’s capacity to support these new loads. Can your floor support the weight of all your equipment? If you’re unsure, speak to a contractor to avoid mishaps.
So there you have it – some important considerations when planning your shed conversion layout. Stay tuned for the next steps in our guide to transforming your shed into a stargazing haven.
Insulating and weatherproofing
In the pursuit of converting a shed into a perfect sanctuary for stargazers, insulation becomes a critical component. Not only does it serve to maintain a comfortable temperature inside, but it also plays a vital role in preventing unwanted moisture and condensation. Moisture can wreak havoc on delicate telescope equipment and destroying sensitive digital imaging equipment. The two primary types of insulation that you’ll likely consider are:
- Fiberglass insulation
- Foam board insulation
Fiberglass insulation is cost-effective and easy to install. It’s popular in most home construction projects and should do a stellar job in your shed-turned-observatory. There’s also foam board insulation. While it does come with a higher initial price tag, it offers superior thermal performance and is moisture-resistant — a bonus in a dew-prone environment.
Next up on our checklist is weatherproofing. It’s about safeguarding your little slice of astronomical heaven from the elements. Rainwater, snow, hail, or even strong wind could potentially harm your equipment and ruin your stargazing plans if they manage to infiltrate your observatory.
Start by inspecting your shed for any visible cracks, gaps, or leaks. These small fissures can allow water or drafts — both of which could cause issues for our purpose. Apply exterior-grade sealant to these areas. It’s an easy fix that can address most weather-related issues.
For substantial protection, consider applying weatherproof paint or coating to the shed. It gives an extra layer of armor against common weather conditions. Choose one that’s not only waterproof but also UV resistant. Not only does this extra measure help protect your equipment, but it also extends the life of your observatory.
Remember, insulating and weatherproofing go hand in hand when creating the ultimate home observatory. They maintain a favorable inside atmosphere while securing the shed from external environmental threats. From fiberglass or foam board insulation to exterior-grade sealant and weatherproof paint, each step contributes to the success of your astronomical adventures.
Remember to periodically check these factors and maintain your shed as required. Your commitment to these tasks will pay off in the form of a comfortable, safe and well-functioning home observatory. These might seem like minor details but are pivotal in the sustainability and successful functioning of your home observatory.
Installing telescopes and equipment
Now that we’ve covered the crucial elements of insulating and weatherproofing in our shed-to-home observatory conversion, let’s shift gears and consider the next major step: installing telescopes and equipment.
No observatory, home-based or otherwise, is complete without the right ‘eyes to the sky’. That’s right, we’re talking about the telescope. You should take into consideration the size of the telescope, your targeted celestial objects, and, of course, your budget. Mounting style is an additional important aspect to deliberate. There are two primary types of mountings: Altazimuth and Equatorial. Do your research and pick a suitable fit for you.
In my home observatory, I chose a Celestron NexStar 8 SE telescope due to its advanced features and user-friendly interface. To mount the scope, I decided on an equatorial mount – perfect for tracking objects across the sky. I stress, it’s important to personalize equipment choices as per your specific requirements.
For the installation process. Always follow the manufacturer’s guidelines. Take care with aligning and calibrating your telescope. A poorly aligned telescope may affect your stargazing experience.
Moving beyond telescopes, an observatory needs more equipment to function optimally. I’ve listed out a few essentials for you to consider:
- Star charts and astronomy software: These complement your telescope, helping navigate the night sky more efficiently.
- Telescope accessories: Consider buying different eyepieces, filters and a Barlow lens to enhance your viewing.
- Proper seating: This helps ensure comfort during extended stargazing periods. Choose a comfortable, adjustable chair, like an ‘astronomy’ chair.
- Lighting: Red LED lighting can provide enough light without affecting your night vision.
Setting up a viewing area
After you’ve picked out a perfect telescope and amassed all the essential gear, the next thing to tackle is arranging your observing space. This is a point in the shed-to-observatory transformation process where I see people often get stuck.
Don’t worry, I’ve got you covered! This is where practicality meets comfort. Your viewing area should not only accommodate your telescope and equipment but also provide comfort for you, the observer. It’s crucial that you’re comfortable while gazing at the night sky. After all, you’re meant to enjoy this heavenly showcase, not endure it.
With practicality in mind, the first order of business is space management. Keeping everything tidy and organized is the key!
Here’s what I typically advise:
- Make use of tables or even shelves where needed. They are great for holding star charts, laptops, notebooks, or additional eyepieces.
- Ensure there’s enough room around your telescope setup for moving about, especially during alignment or calibration adjustments.
- Consider getting a comfy chair or even a reclining lawn chair if you’re planning for long observation sessions. You will thank me for it later!
Next up is lighting. Yes, astronomy involves the dark, but a tiny bit of lighting is still necessary. Trust me, you don’t want to trip over a cable or knock down your carefully aligned telescope. The trick here is to use red light. Your eyes get to maintain their dark adaptation while allowing you to see just enough in your workspace. Very important: Keep any lighting on a dim setting.
Lastly, pay attention to the temperature inside the observatory. It can get pretty cold at night, especially during winter months. Be smart and invest in a space heater or wear layered clothing, gloves, and hats when necessary.
Conclusion
So there you have it. We’ve walked through the process of transforming a simple shed into a functional home observatory. It’s all about creating a practical, comfortable space where you can enjoy long stargazing sessions. Remember, organization is key, so tables or shelves can be your best friends.
Don’t forget to ensure enough room for movement around your telescope setup. If you want to keep your night vision sharp while in your observatory, red lighting is the way to go. And lastly, because comfort is paramount, consider temperature control. Now it’s your turn to bring the cosmos a little closer to home. Happy stargazing!