This site contains affiliate links to products. I may receive a commission for purchases made through these links.
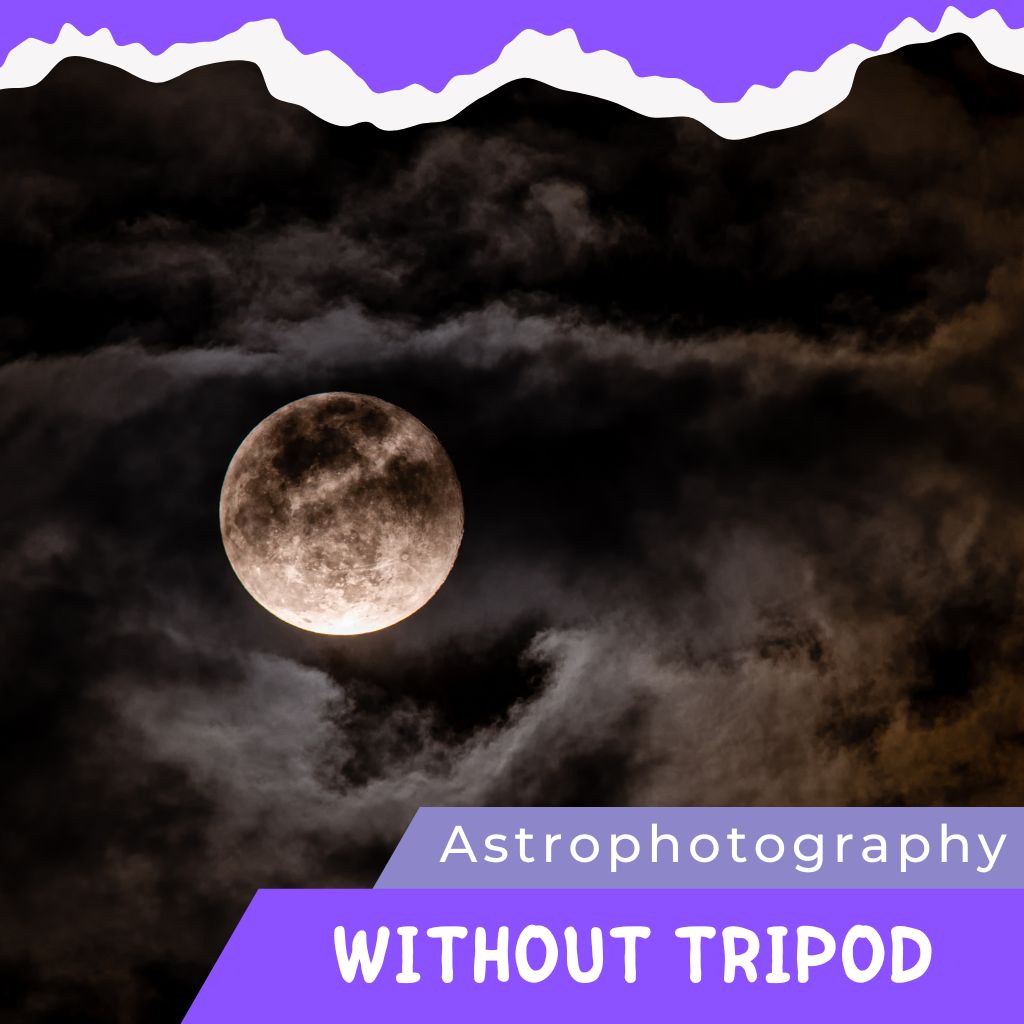
Ever gazed up at the night sky and wished you could capture its beauty? You’re not alone. Astrophotography’s become a hot trend, but what if you don’t have a tripod? Don’t worry, I’ve got you covered.
You might think it’s impossible, but I’m here to tell you it’s not. With a bit of know-how and some creativity, you can get stunning shots of the cosmos. No tripod? No problem!
In this article, I’ll share my top tips for astrophotography without a tripod. We’ll explore some innovative techniques that’ll help you capture the night sky in all its glory. So, are you ready to reach for the stars? Let’s get started.
Tips for Astrophotography Without a Tripod
Astrophotography does not always require a bulky and cumbersome tripod. I’ve had fantastic experiences shooting starlit skies and celestial bodies tripod-free. All it takes is a creative approach and a pinch of determination. So, let’s dive into some useful tips for astrophotography without a tripod.
Firstly, it’s essential to have a suitable camera at hand. DSLR and Mirrorless cameras are excellent choices. They offer manual mode, which is crucial for controlling the exposure time, aperture, and ISO. Pair this with a wide-angle lens, and you’re ready to capture some fantastic cosmic displays.
Secondly, it’s important to know your camera settings. For astrophotography, I typically recommend an aperture of f/2.8 or wider, an ISO around 1600, and an exposure time of 20-30 seconds. But don’t be afraid to experiment and tweak these settings as necessary.
One handy trick I’ve learned over the years is finding makeshift tripods. Rocks, decks, car roofs – all make for excellent platforms. Make sure your camera is stable and secure before you continue shooting. In scenarios where there’s no flat surface, don’t sweat! Here’s where the String-and-Weight method works wonders. Simply attach a string to the base of your camera and a weight at the other end. The tension creates stability, letting you snag those awe-inspiring shots.
Finally, don’t underestimate the power of post-processing software. Tools like Adobe Photoshop and Lightroom can turn your raw images into something magical. Use them to reduce noise and bring out the finer details occult in the captured sky.
The greatest astrophotographer Michael Shainblum once said, “You’re only as good as your last picture.” With these tips and a bit of practice, you’ll be taking astrophotography by storm, sans tripod. Just remember to have patience and enjoy the process. After all, you’re capturing the vast grandeur of the cosmos-one star at a time.
Technique 1: Using a Sturdy Surface
One of the effective methods for astrophotography without a tripod is using a sturdy surface. It’s all about getting a bit creative with your surroundings. And yes, you heard me right.
Who knew the ground beneath your feet could serve as a photography tool? A flat, solid surface, say a rock or a car roof, can work wonders. What you need is just the right angle and a steady hand. For low shots or if you’re trying to catch a particular constellation low in the sky, the ground becomes your best friend. Lay your camera down, align it at the perfect angle, and you’re ready to go. If you’re more comfortable with a bit of height, a parked car’s roof can do the trick, provided it’s flat and steady. Remember, what matters is stability.
Just a small tip while you’re trying your hand at this — avoid any surface that might cause vibrations. This could lead to blurry images.
You might wonder about the settings while you’re using this technique. Do not worry, I’ve got your back.
Camera Settings when Using a Sturdy Surface
Let’s dive into this. It’s a game of balancing ISO, Shutter Speed, and Aperture. A general rule of thumb is to set your ISO between 1600 and 3200, Aperture at the widest available, and Shutter Speed anywhere between 15 to 30 seconds. But remember, this varies according to the lighting conditions and equipment you’re using.
Here is a quick rundown:
| Setting | Typical Value |
|---|---|
| ISO | 1600-3200 |
| Aperture | Widest available |
| Shutter Speed | 15-30 seconds |
Given these values, it’s important to play around and find the sweet spot that works for your camera and the scene you are trying to capture. And most importantly, enjoy the process! There’s more to astrophotography—let’s explore another technique in the next section.
Technique 2: Hand-Holding the Camera
After outlining the use of steady surfaces as makeshift tripods, let’s explore another route. You’ve guessed it, hand-holding the camera! It sounds challenging, right? Well, with a few tricks up your sleeve, it isn’t as tough as it might seem.
First things first – gear. To pull off this technique, a fast, wide-angle lens is your trusty companion. What even is a ‘fast’ lens? Simply put, a lens with a low F-number. Aim for something lower than F/2.8. Now, onto the wide-angle aspect. You’ll want a focal length of less than 24mm (full-frame). Believe me, the wider you go, the more of the stunning night sky you’ll catch in your frame.
Why is the mentioned lens important, you wonder? Let’s dive into the realm of the 500 Rule – an astrophotography secret.
The 500 rule suggests a fast, wide-angle lens can assist you in capturing sharp, clear photos, even while hand-holding the camera. Here’s how it works. Grab your calculator and divide 500 by the focal length of your lens. That’s how many seconds you can expose before the stars start to trail.
But wait, there’s more! To ensure clarity when hand-holding, one indispensable element is your camera’s image stabilizer. Activate this feature if it’s available. It is specifically designed to counteract camera shake, providing that much-needed steadiness when a tripod isn’t present.
Finally, set your ISO to 3200, or higher if your equipment allows. It will increase your camera’s sensitivity to light, crucial when shooting the dark expanse of the star-studded cosmos.
All these elements combined, you’re not just doing astrophotography by hand. You’re taking it to new, thrilling horizons, proving there really are ways to overcome tripod dependence. So, don’t hesitate in the slightest, pick up that camera, step outside, point at the cosmos, and let the star-gazing marvel unfold right before your eyes.
Technique 3: Leaning or Bracing Against Objects
When it comes to shooting stargazing pictures without a tripod, bracing or leaning can be your secret weapon. It provides an extra layer of support and reinforces your camera stability. Remember, stability is the key to avoiding even the slightest camera shake. After all, it’s quite difficult to enjoy starry night pictures with blurry stars – right?
For bracing, you’re essentially looking to dodge any form of blur in your astrophotography caused by minor camera shakes. You can brace yourself against a broad range of objects like a tree, wall, or even your car. It’s about utilizing what’s readily available for your advantage. My trick is to use a bean bag or a pile of clothes, but don’t limit yourself to just that – be creative!
Moreover, leaning against an object is particularly helpful when you’re shooting at a low or slow shutter speed. I’ve found that this technique – even though it might sound too basic – can be a game-changer when executed properly. It gives your body an extra form of anchorage, presumably helping to slow down your heart rate, involuntary body movements, and even your breathing.
It may be challenging finessing the right position or angle at first, but do not fret. Practice makes perfect, as they say. Just keep in mind that this method won’t replace a tripod for very long exposures, but it may just give you that edge you need to capture the wonder of the night sky sans tripod.

Technique 4: Using Image Stabilization Technology
Entering the world of astrophotography presents its unique challenges and triumphs. As we continue exploring ways to compensate for the absence of a tripod, we land on a technological marvel: image stabilization. This technique harnesses the power of cutting-edge technology to provide clarity and sharpness in our celestial captures.
Most modern digital cameras and lenses sport image stabilization features. They counteract camera shakes by shifting the lens elements or image sensor, thus providing extra stability during handheld shots. It’s effective in situations where slight movement might blur an image, like with slow shutter speeds or increased focal lengths – two aspects common in astrophotography.
Contrary to common belief, image stabilization isn’t solely a feature of high-end cameras. Even mobile phones these days come decked out with these functionalities. Therefore, if you’re starting out in astrophotography with only a smartphone, don’t fret. You’ll still have the opportunity to use this technology to your advantage.
Tip: When using a camera with image stabilization, ensure it’s switched on when shooting handheld. But remember to switch it off if you secure the camera to a steady surface; the system might attempt to compensate for non-existent movement, leading to unintentionally blurred shots.
To give you a better understanding of the image stabilization range across different gear, below is markdown table that shows some of the various equipment and their stabilization extent:
| Equipment | Image Stabilization |
|---|---|
| Entry-level DSLR / SLR | 2-3 Stops |
| Professional DSLR / Mirrorless | 4-5 Stops |
| Smartphone | Varies with model and technology |

Conclusion
So there you have it. Astounding astrophotography doesn’t always require a tripod. It’s all about mastering the art of using image stabilization technology effectively. Whether you’re using a high-end DSLR or your trusty smartphone, you can capture the night sky in all its glory, handheld and hassle-free.
Remember, it’s essential to turn off this feature when your camera is steady to avoid any unwanted blurriness. There’s a whole world of techniques out there to help you perfect your astrophotography skills without a tripod. So don’t let the lack of a tripod hold you back. Embrace the technology at your fingertips and let your creativity shine. The night sky is waiting for your lens. Happy shooting!