This site contains affiliate links to products. I may receive a commission for purchases made through these links.
Astrophotography is a fascinating blend of art and science. It’s where I get to capture the beauty of the night sky with my DSLR and tripod. If you’re like me, there’s nothing quite like the thrill of photographing a star-studded sky or the luminous glow of a distant galaxy.
With a DSLR and tripod, astrophotography becomes accessible to everyone. It’s not just for professional astronomers anymore. Whether you’re a seasoned photographer or a newbie, I’ll guide you through the process, ensuring you get that perfect shot.
Remember, astrophotography is a journey, not a destination. It’s about exploring the night sky, learning new techniques, and most importantly, having fun. So, let’s embark on this cosmic adventure together.
Choosing the Right DSLR Camera
As we delve deeper into our exploration of astrophotography, the question of equipment arises. It’s crucial, chiefly when it revolves around selecting a suitable DSLR camera.
When considering a DSLR for astrophotography, there are both budget and technical aspects to chew over. Alright, so let’s unpack this a bit.
Consider Your Budget
First off, be clear about how much you’re willing to spend. Both entry-level and high-end DSLR cameras are available in the market. Here’s a little secret – a simpler, low-cost DSLR can still get you fantastic night sky images. Astonishing, isn’t it? So, it’s really up to you and what you’re comfortable with.
Sensor Size Matters
A key consideration in choosing a DSLR is the sensor size. Two common types are found in DSLRs: APS-C and Full Frame sensors. Full Frame sensors excel in low-light conditions, while APS-C sensors are more cost-effective and lighter to carry around.
Look at the ISO Range
Consider the ISO range of the DSLR camera you’re interested in. In astrophotography, you’re dealing with low-light situations, and a camera with a higher ISO range could help you capture better images under these circumstances.
Mind the Megapixels
Lastly, don’t fall into the “megapixel trap”. More megapixels don’t necessarily translate to higher-quality images, particularly in astrophotography.
Take note, this guide is meant to assist you in finding your footing – the perfect astrophotography gear that fits your needs and budget. It’s a game of balancing act! Keep exploring, learning, and most importantly, experimenting. Each step you take will hone your skills and define your path in the fascinating world of astrophotography.
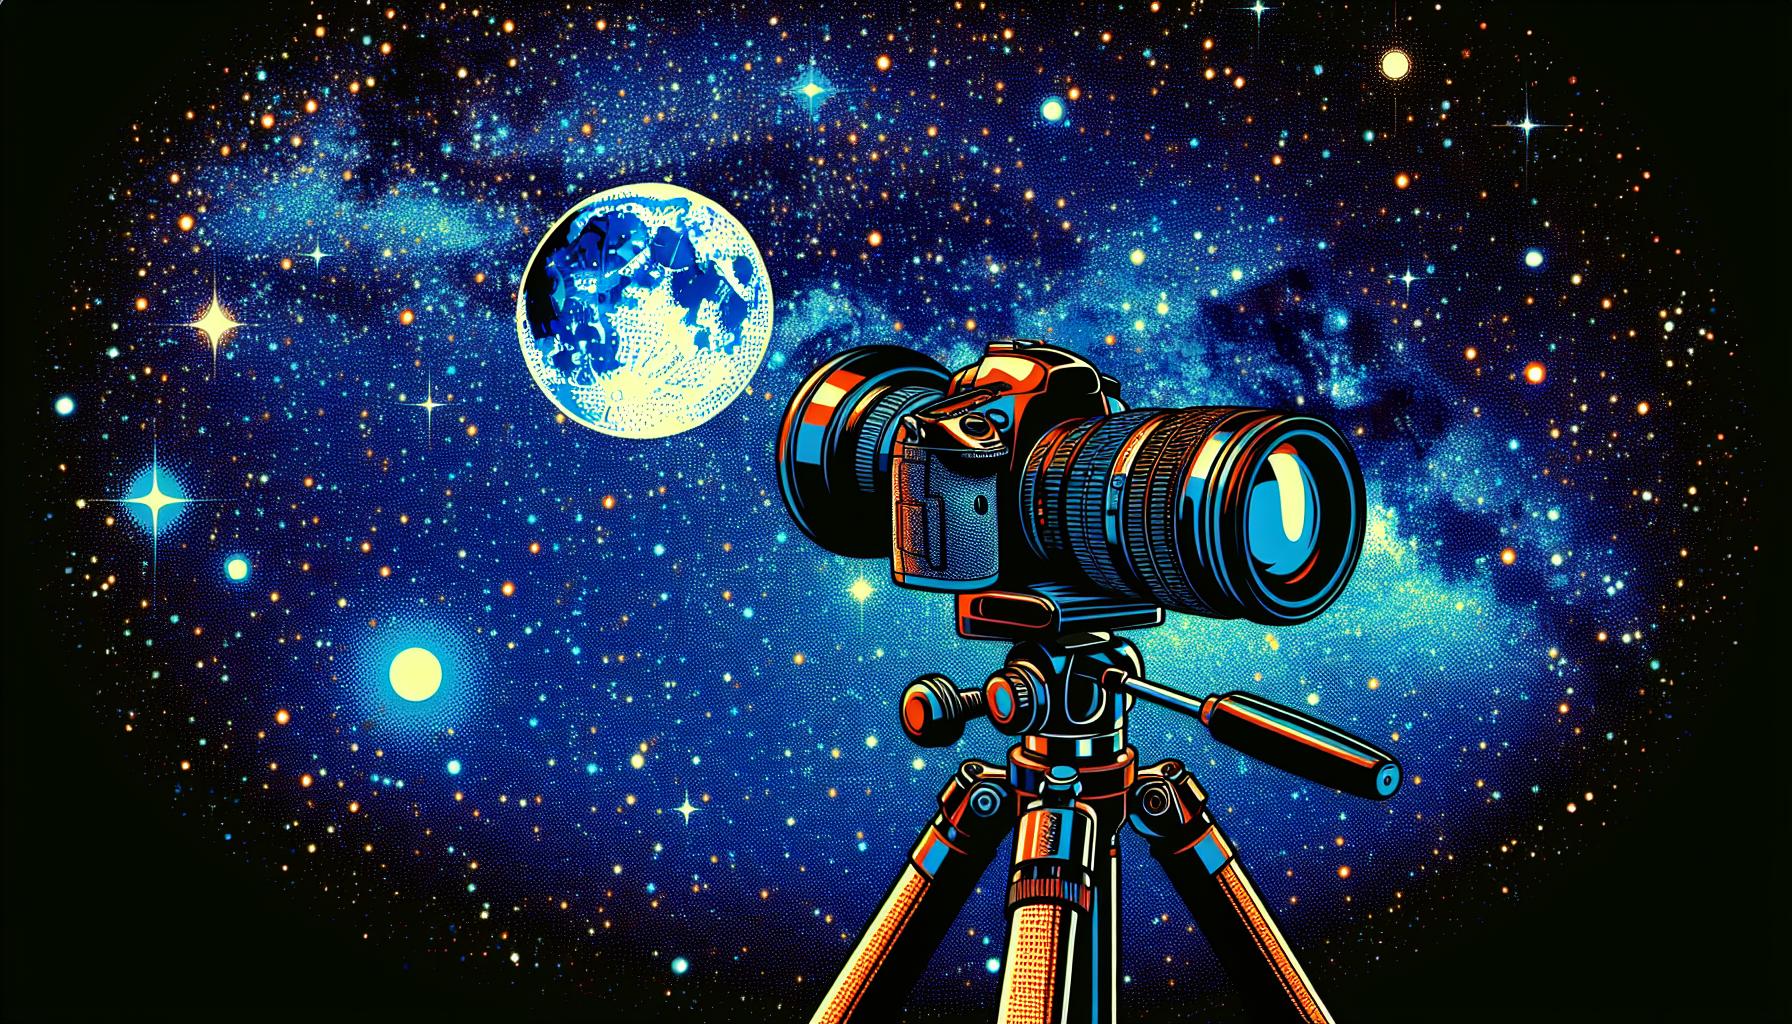
Selecting the Ideal Tripod
Choosing the right tripod can be just as important as picking the perfect DSLR for your astrophotography pursuits. It’s a key piece of your kit that can make or break your ability to capture the breathtaking views of the stars, planets, and various celestial phenomena.
When selecting a tripod for astrophotography, there are a few important factors to consider.
Stability usually comes first. With exposures lasting anywhere from a few seconds to several minutes, even the slightest movement can result in blurry or shaky images. Heavy-duty tripods are typically better suited for this task because they are robust and sturdy. They might be a bit heavier to carry around but the stability they provide is worth the extra effort.
Flexibility is next. You’d want a tripod that allows you full control on adjustment. Astrophotography often involves shooting at awkward angles, and having a tripod with flexible “legs” and an adjustable center column can be extremely beneficial.
Height Adjustment is also an important factor. Consider a tripod that extends to your eye level, but can also go low to the ground for a different perspective.
Let’s not forget about Portability. Remember, you’ll often be carrying this kit far into the countryside away from any light pollution.
A good balance of all these factors can help you choose the right tripod for your astrophotography journey. Here are my top picks:
- For Stability: Manfrotto MT055CXPRO3
- For Flexibility: Vanguard Alta Pro 263AB
- For Height adjustment: Benro Mach3 TMA47AXL
- For Portability: Zomei Z818
Understanding the Basics of Astrophotography
Following our earlier discussions about choosing the ideal DSLR camera and tripod for astrophotography, now it’s time to delve into the basics of astrophotography itself. Astrophotography is an art form combining aspects of both science and creativity. It transcends the earthly level of photography, accessing the celestial realm.
First and foremost, it’s crucial to grasp the significance of light in astrophotography. Unlike other forms of photography, here we’re dealing with very faint light sources. Given these conditions, understanding the exposure triangle—consisting of ISO, shutter speed, and aperture—becomes paramount.
And keep this in mind: adjusting one element of the triangle inevitably impacts the other two. It’s a delicate balancing act, so taking your time to understand these factors is worth the effort in the long run.
| Factors | Explanation |
|---|---|
| ISO | Responsible for the camera’s sensitivity to light. Higher ISO value = greater light sensitivity, but more noise. |
| Shutter Speed | How long the camera’s shutter stays open. Longer shutter speed = more captured light, but risk of “star trails” or blurred moving objects. |
| Aperture | The size of the camera’s opening. Larger aperture = more light captured, better for dimly lit objects. |
Astrophotography isn’t just about getting the technical settings right. Patience and perseverance are as vital as the right camera or the optimal settings when it comes to capturing the perfect night sky image. Mist upon mist, stargazers would often have to spend hours outside, waiting for the perfect alignment and light conditions.
Of course, it’s also about bringing a unique perspective and artistic flair to every shot. Whether you’re capturing a wide image of the Milky Way or shooting a close-up of a specific constellation, being able to visualize the final shot and adapt to changing conditions are skills that’ll come with time and practice.
After fully understanding these basic principles, you’ll be equipped to navigate the more complex aspects of astrophotography. After all, as I’ve mentioned before, astrophotography is an ongoing journey of learning and exploring the universe from your perspective. There’s always something more to discover or a new technique to delve into. So, let the journey continue.
Mastering Manual Settings
Going beyond automatic mode and mastering manual settings on your DSLR is the next stepping stone in your astrophotography journey. Manual settings allow you precise control over the exposure triangle: ISO, shutter speed, and aperture.
ISO: Embrace the Grain, Control the Light
ISO controls the camera’s sensor sensitivity to light. High ISO values, such as 1600, increase light sensitivity, but they also introduce more grain or noise in the image. Balancing the ISO requires a fine level of adjustments to create a clean and detailed image of the night sky.
Shutter Speed: Seize the milliseconds
In astrophotography, shutter speed determines the length of time the camera’s shutter remains open to capture light. Longer exposures allow more light, but also run the risk of experiencing “star trails” due to earth’s rotation. You’ll need to restrict the shutter speed typically in the range of 15 to 30 seconds.
Aperture: The Balance Game
Controlling the amount of light entering the camera is done through adjusting the aperture. A low f-number, like f/2.8, indicates a wider aperture, thus allowing more light in. However, a wide aperture can blur parts of the image. So, it’s about striking a balance, and depending on your lens, an aperture of around f/4 is a good starting point.
Astrophotography doesn’t come with a one-size-fits-all all setting. It’s about evaluating your environment and making controlled decisions to optimize your output.
Remember learning these settings, their balances, and manually tweaking them can turn your astrophotography endeavours from good to outstanding. So don’t shy away from the manual mode; learn it, control it, and let it work magic for your images. Your journey through the universe continues.
Exploring Different Types of Astrophotography
As we delve deeper into astrophotography, it’s essential to explore the different types that are popular among beginners and professionals alike. The variety within this niche is quite astounding – from capturing individual celestial bodies to vast star clusters and galaxies.
Wide-Field Astrophotography is perhaps the most accessible for beginners. It involves capturing larger areas of the sky, with the naked eye view akin to using your DSLR and tripod. This type is great for shooting star trails, meteor showers, constellations, and our own Milky Way galaxy.
Next up is Planetary Astrophotography. In this variant, you aim your camera at planets, capturing intricate details like Saturn’s rings or Jupiter’s spots. These images often require post-processing for clarity and detail enhancement! Higher megapixel cameras, dedicated planetary cameras, or attaching your DSLR to a telescope can achieve fantastic results.
Some may want to push the boundaries by delving into Deep-Sky Astrophotography, where you can photograph nebulae, distant galaxies, and star clusters. This pursuit, though more technical, can yield rewarding images.
Lastly, we can’t leave out Time-lapse Astrophotography. This exciting form involves capturing multiple long-exposure images over a period and compiling them into a moving picture – a time-lapse of stars seemingly swirling around the night sky.
In essence, mastering these different types of astrophotography comes down to understanding your equipment, adjusting settings accordingly, and most importantly, patience and practice. As you begin to dabble, you’ll likely discover a preference, whether it’s capturing wide night skies or honing in on distant galactic vistas.
Capturing Star Trails
One of the most stunning images you can create in astrophotography is star trails. The magic lies in the process as much as the result. As the earth rotates, the apparent motion of stars creates arcs of light on camera: demonstrating physics and beauty in one frame.
My first tool of choice when capturing star trails is a sturdy tripod. It’s one of the essential equipment needed, along with your DSLR. That’s because any tiny movement could blur the lines of the trails, defeating the very purpose. So, make sure you have a robust tripod that can withstand wind and any accidental nudges.
It’s important to adopt long exposure settings. This technique exploits the Earth’s rotation and the stars’ apparent movement. Ideally, exposures range from 15 minutes to several hours, often requiring an intervalometer or cable release for the extended shutter times.
Let’s talk details about your DSLR settings. Star trail photography generally calls for a high ISO setting. My go-to is ISO 1600—this value will capture enough light without pushing the camera’s sensor to introduce more noise.
As for your aperture, go as wide as your lens allows—f/2.8 or lower if you can. A wide aperture grabs more light in less time. But ensure you don’t sacrifice image sharpness; a pinch narrower, like f/4, could yield better focus and clarity.
Setting your shutter speed can be a bit tricky in star trail photography. In principle, you’ll want to set your shutter to “Bulb” mode, allowing it to stay open as long as needed and relying on your intervalometer to control the length of exposure.
Let’s not forget the importance of a solid frame composition! You’ll want to combine the swirling spectacle of star trails with compelling elements of the landscape. Iconic trees, and interesting rock formations – they all can help your image tell a story.
Also, keep an eye on the weather. Clear, dark skies offer the best conditions for star trail photography. Avoid periods of full moon or heavy pollution, as they interfere with the ability to capture weak starlight.
And if you’re seeking the North Star, consider using a star map or app to find it—Polaris’s fixed position can provide an entrancing center focus to your spiraling trails of light.
Photographing the Milky Way
Venturing into astrophotography is not just about capturing the stars: referring to capturing the Milky Way can be mesmerizing and ultimately rewarding. The vibrant colors, detail, and depth that one can capture of this galactic spectacle are truly astounding.
To begin, it’s essential to have the right equipment. I’d recommend a high-quality DSLR camera and a sturdy tripod. Additionally, a wide-angle lens (14-24mm) can increase the likelihood of capturing as much of the Milky Way as possible.
Understanding the proper exposure for your shots is key, just as we discussed in the case of star trails. In the case of the Milky Way, one would typically use higher ISO settings, ranging from 1600 to 3200 or above. Shutter speed is equally crucial, and it’s typically recommended that these shots utilize a 15-30 second exposure.
Next, let’s talk about aperture – this should be set as wide as possible, commonly in the range of f/1.4 – f/2.8. A wide aperture allows more light to enter the lens, making the Milky Way stand out. Remember, the aim is to let in as much light as possible without overexposing the shot.
Is there an ideal time for shooting the Milky Way? Absolutely! It’s typically visible from March to October in the northern hemisphere, peaking around August. Similar ideal times apply for southern hemisphere as well. Believe me when I say, the darker the night, the better your photos will be. So, escape the city lights, use a remote shutter to avoid any camera shake, and let the magic unfold before your lens.
Composition of your shot is crucial. Including a substantive foreground can make your photos more appealing and ground them within their context. Often, an interesting natural feature or even human-made objects accentuate the contrast between Earthly familiarity and celestial vastness.
Shooting Planets and the Moon
I’ve talked about how we journey through the cosmos with a DSLR and tripod in tow, capturing the magnificent glory of the Milky Way. But it’s not just about the radiant swathes of galaxies! You can also take incredible snaps of planets and our closest celestial neighbor, the Moon.
Shooting planets and the Moon requires similar expertise, but there are slight modifications to your usual equipment setup and exposure settings that you’ll need to make to get the perfect shot.
Prime lenses should resonate with your DSLR. A lens with a long focal length, between 200mm to 400mm, can help magnify the moon’s details. For shooting planets, a good quality telescope, coupled with a planetary imager or a webcam, can be an alternative to the DSLR.
Keeping the ISO low, in the range of 100-200, can help limit noise. A shutter speed of about 1/60th to 1/125th second, and an aperture of f/11 to f/16 will generally give clear and sharp shots of the moon.
To avoid camera shake and ensure maximum sharpness, use a remote shutter release or your camera’s timer function. Here’s a brief summary captured in a neat markdown table for your reference:
| Equipment | Setting |
|---|---|
| Focal Length | 200mm to 400mm |
| ISO | 100-200 |
| Shutter Speed | 1/60th to 1/125th second |
| Aperture | f/11 to f/16 |
When you’re out there, turning your eyes and lens skywards, remember each celestial body has its traits. For capturing Jupiter, you’ll need to account for its rapid rotation. For Mars, its Reddish hues can be tricky to capture, and Saturn’s defining rings require special care to standout.
So step out, apply what you’ve learned, and begin your journey across the celestial counterparts. It’s a mesmerizing endeavor that will continue to awe and inspire as you delve deeper into the night sky.
Post-Processing Tips and Techniques
Once you’ve captured your magnificent lunar landscape or breath-taking planetary portraits, it’s time to step into the transformative world of post-processing. Here, your creativity drives the final results, polishing your raw images to release their true potential.
When it comes to handling such awe-inspiring subjects as the heavens above, it’s crucial to recognize that no ‘one-size-fits-all’ approach exists. Each shot you take has its unique challenges and triumphs, and so should your post-processing workflow be.
I highly recommend Adobe Lightroom and Photoshop for this stage. These powerful tools can handle a wide range of tasks, from the basic adjustments of contrast and brightness to more complex procedures such as stacking multiple exposures or reducing noise.
When starting your edits, always work from a RAW file. This keeps all the details captured by your camera available for your creative touch. You’ll find the dynamic range much more forgiving when trying to bring out the details in your shots. Remember, capturing data is only half the battle, making your edits in post-processing is where you’ll bring that data to life.
One invaluable tool for astrophotography post-processing is noise reduction. Stargazing often involves shooting in low light conditions, with high ISO settings, resulting in ‘noisy’ images with a grainy appearance. Tools like Lightroom’s noise reduction slider can be invaluable for smoothing out your shots.
Of course, with post-processing, it’s possible to overdo it. Always strive for a balance, bringing out the most in your images without making them appear unnatural.
Conclusion
Astrophotography with a DSLR and tripod isn’t just about the gear. It’s about mastering the art of capturing celestial bodies and refining those images in post-processing. Working with RAW files in Adobe Lightroom and Photoshop, we can enhance the subtleties in our shots.
And let’s not forget the power of noise reduction tools to polish our images. But above all, it’s the persistence and passion that truly make the difference. So keep shooting, keep experimenting, and keep refining your techniques. The sky’s not the limit; it’s the canvas. Your DSLR, tripod, and post-processing skills are the brushes. Now, go paint your masterpiece.