🌌 Get Weekly Stargazing Tips
Join 900+ astronomers. No spam, just sky.
For best planetary results with the SV305 Pro, use a high frame rate (60+ fps) and capture several thousand frames. Then use AutoStakkert! to stack the best 10-20% of frames. This lucky imaging technique dramatically improves sharpness.
Key Takeaways
- The SV305 Pro makes the most sense as a budget planetary and lunar camera for users who are comfortable learning capture and stacking software.
- The Pro version is worth choosing over the basic SV305 if you want USB 3.0 frame rates and the option to use the camera as an autoguider later.
- It is not a magic deep-sky camera: the small sensor and planetary workflow work best on the Moon, Jupiter, Saturn, Mars, and guiding duties.
- SharpCap and FireCapture are better long-term tools than relying only on Svbony’s bundled software.
- Buy it if price matters more than polish; step up to a ZWO or Celestron alternative if you want a smoother beginner software experience.
I decided to buy SVBONY SV305 Pro to test it for lunar imaging and planetary imaging. On paper, it looks promising and is affordable for beginners as an upgrade from a webcam or cheap planetary cameras. It is the same camera as the standard SV305 but with a USB 3.0 interface.
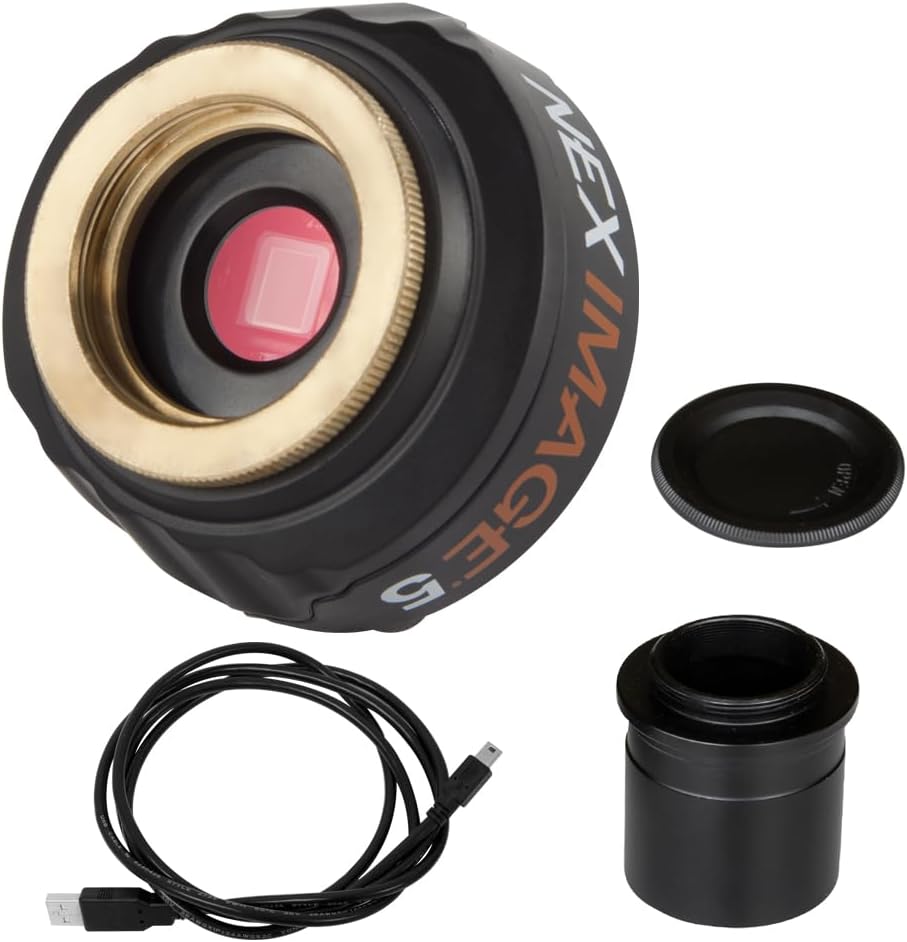
SVBONY SV305 Pro is a high-speed 2-megapixel planetary camera using a SONY IMX290 CMOS color sensor. The PRO version of the SV305 has a USB 3.0 for high FPS. It is compatible with Windows, Mac OS, and Linux operating systems. The camera can be used for lunar imaging, planetary imaging, and as a guiding camera.
You can buy the SVBONY SV305 Pro camera on Amazon.
What’s In The Box?
SVBONY SV305 Pro comes in a nice box with everything you need to use immediately. Here is the list of items you can find in the package:
- SV305 Pro Camera
- Dust Cap
- C-Mount to 1.25 inches adapters
- USB 3.0 Cable A-Male to B-Male Adapter Cord (2 meters/6.5 feet)
- ST4 compatible auto guider cable (1.5 meters/5 feet)
- User Manual (EN/JP/RU/FR/DE/IT/ES)
- CD with Software and Drivers (can be downloaded online)
- Cleaning Cloth
 2")
SVBONY SV305 Pro Build Quality
I expected a bigger camera, but after I opened the box, I found a little lightweight camera made from machined aluminum with a dark grey finish. The case of the camera is one sturdy piece with a back cover attached by bolts.
 3")
The first impression of holding the camera was surprisingly good. The build quality is excellent, and there are no plastic parts which I like. On the backside is the USB 3.0 port and ST4 port for auto-guiding. Cables and adapters are also high quality.
🔭 Want our top telescope picks for 2026?
Join 960+ astronomers getting weekly gear reviews, deals, and stargazing tips. Free.
SVBONY SV305 PRO Specs
| Sensor | 1/2.8″ CMOS Color |
| Sensor Model | SONY IMX290 |
| Pixel Size | 2.9µmx2.9µm |
| Resolution | 2MP(1920*1080@120FPS) 360*240@260fps |
| USB Type | USB3.0 |
| Shutter | Electronic Rolling Shutter |
| Exposure | 1ms~30min |
| Gain | Automatic/Manual |
| Maximum Frame Rate | 120FPS(1920*1080) |
| ADC | 10 bit/12 bit Out 8 bit/12 bit |
| Filter | UV/IR CUT filter |
| Support | Windows, Linux, Raspberry Pi & Mac OS |
| Power Consumption | 230mA@5V |
| Working Humidity | 30%-80% |
| Storage Humidity | 20%-90% |
| Operating Temperature | -10°C~50°C |
| Storage Temperature | -20°C~60°C |
| Weight | 135g |
The SV305 Pro features a built-in 128MB DDR Buffer. The buffer will cache the image and transfer it to the computer when the USB is not busy so the frames will not be lost. It is also beneficial for slower computers with USB 3.0 to capture frames in high FPS without any loss.
SVBONY SV305 PRO Drivers and Software
SV305 Pro drivers are available online on the SVBONY website. They also come on the CD in the package, but who uses CDs these days? I recommend downloading current drivers online here: https://www.svbony.com/Support/SoftWare-Driver/
The camera also supports the ASCOM Platform and can be used on all operating systems, but you need the right software supporting the SV305 Pro. The camera is also compatible with the PHD2 for auto-guiding. Here is the recommended software for each operating system:
SVBONY SV305 PRO Settings
The settings for the SV305 Pro will be different for every telescope and object you want to capture. But I want to explain the main settings, so you get an idea when setting the camera.
ADC
The camera offers 8-bit and 12-bit output. There is also an RGB24 setting. Don’t be surprised when shooting in the RAW 8 or 12-bit mode. The image will be black and white; you must process it to get colors.
Choosing the RGB24 will produce a color image right away. However, you always want to shoot in RAW mode. I use the RGB24 only for all-sky time lapses with a wide-angle lens.
For planets and the moon, I use 8-bit RAW mode. It will give you more FPS than 12-bit mode, which is sufficient. The 12-bit mode is better for Electronically Assisted Astronomy(EAA) capturing the deep sky objects because it has a higher dynamic range than 8-bit.
Gain
Gain settings are different from other cameras, and the range is from 0 to 30. SVBONY explains this as an “easier to understand range.”
Basically, the number zero is minimum Gain, 30 is 30x brighter than 0 Gain, 15 is 15x brighter than 0 Gain, and so on.
Exposure Time
You can set exposure time from 1 ms to 30s. The higher the exposure time is, the lower FPS you will get. So try to use as low exposure time as possible and give it more Gain.
The Gain will bring more noise to the picture as well. You have to play with it because it varies from telescope to telescope and depends on what object you are trying to capture.
ROI (Region of Interest)
The big plus of the SV305 Pro is that it supports the ROI or Region Of Interest. It essentially captures only the part of the sensor you choose. This feature is needed when capturing the planets because you will get more FPS if you use a smaller ROI.
The full resolution is 1920×1080, and you can go as low as 360×240 if the planet is tiny on the sensor. You don’t need to capture all pixels on the sensor, and the FPS will increase rapidly with a smaller ROI.
The SV305 Pro uses a Sony IMX290 sensor, which is significantly better than the original SV305's sensor. The IMX290 offers improved low-light sensitivity, lower read noise, and better overall dynamic range for planetary imaging.
FPS with USB3.0 vs. USB2.0
Measuring the FPS for each camera resolution is hard because you would use different settings each time. So, I decided to do it like this to get a baseline. To measure the maximum FPS, I’m using 0 Gain and 1 ms exposure time with the dust cap on the camera.
Keep in mind that you can’t get this kind of result in real situations. The FPS will be lower by increasing the Gain and exposure time. So here is the table of maximum FPS for some resolutions in SharpCap and AstroDMx over USB 3.0.
SharpCap USB3.0
| 1920×1080 | 40 FPS |
| 1440×800 | 70 FPS |
| 800×600 | 168 FPS |
| 640×480 | 260 FPS |
| 320×240 | 260 FPS |
AstroDMx USB3.0
| 1920×1080 | 62 FPS |
| 1440×800 | 100 FPS |
| 800×600 | 250 FPS |
| 640×480 | 333 FPS |
| 320×240 | 333 FPS |
I’m also including a table of FPS using SV305 Pro with SharpCap over USB 2.0.
SharpCap USB 2.0
| 1920×1080 | 16 FPS |
| 1440×800 | 30 FPS |
| 800×600 | 70 FPS |
| 640×480 | 110 FPS |
| 320×240 | 260 FPS |
My Experience With SV305 Pro Capturing The Moon
After I removed the UV/IR cut filter, I was ready to try the camera on the moon.
I used the SVBONY SV135 7-21mm zoom eyepiece for initial framing, also made by SVBONY. The telescope I used for this test was a SkyWatcher 130P reflector on AZ GoTo mount.
I also have a Skywatcher 200P for planets and the moon, but the mount is on RMA in Germany, so I could not use it. But even with the 130mm aperture, I was surprised by the results I got from the little camera. Here is the image of the Montes Apenninus on the moon.
 4")
I took an AVI video of 5000 frames and stacked them with Autostakkert! and then only applied the de-noise filter in PS. I think the result is nice with this telescope and SVBONY SV305 Pro.
One interesting takeaway is that using 0 Gain, I got strange artifacts after stacking. But when using some Gain(10-15), the image was free of artifacts and much sharper. So, if you have the same problem, use Gain.
Removing the UV/IR cut filter and using IR Pass 685nm filter really helped because I was trying it the night before I removed the UR/IR cut filter, and the result was not very good.
Here is the picture I took before removing the UV/IR Cut filter, and you can see that there are fewer details in the image. It is a slightly different picture, but I was using the same telescope and SV305 Pro.
 5")
SVBONY SV305 Pro Astrophotography
This camera is not made for astrophotography, but you can use it for EAA. The problem here is the small sensor which results in a small field of view. It also requires good tracking and auto-guiding for long exposures.
It is more suited for galaxies than nebulae. I will surely try to capture some galaxies with this camera. But I pointed the telescope to M42, took a few exposures, and tried Live Stacking in Sharpcap.
 6")
I see potential here, but I must test it with different targets. The moon was bright and almost full, so this kind of work was not ideal.
One Disadvantage: SVBONY SV305 Pro UV/IR Cut Filter Removal
The one thing I don’t like about this camera is that it has a built-in UV/IR cut filter. I understand the decision to put this filter in the camera; it is marketed as a guiding camera, not a planetary camera.
 7")
But this camera has a SONY IMX290 sensor which is great for planetary and lunar imaging. Don’t get me wrong, you can use it to capture the moon or planets with the built-in UV/IR cut filter, but here is my issue.
You need perfect seeing conditions if you want to do high-resolution planetary/lunar imaging. It doesn’t matter if you have the biggest telescope and the best camera because you won’t get a good image with high details if there is a lot of atmospheric turbulence.
We use IR pass filters to capture only the infrared light coming through the atmosphere to fight this. The advantage of this method is that the IR light is least affected by atmospheric turbulence. These filters are cheap, and they provide excellent results.
 8")
And because the camera has the UV/IR cut filter, you can’t use it with the IR pass filter. The UV/IR cut filter is cutting too much IR light, and the solution is to remove the built-in filter. Another plus is that the IMX290 sensor is highly sensitive to IR light.
Removing the filter is easy, but you will lose the warranty, and if you are not comfortable with electronics, I don’t recommend you do that. Here is a quick image guide describing the process.
First, remove the bolts at the back and remove the cover. There are 4 small screws on the side at the bottom holding the camera electronics in the case.
 9")
 10")
To remove the filter, you have to push it out of the housing. I had trouble pushing it out, so I put something of filter size on top and gently hit it from the top.
 11")
 12")
Don’t worry if you break the filter because you can buy a replacement UV/IR cut filter for a few bucks on Amazon and screw it on the camera if you need it in the future.
If you're looking to upgrade from the SV305 Pro, the SVBONY SV305C Pro uses the newer IMX662 sensor with even better low-light performance and lower noise.
 13")
Best Telescopes to Pair With the SV305 Pro
The SV305 Pro punches hardest when paired with a telescope that has decent focal length and aperture. For planetary imaging, you want as much light-gathering power as possible. Here are the best matches from budget to premium:
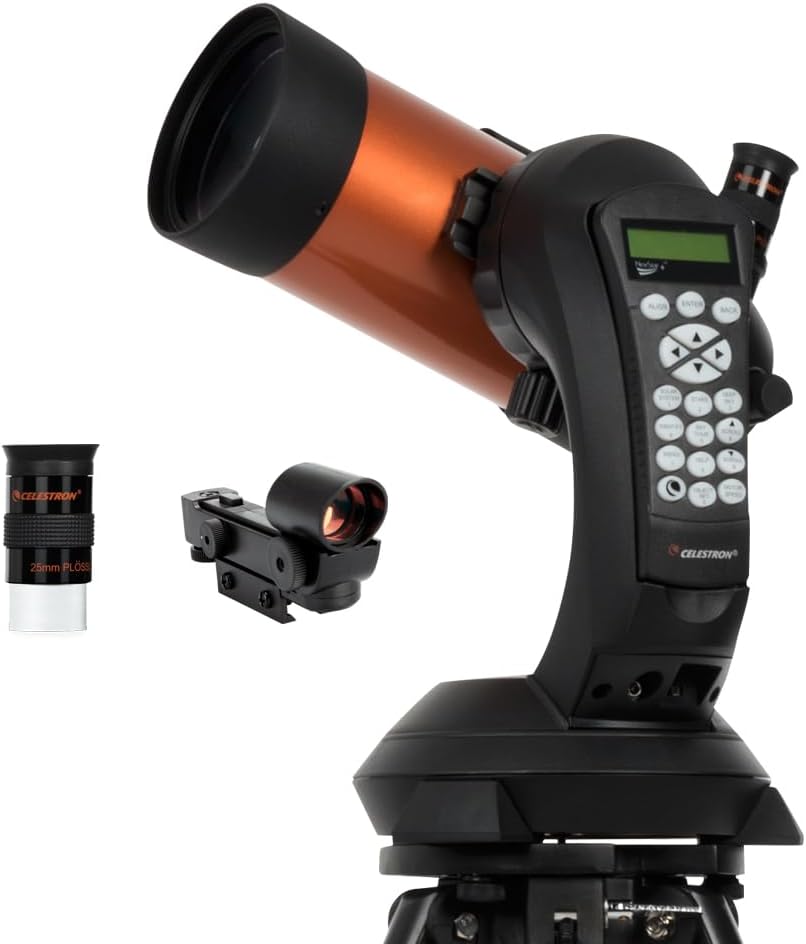

Maksutov-Cassegrain telescopes have long focal lengths (1300-1500mm+) that fill the SV305 Pro's small sensor with planetary detail. Reflectors like the 130P or 200P also work great but need a 3x Barlow to get similar scale.
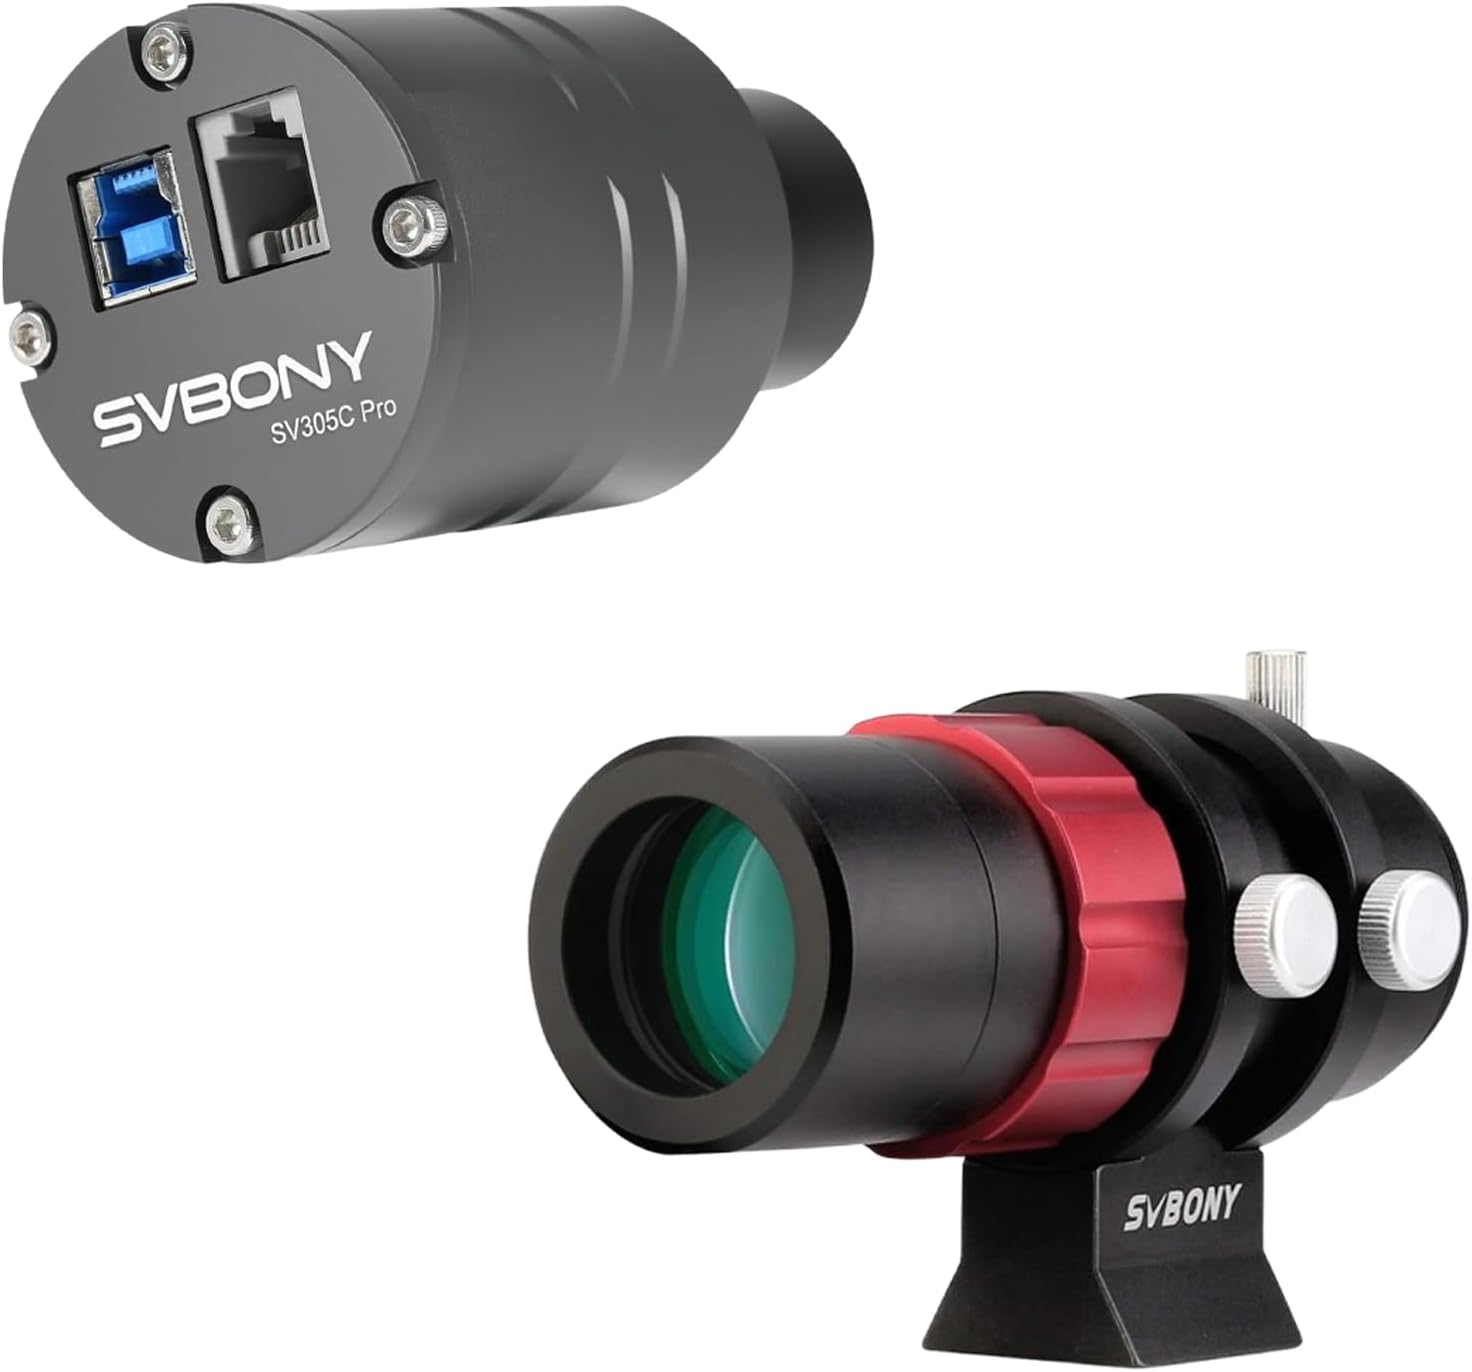
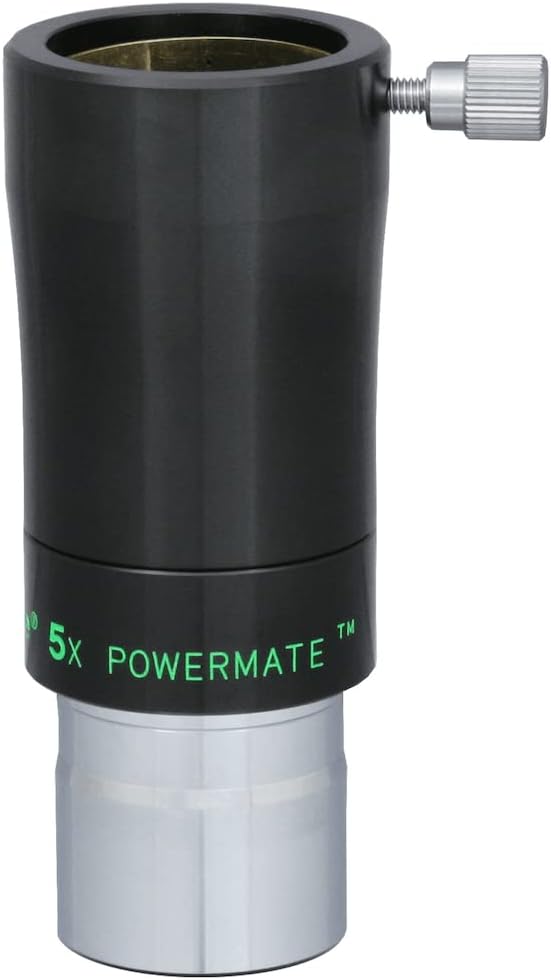
Essential Accessories for the SV305 Pro
The SV305 Pro's warning callout above isn't just a tip, it's a requirement: at shorter focal lengths, planets are tiny dots. You need a Barlow. Here are the best options:


Conclusion
I’m thrilled with the SVBONY SV305 Pro because you get an excellent kit for the price. The ZWO ASI290MC uses the same sensor and is better in some areas because of different electronics and no built-in UV/IR cut filter, but it is also more expensive.
If you are a beginner and want to try planetary or lunar imaging, I recommend the SV305 Pro over the ZWO ASI290MC. You won’t be missing out, and you will save money.
Don’t forget to subscribe to our newsletter where you’ll find the latest cosmic discoveries, expert stargazing tips, and exclusive subscriber deals. Embark on your cosmic journey if you haven’t already!
The SV305 Pro's small chip size means it requires high magnification to fill the sensor with planetary detail. At lower focal lengths, planets will appear as tiny dots. Use a 3x or 5x Barlow lens for best results on planets.