- Yes, it works — the afocal method lets you capture the Moon, planets, and bright clusters with any smartphone.
- A phone adapter is essential — holding your phone freehand against the eyepiece almost always produces blurry results.
- Vibration is your biggest enemy — use a stable mount, anti-vibration pads, and a Bluetooth remote shutter.
- Start with the Moon — it is bright, large, and forgiving. Perfect for dialing in your setup before moving to planets.
- Low magnification wins — aim for 25-50x to start. Higher magnification amplifies every shake and atmospheric wobble.
🌌 Stay in the Loop
Weekly tips, gear picks, and sky events. No spam, unsubscribe anytime.
Subscribe Free →Yes, you can take pictures through a telescope with a smartphone. The technique is called afocal photography, and it works by aligning your phone camera with the telescope eyepiece to capture magnified views of the Moon, planets, and bright objects. You do not need an expensive camera rig — just a phone adapter, a steady mount, and a few minutes of setup.
This site contains affiliate links to products. I may receive a commission for purchases made through these links.
The results depend heavily on three things: how steady your telescope is, how well your phone is aligned with the eyepiece, and whether you can trigger the shutter without touching the phone. Get those three right and you will be surprised what your phone can capture.
Does it actually work?
Afocal photography has been around since the early days of compact cameras. The idea is simple: your phone camera acts as an additional optical element placed at the exit pupil of the eyepiece, capturing the magnified image the eyepiece is projecting.
In practice, the Moon photographs beautifully this way. You can capture crater detail, the terminator line, and mare regions with a mid-range smartphone and a basic adapter. Jupiter shows cloud bands and the four Galilean moons. Saturn shows its rings clearly. Bright star clusters like the Pleiades or Beehive come out well too.
Deep sky objects are a different story. Galaxies and nebulae require long exposures that phone cameras cannot handle well. For those, you need a dedicated astrophotography camera. But for solar system targets and the Moon, a smartphone works surprisingly well.
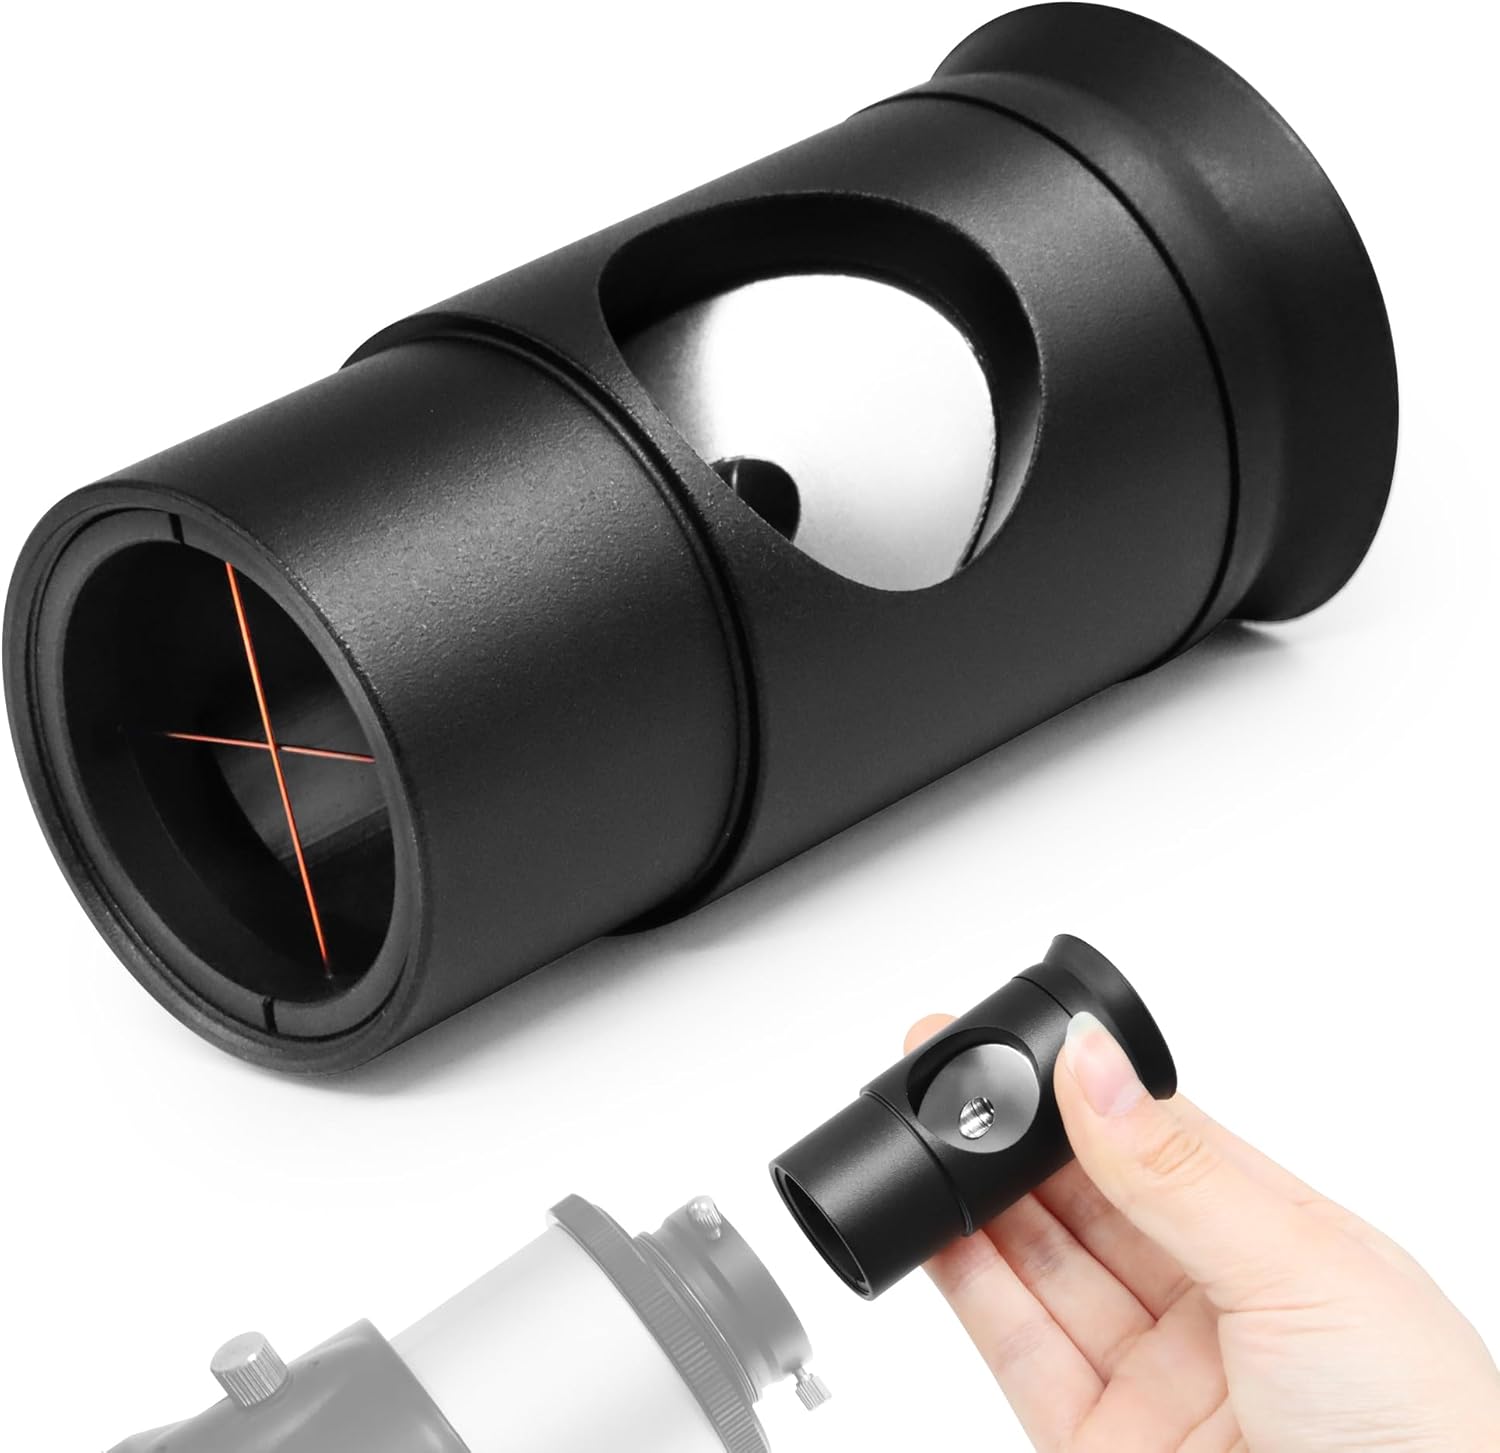
Using a smartphone adapter
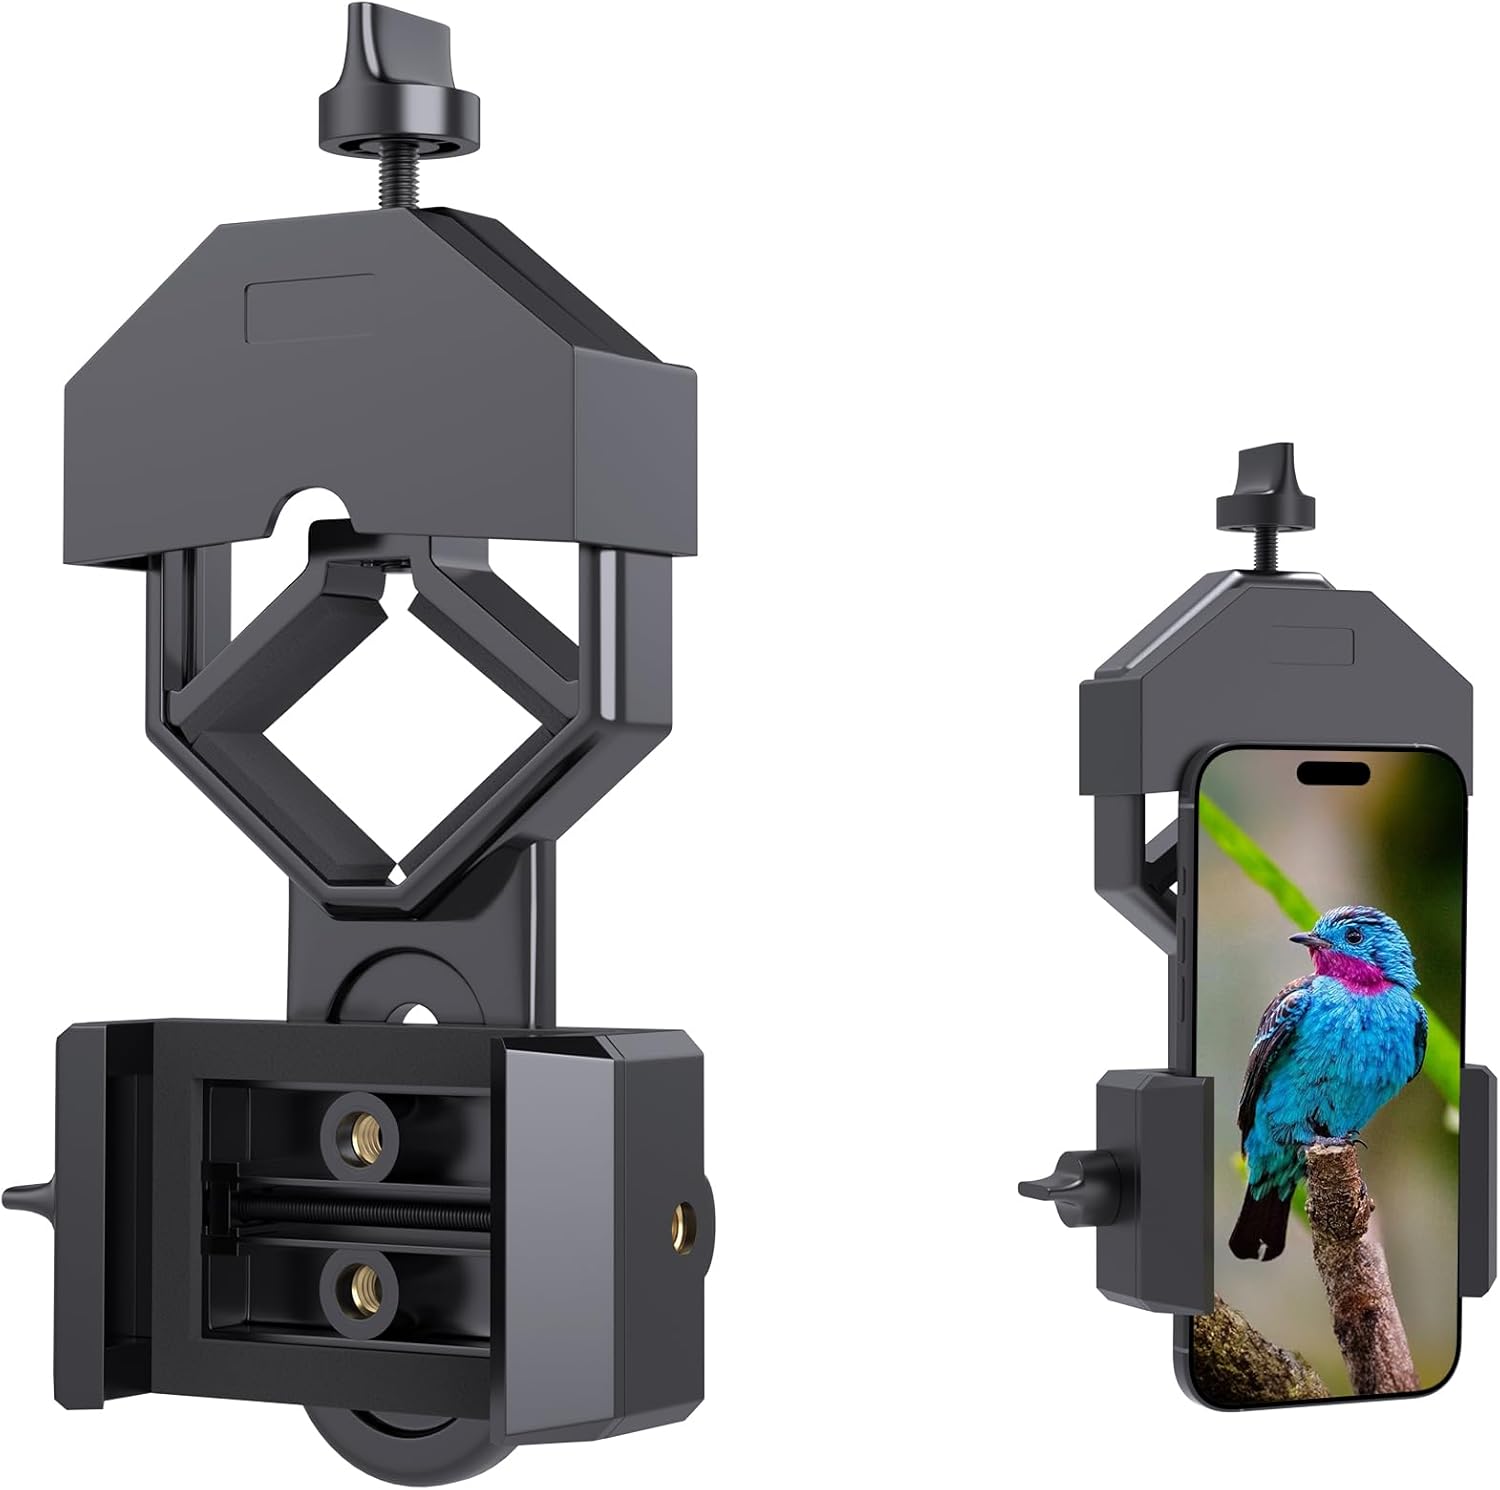
A smartphone adapter clamps your phone to the eyepiece and holds it in precise alignment. The better adapters offer 3-axis adjustment so you can fine-tune the position of your phone's camera lens relative to the eyepiece exit pupil. This eliminates vignetting (the dark circle around the edges) and gives you a clean, full-frame image.
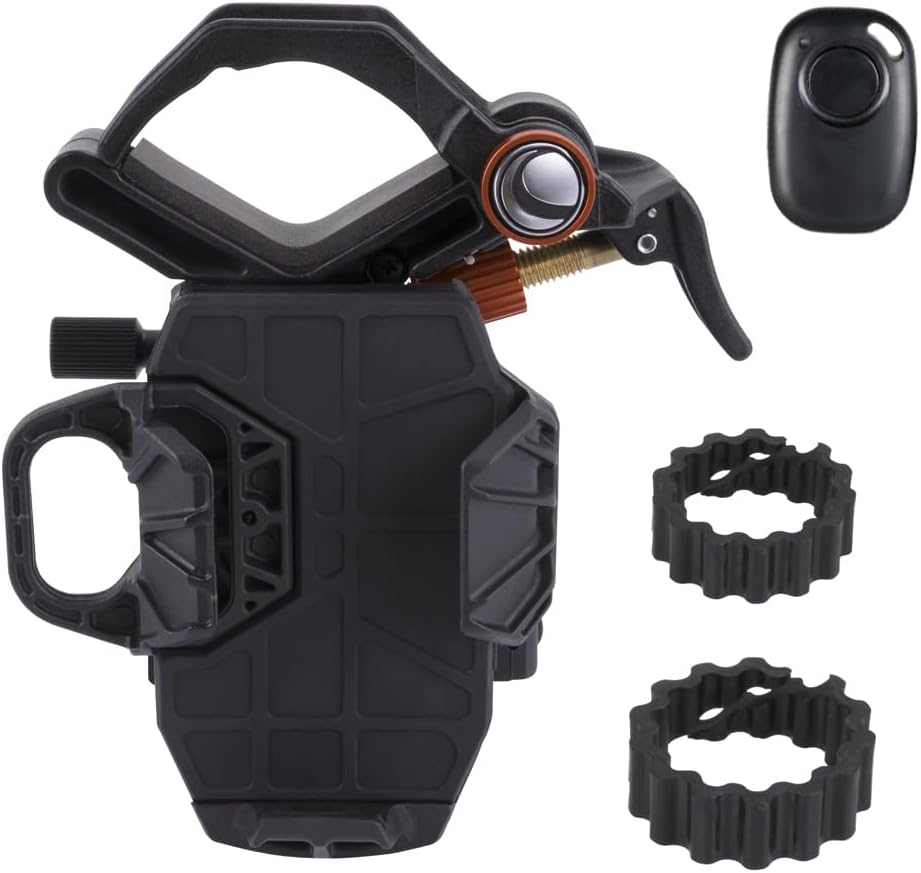
The Celestron NexYZ DX is the gold standard here. It fits any eyepiece from 35mm to 60mm, works with iOS and Android phones of any size, and includes a Bluetooth shutter remote so you never have to touch the phone to take a shot.
The Gosky Universal Adapter is a solid budget alternative. It lacks the 3-axis adjustment but gets the job done for casual lunar photography.
Read also: Best telescopes with phone adapters
Using a camera adapter (DSLR)
If you want to step up from your phone, a T-ring and extension tube let you attach a DSLR or mirrorless camera directly to the telescope's focuser. This gives you full manual control over exposure, ISO, and shutter speed, and allows longer exposures with a tracking mount. For smartphone astrophotography specifically though, the afocal method with a phone adapter is simpler and gets you started immediately.
What you need
Before you head outside, make sure you have these four things sorted. Each one affects image quality more than the telescope itself.
1. A stable mount or tripod
Your telescope needs to be rock-solid. Any vibration — a passing car, wind, or touching the focuser — will appear as blur in your phone photos, especially at higher magnifications.
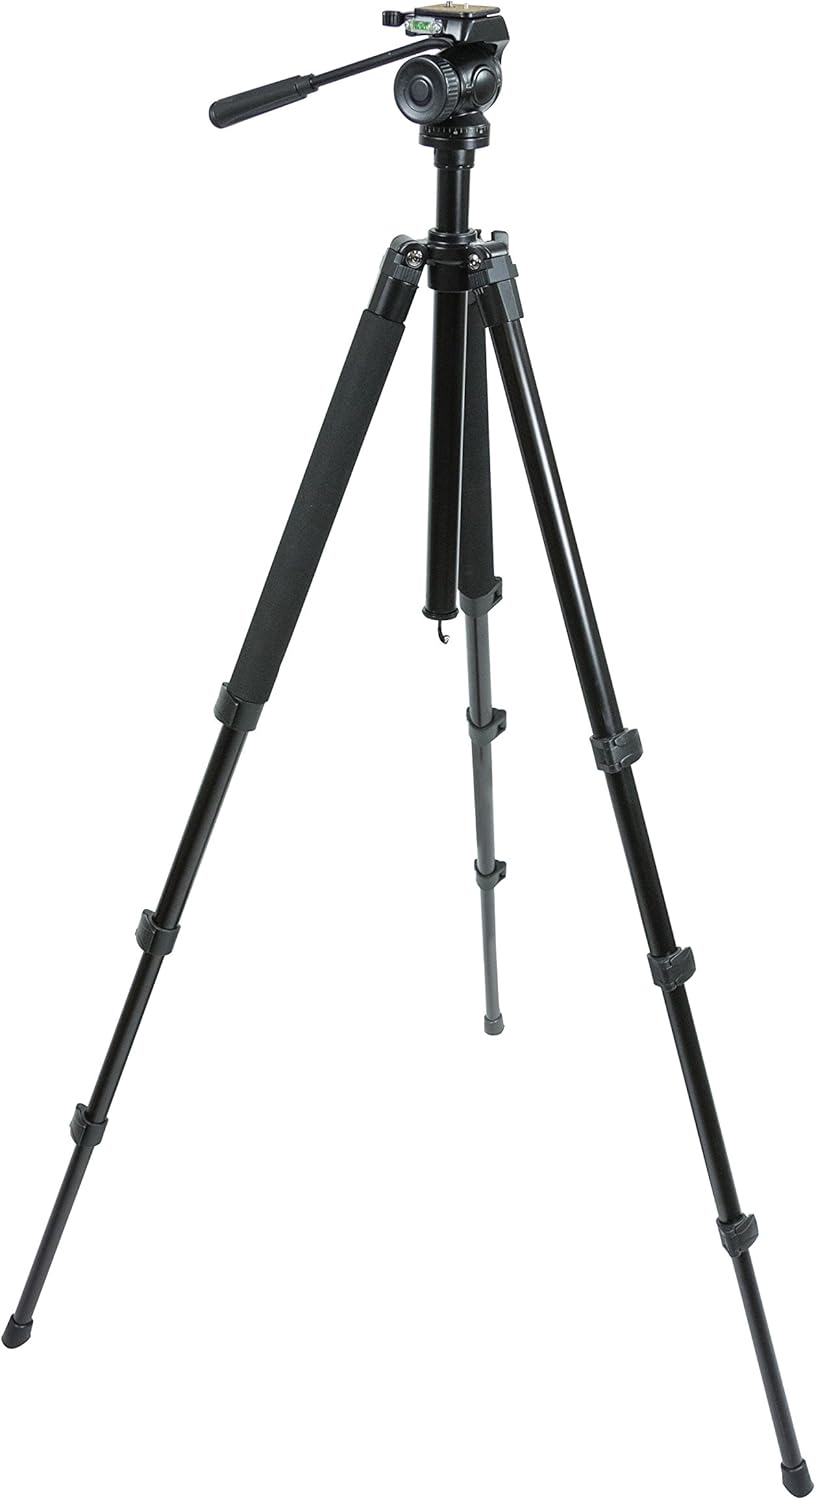
For small refractors and beginner scopes, the Celestron TrailSeeker Tripod is an excellent standalone tripod. Heavy-duty aluminum legs, a 3-way pan head, and adjustable height make it easy to position your scope at any angle.
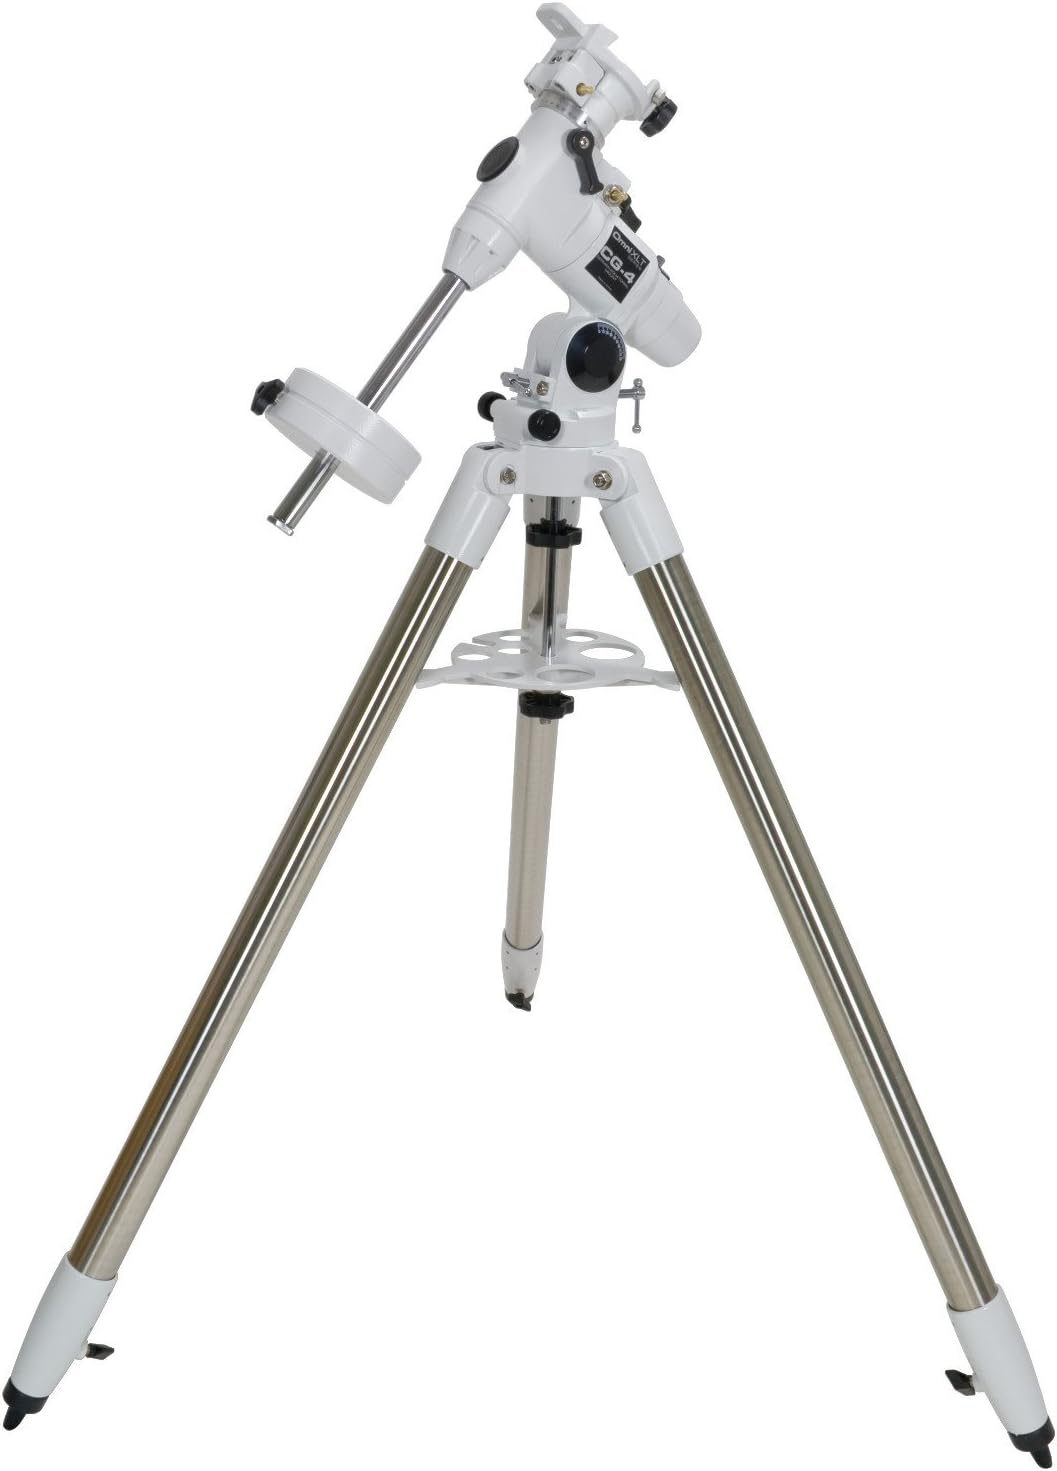
For larger, heavier telescopes, the Celestron CG-4 German Equatorial Mount is the right tool. It has a proper equatorial head with ball bearings in both axes for smooth manual tracking, and the steel tripod handles serious weight without flex.
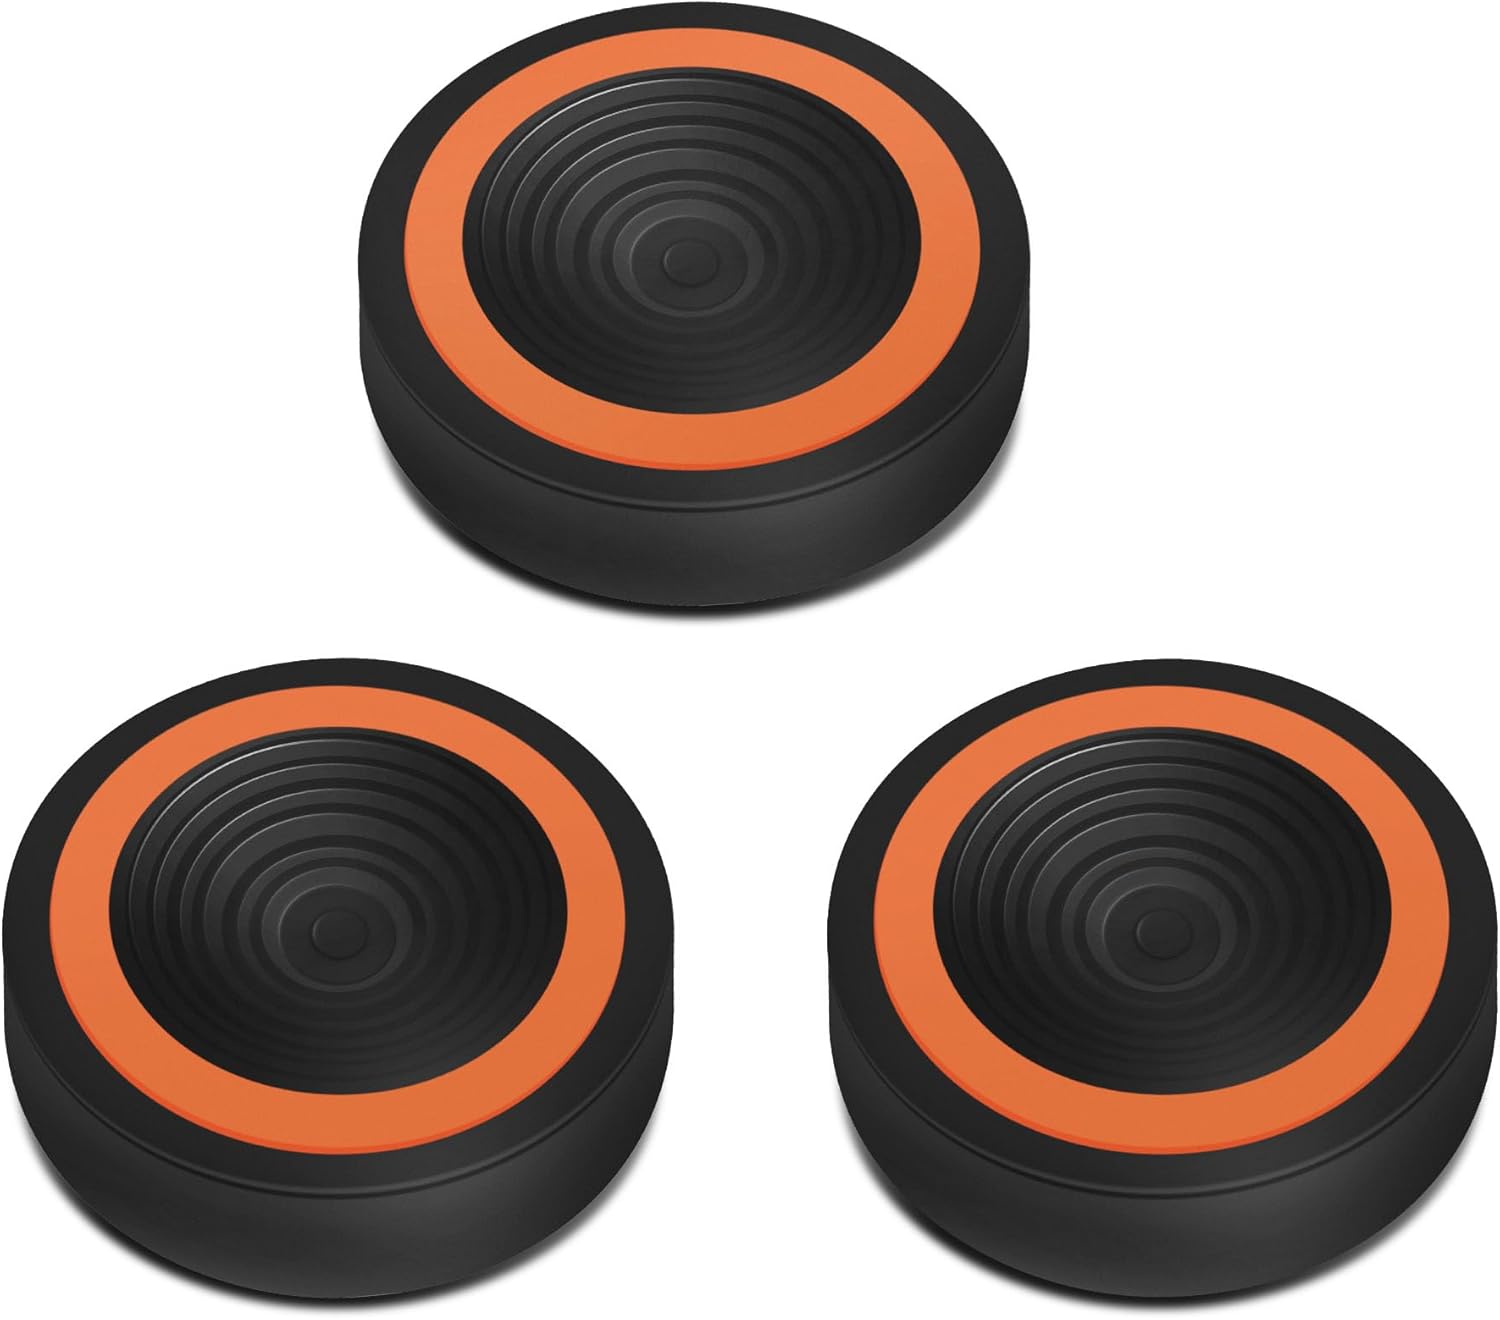
2. Anti-vibration pads
Even on solid ground, residual vibrations from footsteps, traffic, or a light breeze reach your telescope through the tripod legs. Anti-vibration pads placed under each leg absorb these micro-vibrations before they reach the optical train. The difference in phone photos is noticeable, especially at 100x and above.
3. A remote shutter
Pressing the shutter button on your phone screen introduces vibration at the exact moment you are trying to capture a sharp image. A Bluetooth remote shutter solves this completely. You tap the remote from arm's length, the shutter fires, and your phone never moves.
The Xenvo Shutterbug is the classic choice: compact, reliable, works with iOS and Android, and has a 30-foot range. If you want zoom control as well as shutter firing, the Wireless BT Remote with Zoom adds front/rear camera switching and volume zoom on top of basic shutter control.


Use your phone's manual or pro mode to lock focus and set ISO to 400 or lower. A locked focus prevents the camera from hunting every time you fire the shutter.
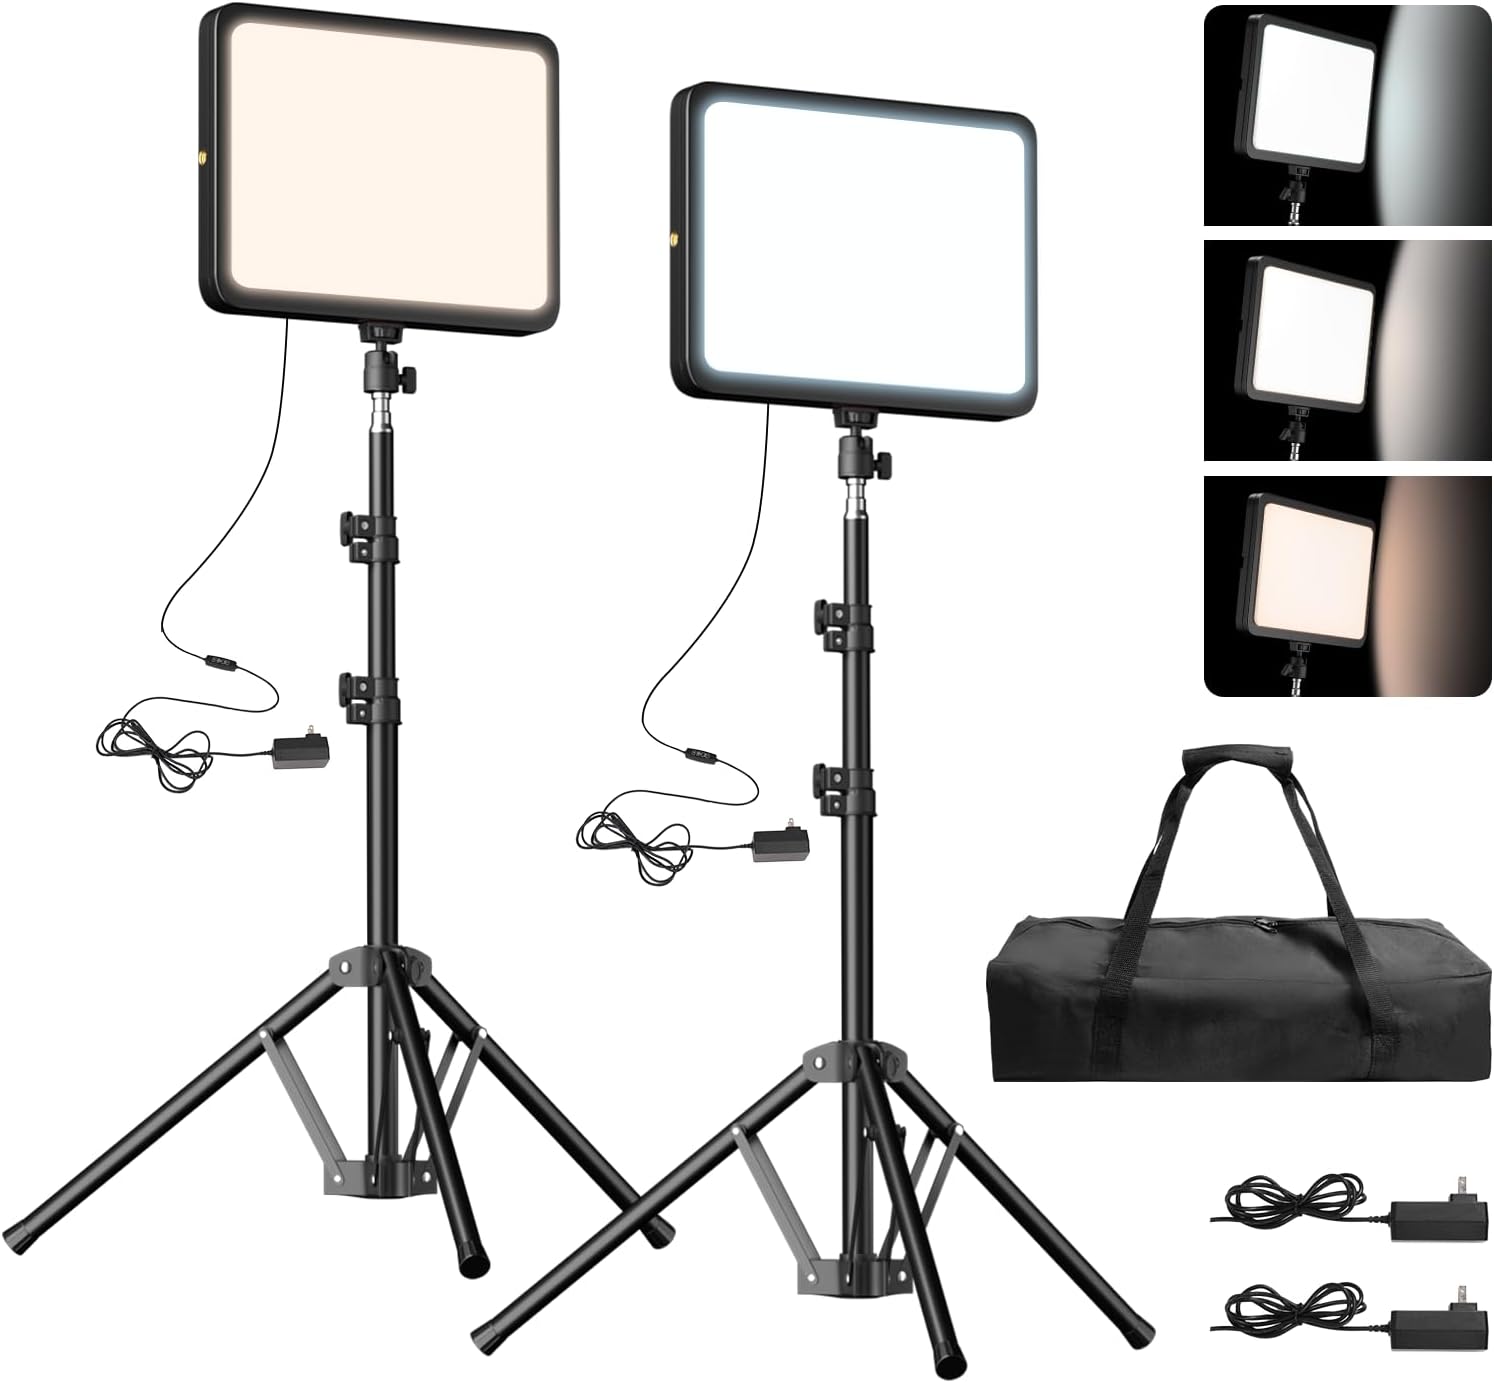
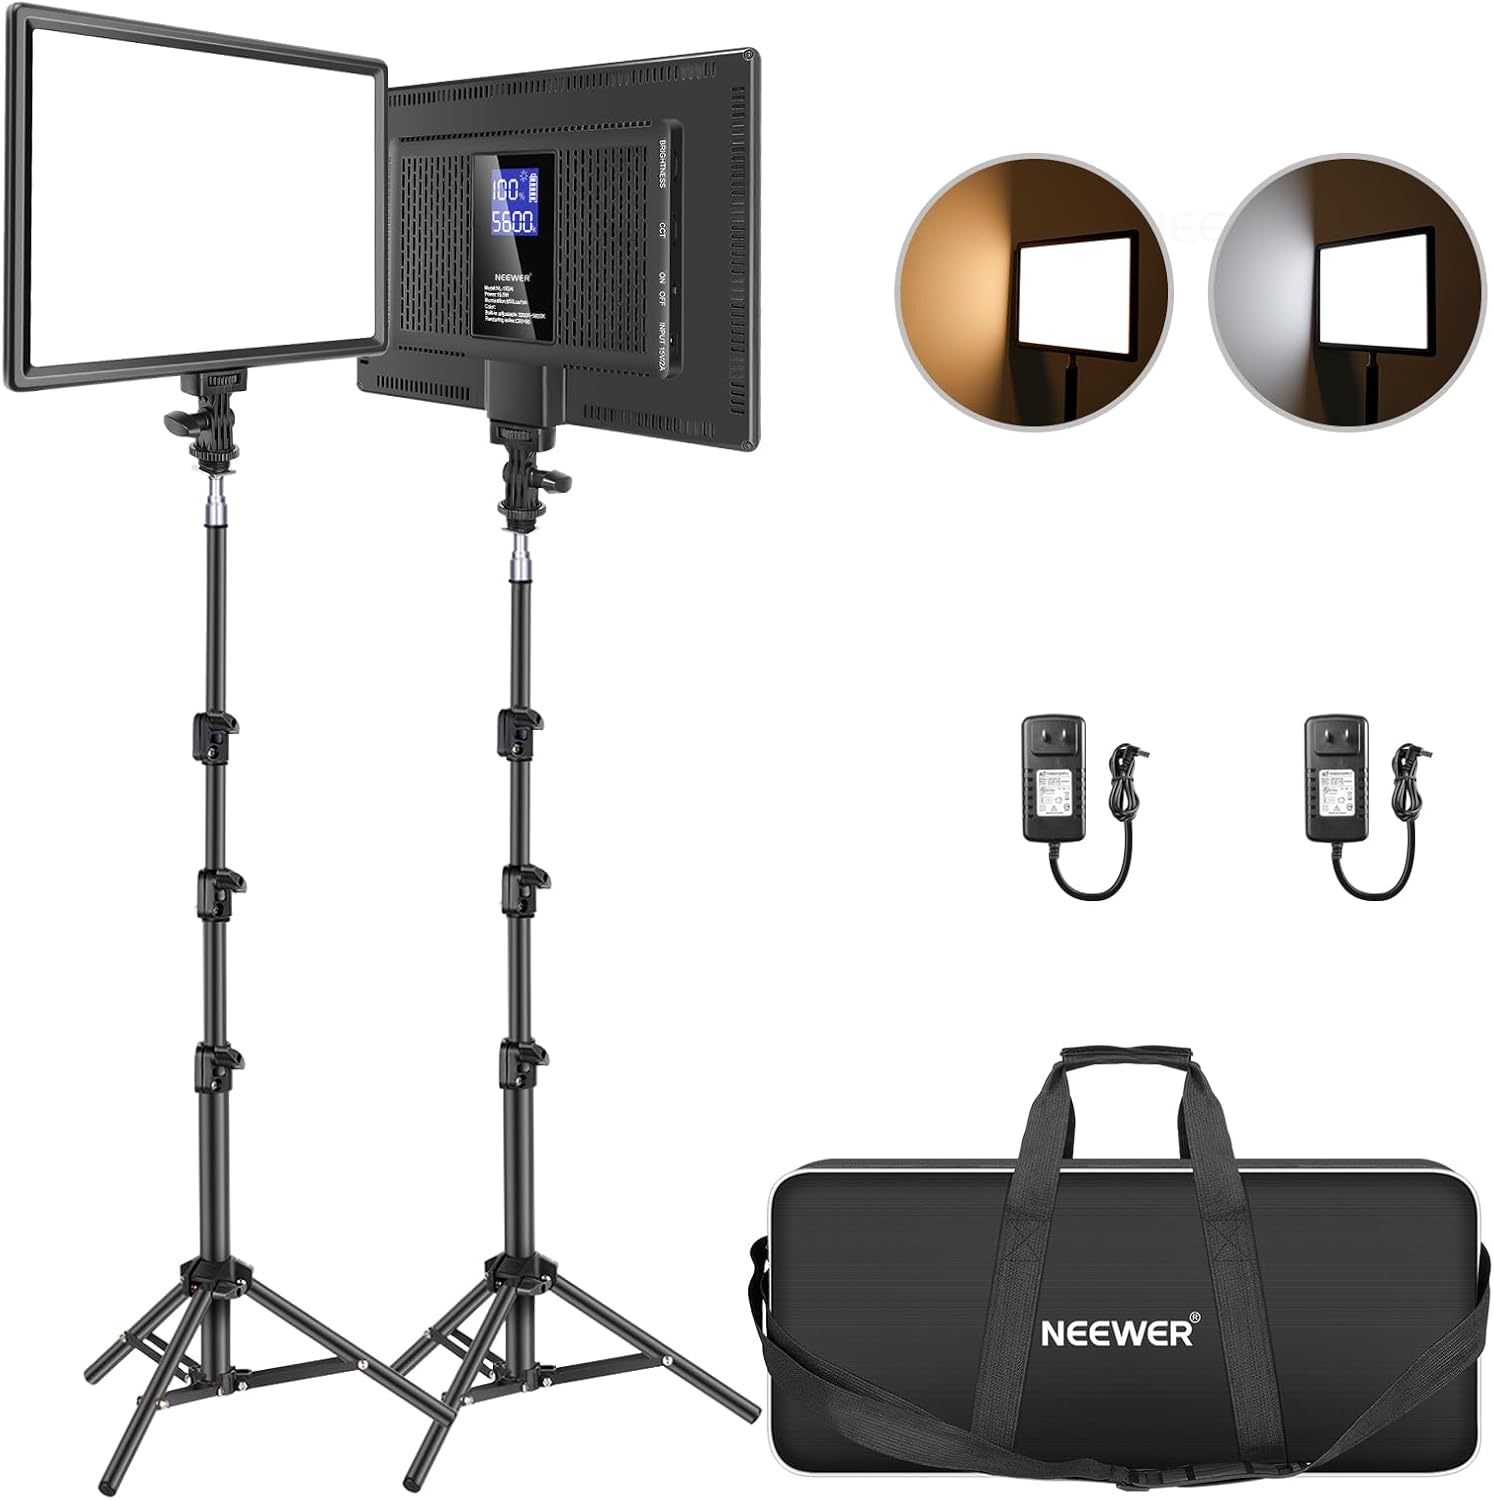
4. A light source for setup (optional but useful)
When setting up your phone adapter in the dark, a dimmable LED panel helps you see what you are doing without killing your night vision. The EMART and NEEWER LED kits are both overkill for a single observer, but if you shoot video through the telescope or record your session, they deliver consistent, color-accurate light. For solo phone astrophotography, a simple red headlamp works fine for setup — save the panels for group sessions or video content.
5. The right beginner telescope
If you are just getting started, the Gskyer 70mm AZ is the most popular entry-level choice for smartphone astrophotography. It includes a phone adapter bracket and a Bluetooth shutter remote in the box, which means you can start shooting the Moon on the first night.

Step-by-step guide to taking phone photos through a telescope
Once your gear is ready, follow these steps in order. Each one builds on the last.
Step 1: Set up your mount on stable ground
Find a flat surface away from pavement that radiates heat (asphalt and concrete create air turbulence above them). Set up your tripod or equatorial mount, level it carefully using the built-in bubble level, then place anti-vibration pads under each leg. Lock all the tripod leg clamps firmly before touching the telescope.
Step 2: Let the telescope cool down
Bring your telescope outside 20-30 minutes before you plan to shoot. Optics need to reach ambient temperature to perform well. A warm tube creates internal air currents that blur images just as much as atmospheric turbulence does.
Step 3: Start with a low-power eyepiece
Use a 25mm or similar wide-field eyepiece to start. This gives you the widest field of view and the lowest magnification, making it much easier to locate your target and achieve focus. You can switch to a shorter eyepiece for more magnification once everything is dialed in.
Step 4: Mount the phone adapter and attach your phone
Slide the adapter onto the eyepiece barrel and tighten it so it cannot rotate. Clamp your phone into the adapter, aligning the camera lens as closely as possible to the center of the eyepiece. Use the 3-axis adjustment knobs on the NexYZ DX to fine-tune the position until you see a clear, circular image with no dark ring around it (that dark ring is called vignetting and it means the camera is off-axis).
Step 5: Focus carefully
Focus using the telescope's focuser, not your phone's digital zoom. Watch the live view on your phone screen and turn the focuser slowly until stars are pinpoints and lunar craters have sharp edges. Lock the focuser if your telescope has a lock knob.
If your phone's autofocus keeps hunting, switch to manual focus mode in the camera app and lock it on the target. Apps like ProCam (iOS) or Open Camera (Android) make this easy.
Step 6: Connect your Bluetooth remote and fire
Pair your Bluetooth shutter remote before you go outside (it is much easier in daylight). When you are ready to shoot, step back from the telescope, wait two seconds for any residual vibration to die down, then press the remote. Take 5-10 frames in quick succession and keep the sharpest ones.
On an iPhone, pressing the volume-up button fires the shutter. On Android, most camera apps support the same. This is a zero-cost alternative to a Bluetooth remote when you are getting started.
Step 7: Take multiple exposures and review
Atmospheric seeing fluctuates constantly. What looks sharp one second can be blurry the next. Take 10-20 frames per session and keep the best 3-5. For the Moon, apps like PIPP (free) let you stack multiple frames to pull out even more detail.
Step 8: Avoid digital zoom
Never use your phone's digital zoom to get closer to an object. Digital zoom degrades image quality by cropping pixels. Instead, swap to a shorter focal length eyepiece on the telescope to increase magnification while keeping full image quality.
Best targets for smartphone telescope photography
Not everything in the sky photographs equally well through a phone. Here are the targets ranked by how likely you are to get a satisfying result on your first attempt:
- The Moon — By far the easiest. Full moon is bright and easy to focus, but a crescent or half moon shows more dramatic shadow detail along the terminator. Aim for 50-80x magnification.
- Jupiter — At opposition, you can clearly see the two main equatorial cloud bands and the four Galilean moons. Use 80-120x. Best results when Jupiter is high in the sky.
- Saturn — The rings are immediately recognizable even through a 70mm refractor. At 80-100x the Cassini Division becomes visible with good seeing. A genuine wow moment.
- Star clusters — Open clusters like the Pleiades (M45), Beehive (M44), and Jewel Box look beautiful at low magnification. Wide-field eyepieces work best here.
- Venus — Shows phases like the Moon, but very bright. Use a neutral density filter to reduce glare.
- Deep sky objects — Difficult with a phone. Bright nebulae like Orion (M42) can show the central region, but most galaxies and nebulae require a dedicated astrophotography camera and tracking mount.
Tips for sharper results
Collimate your reflector first
If you are using a Newtonian reflector, even small collimation errors will ruin your phone photos by spreading star images into asymmetric blobs. Collimate before every session using a Cheshire eyepiece. The Astromania Cheshire (short version) is the one to get for 1.25" focusers.
Check seeing conditions before going out
Atmospheric turbulence (called seeing) varies dramatically from night to night and even hour to hour. Nights after cold fronts often have excellent seeing. Sites like Meteoblue or Clear Outside show seeing forecasts for your location. A night with good seeing at modest magnification will always produce better phone photos than a turbulent night at high power.
Use burst mode for the Moon
Your phone's burst mode fires multiple frames per second. Hold burst for 2-3 seconds (20-30 frames), then pick the sharpest frame manually or feed the whole burst into a stacking app. This is the simplest way to beat atmospheric turbulence without specialized software.
Enable Pro/Manual mode
Auto mode tends to over-expose the Moon and under-expose dark areas. In manual mode, reduce exposure compensation by -1 to -2 stops for the Moon, lock focus, and set ISO as low as possible (100-200) for the cleanest image with the least noise.
Image stacking for planets
For Jupiter and Saturn, record a 60-second video through the telescope instead of still frames. Then run the video through free software like AutoStakkert or Registax, which aligns and stacks the best frames automatically. This technique, used by serious planetary imagers, dramatically improves results even with a phone.
🔭 Want our top telescope picks for 2026?
Join 960+ astronomers getting weekly gear reviews, deals, and stargazing tips. Free.